OWNER'S MANUAL
MANUEL DU PROPRIETAIRE
MANUAL DEL USUARIO
MANUAL DO PROPIETARIO
9A09471500
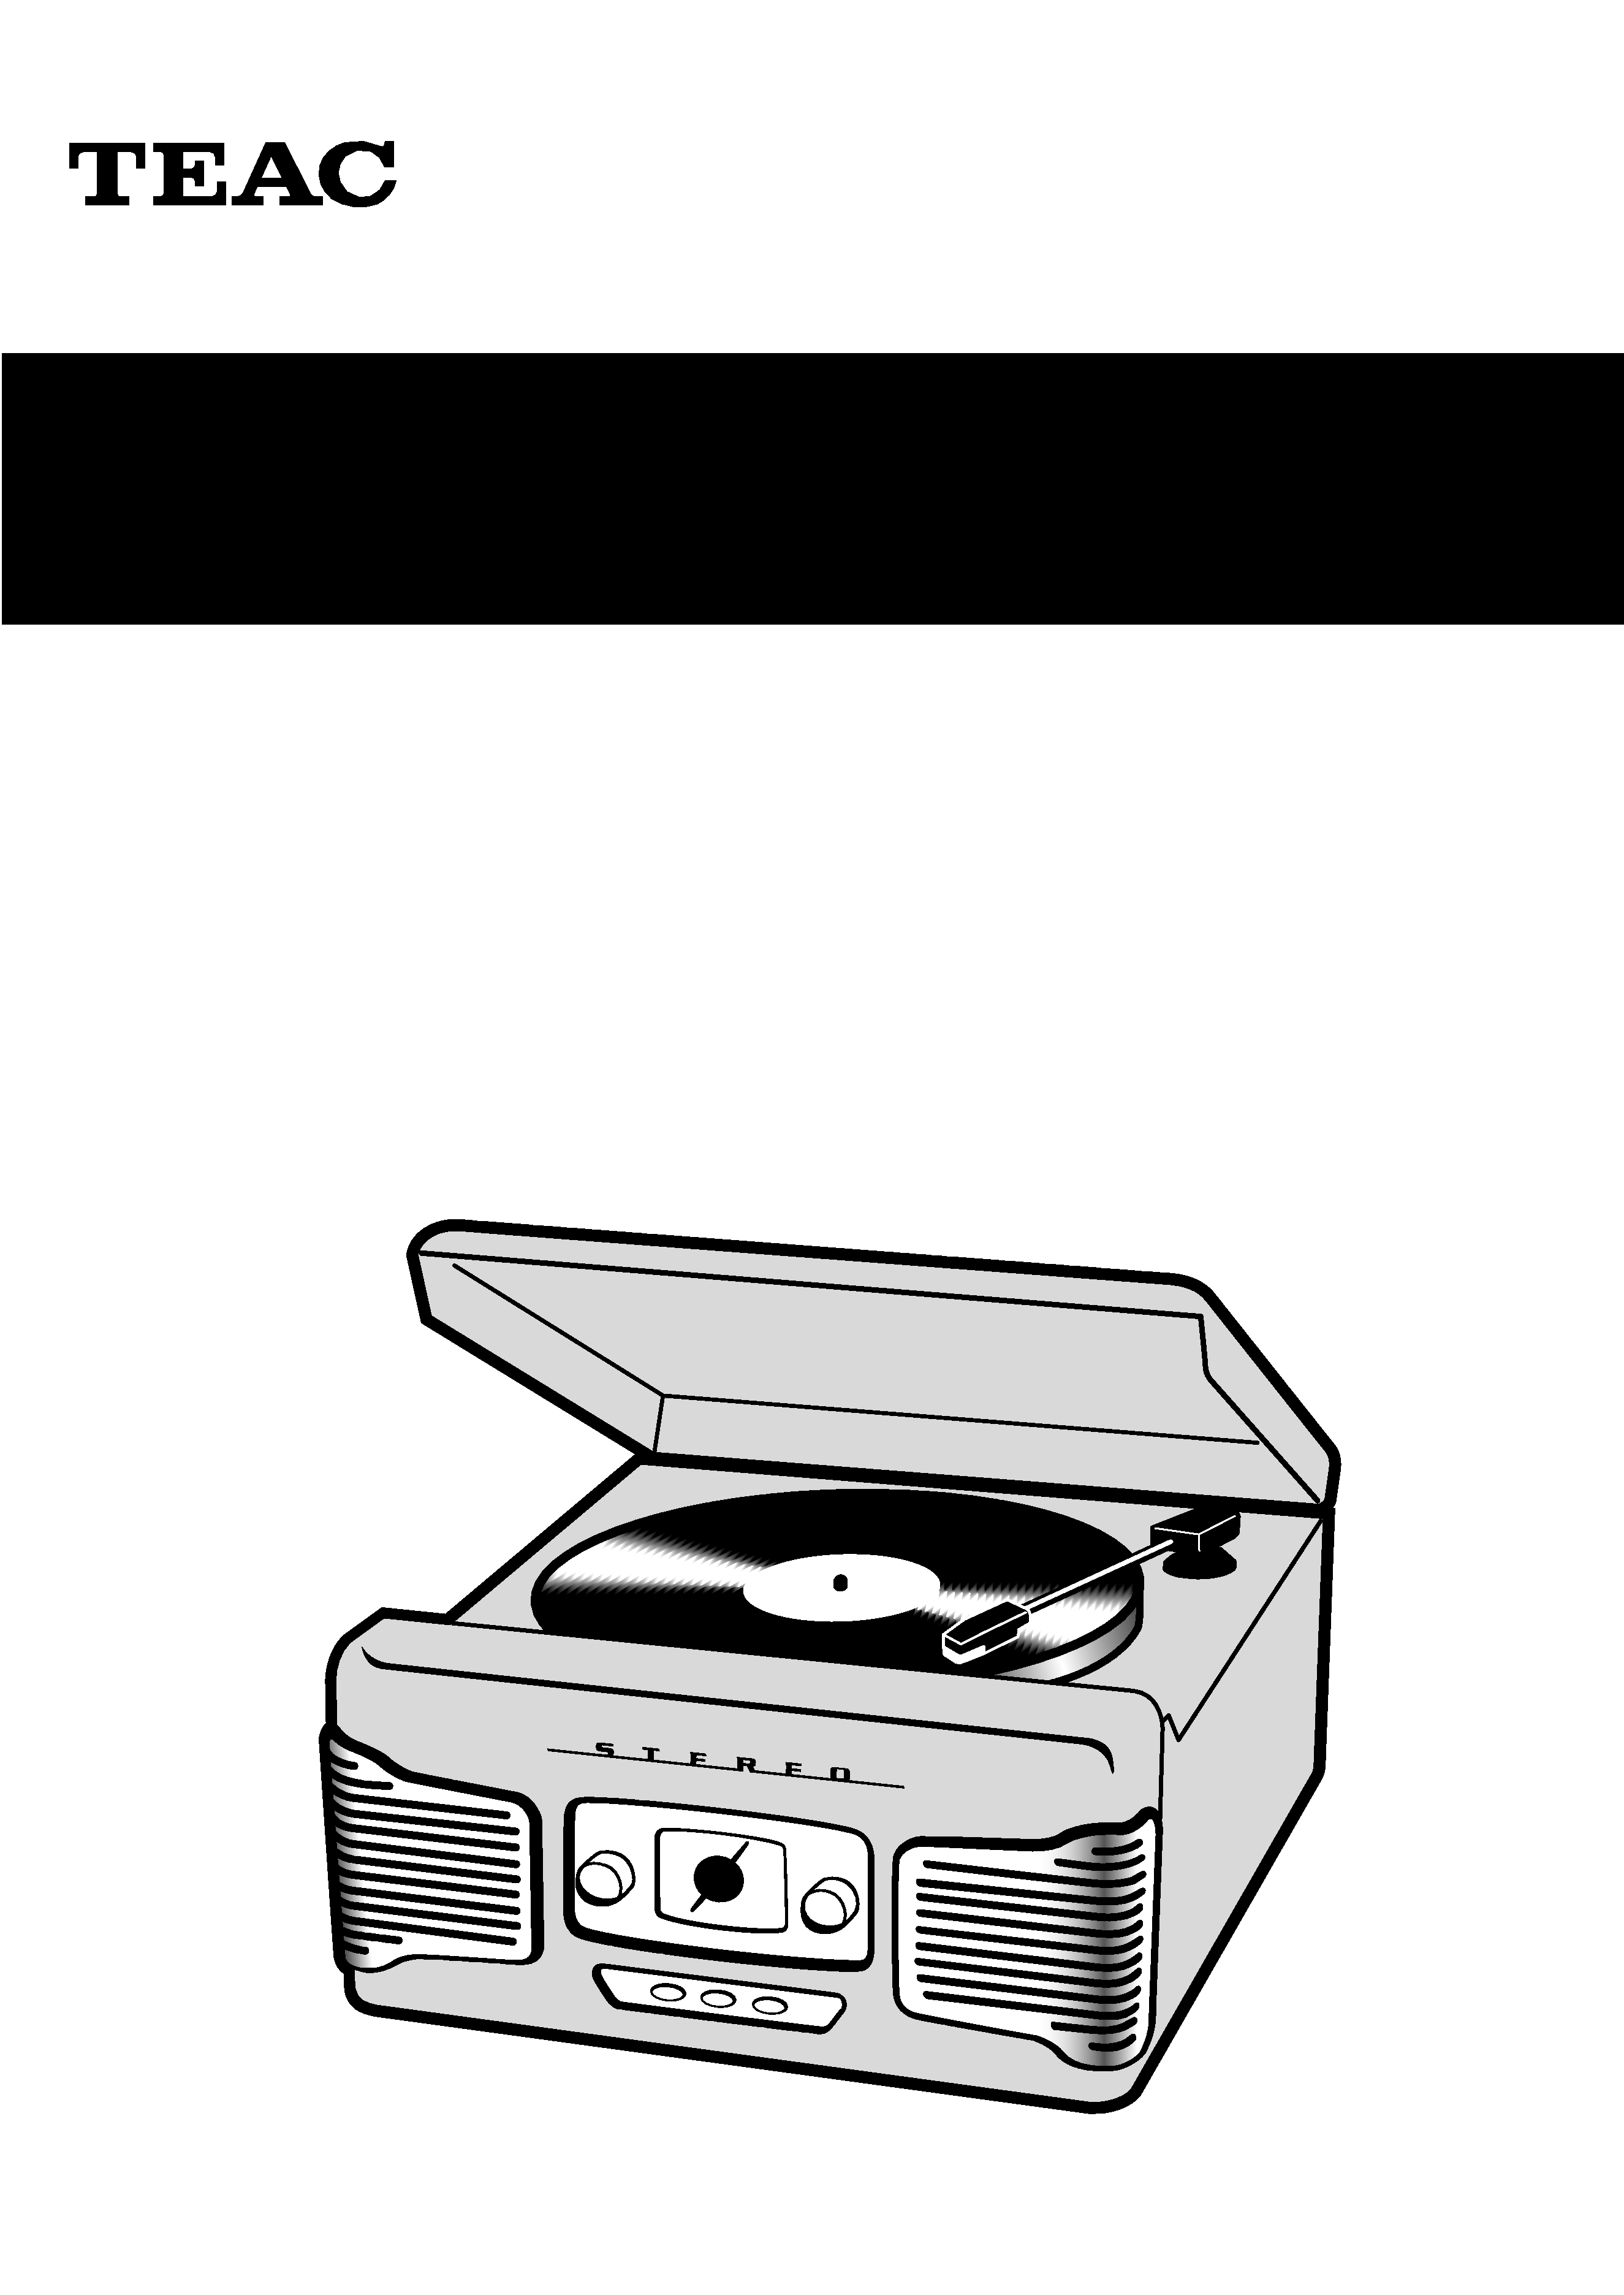
SL-A100
AM/FM Stereo System with Turntable

2
Y
AC POWER CORD CONNECTION
CAUTION:
TO PREVENT ELECTRIC SHOCK, MATCH WIDE BLADE OF PLUG
TO WIDE SLOT, FULLY INSERT.
CORDE DE CONNEXION CA
ATTENTION:
POUR ÉVITER LES CHOCS ÉLECTRIQUES, INTRODUIRE LA
LAME LA PLUS LARGE DE LA FICHE DANS LA BORNE
CORRESPONDANTE DE LA PRISE ET POUSSER JUSQU'AU
FOND.
For CANADA
Pour le CANADA
CAUTION
< DO NOT REMOVE THE PROTECTIVE HOUSING USING
SCREWDRIVER.
< IF THIS PRODUCT DEVELOPS TROUBLE, MAKE A CONTACT
WITH OUR SERVICEMAN, AND DO NOT USE THE PRODUCT IN
A TROUBLED STATE.
This equipment has been tested and found to comply with the
limits for a Class B digital device, pursuant to Part 15 of the FCC
Rules. These limits are designed to provide reasonable
protection against harmful interference in a residential
installation. This equipment generates, uses, and can radiate
radio frequency energy and, if not installed and used in
accordance with the instructions, may cause harmful
interference to radio communications. However, there is no
guarantee that interference will not occur in a particular
installation. If this equipment does cause harmful interference
to radio or television reception, which can be determined by
turning the equipment off and on, the user is encouraged to try
to correct the interference by one or more of the following
measures:
· Reorient or relocate the equipment and/or the receiving
antenna.
· Increase the separation between the equipment and
receiver.
· Connect the equipment into an outlet on a circuit different
from that to which the receiver is connected.
· Consult the dealer or an experienced radio/TV technician for
help.
CAUTION
Changes or modifications to this equipments not expressly
approved by TEAC CORPORATION for compliance will void the
user's warranty.
For U.S.A.
Important Safety Instructions
1) Read these instructions.
2) Keep these instructions.
3) Heed all warnings.
4) Follow all instructions.
5) Do not use this apparatus near water.
6) Clean only with dry cloth.
7) Do not block any ventilation openings. Install in accordance
with the manufacturer's instructions.
8) Do not install near any heat sources such as radiators, heat
registers, stoves, or other apparatus (including amplifiers)
that produce heat.
9) Do not defeat the safety purpose of the polarized or
grounding-type plug. A polarized plug has two blades with
one wider than the other. A grounding type plug has two
blades and a third grounding prong. The wide blade or the
third prong are provided for your safety. If the provided plug
does not fit into your outlet, consult an electrician for
replacement of the obsolete outlet.
10) Protect the power cord from being walked on or pinched
particularly at plugs, convenience receptacles, and the point
where they exit from the apparatus.
11) Only use attachments/accessories specified by the
manufacturer.
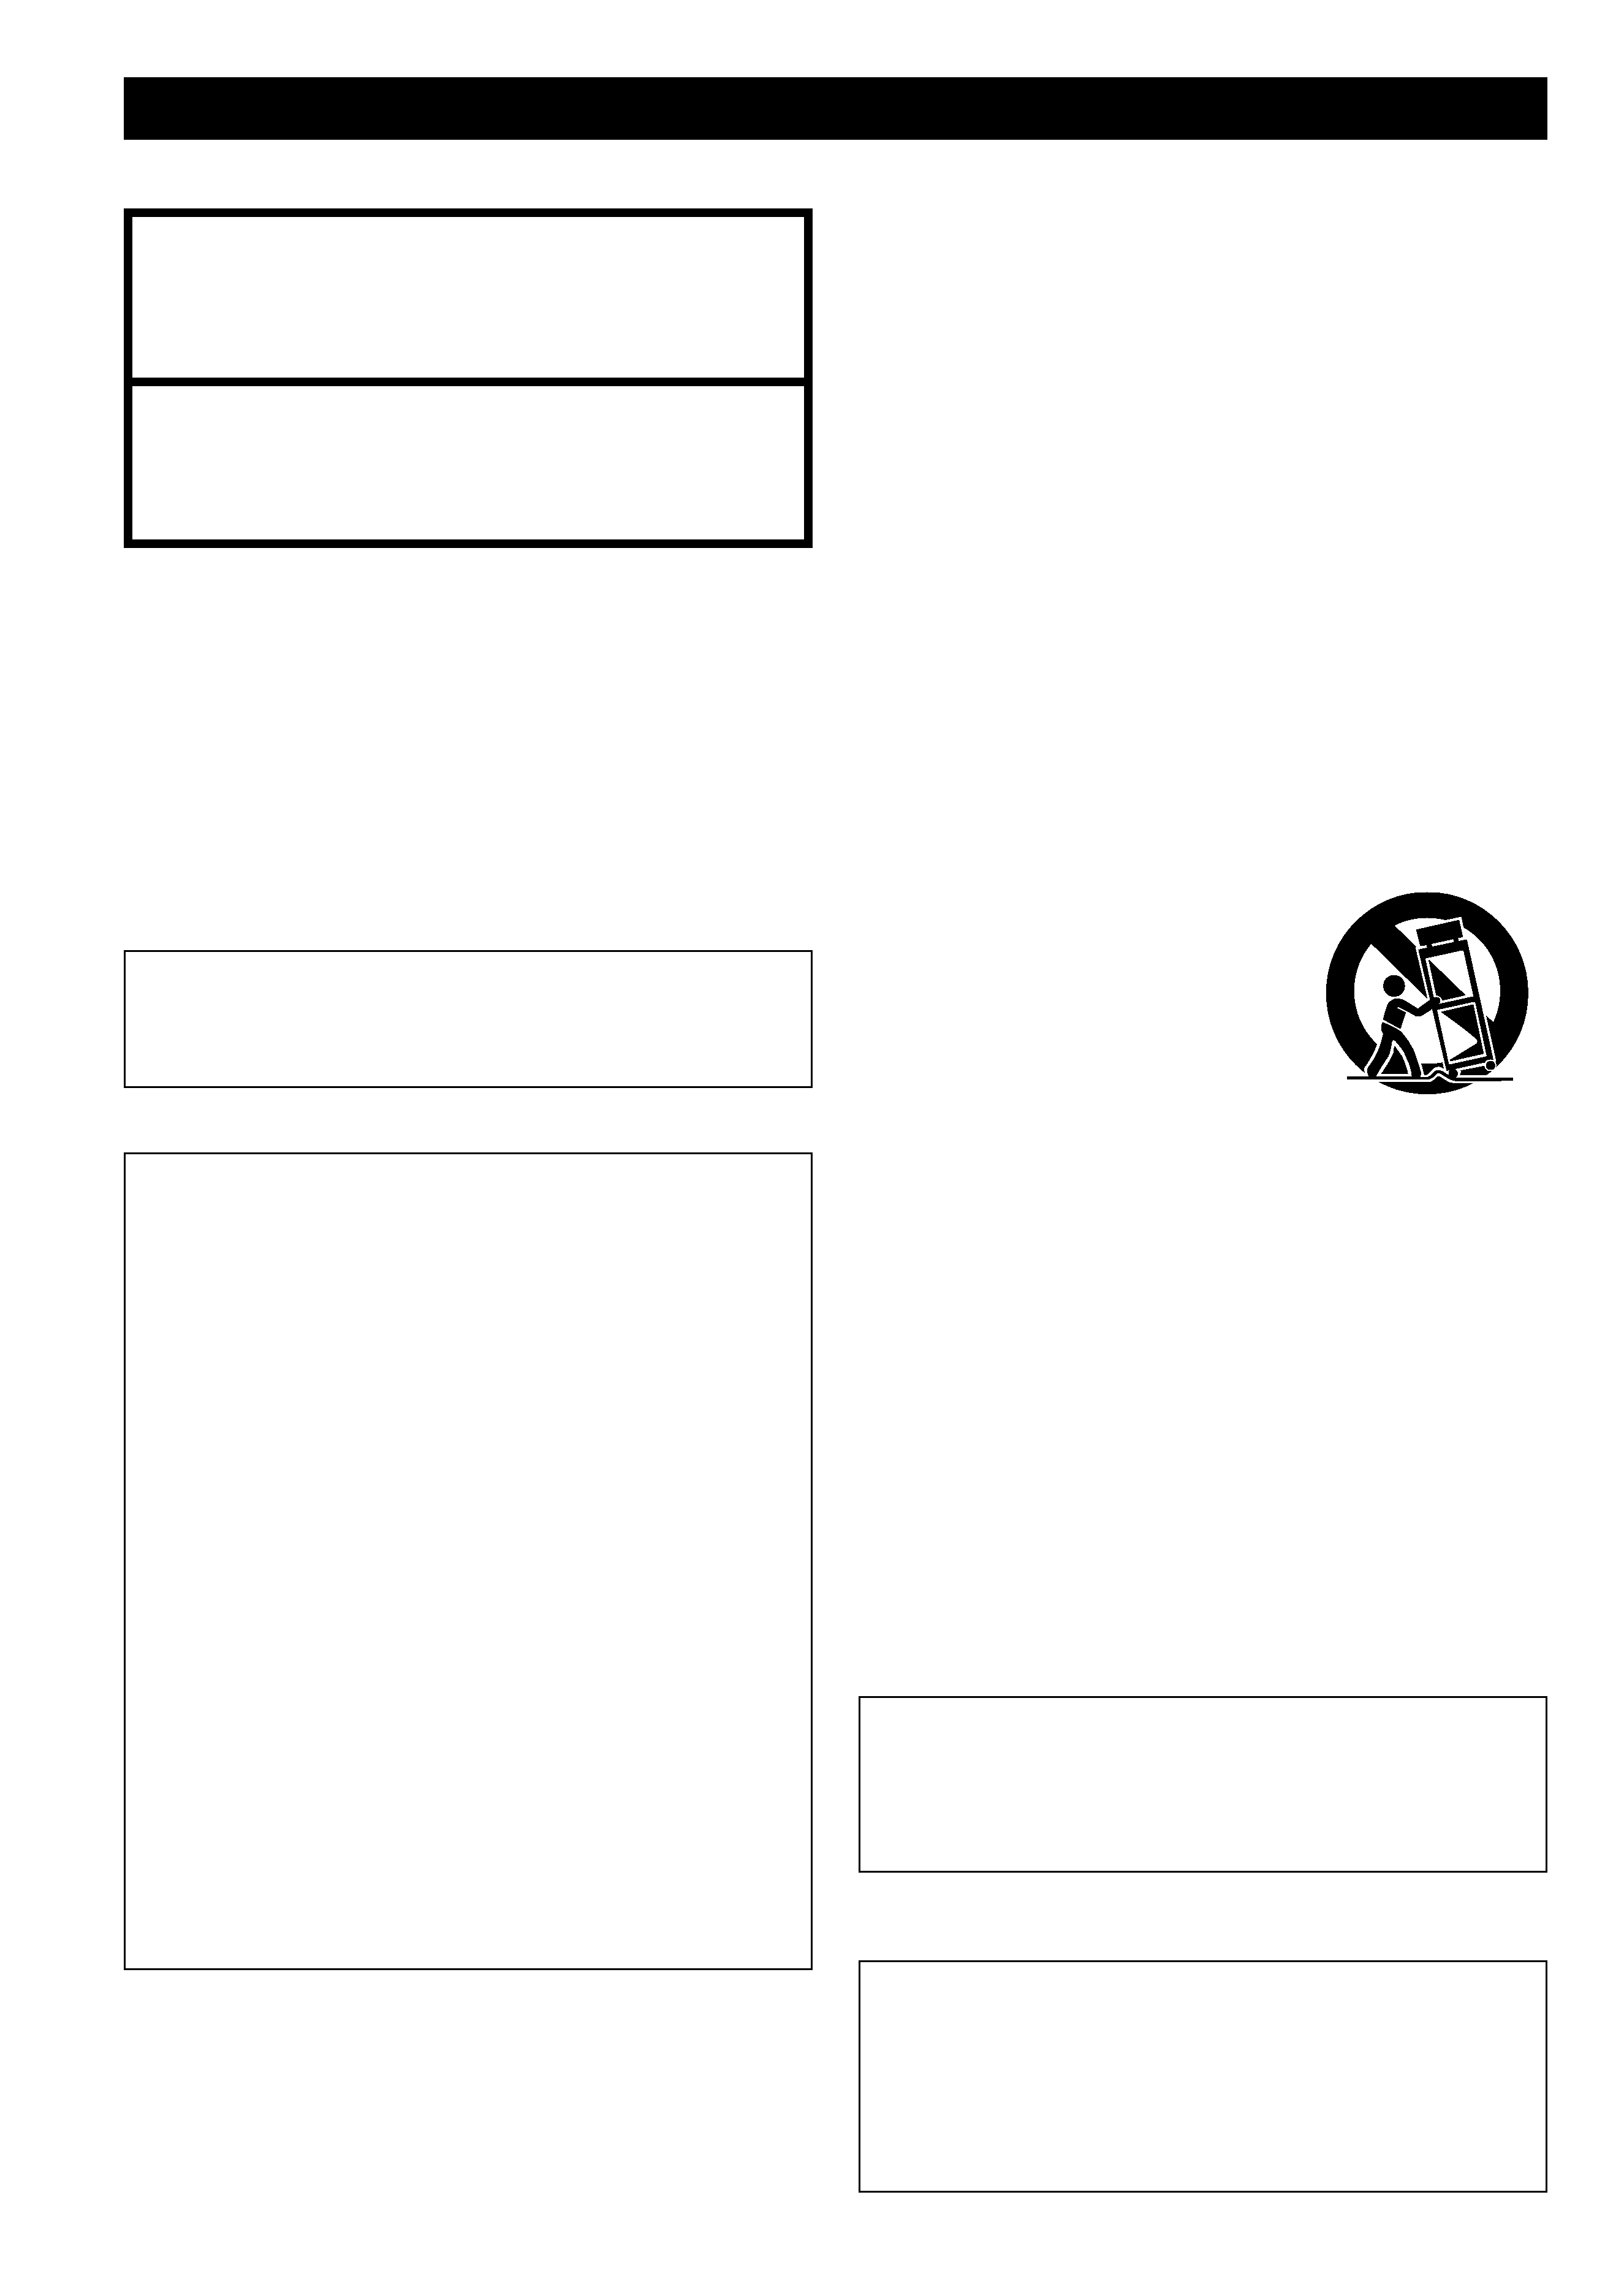
12) Use only with the cart, stand, tripod,
bracket, or table specified by the
manufacturer, or sold with the
apparatus. When a cart is used, use
caution
when
moving
the
cart/apparatus combination to avoid
injury from tip-over.
13) Unplug this apparatus during
lightning storms or when unused for long periods of time.
14) Refer all servicing to qualified service personnel. Servicing
is required when the apparatus has been damaged in any
way, such as power-supply cord or plug is damaged, liquid
has been spilled or objects have fallen into the apparatus,
the apparatus has been exposed to rain or moisture, does
not operate normally, or has been dropped.
< Do not expose this apparatus to dripps or splashes.
< Do not place any objects filled with liquids, such as vases,
on the apparatus.
< Do not install this apparatus in a confined space such as a
book case or similar unit.
< The apparatus draws nominal non-operating power from the
AC outlet with its POWER switch in the off position.
CAUTION: TO REDUCE THE RISK OF ELECTRIC SHOCK, DO NOT
REMOVE COVER (OR BACK). NO USER-SERVICEABLE PARTS
INSIDE. REFER SERVICING TO QUALIFIED SERVICE PERSONNEL.
E
R
The lightning flash with arrowhead symbol, within an
equilateral triangle, is intended to alert the user to the
presence of uninsulated "dangerous voltage" within
the product's enclosure that may be of sufficient
magnitude to constitute a risk of electric shock to
persons.
The exclamation point within an equilateral triangle is
intended to alert the user to the presence of
important operating and maintenance (servicing)
instructions in the literature accompanying the
appliance.
WARNING : TO PREVENT FIRE OR SHOCK
HAZARD, DO NOT EXPOSE THIS APPLIANCE TO
RAIN OR MOISTURE.

3
Contents
Sommaire
Thank you for choosing TEAC. Read this manual carefully to get
the best performance from this unit.
Nous vous remercions pour l'achat d'un appareil TEAC. Lire ce
manuel avec attention pour obtenir les meilleures performances
possibles de cet appareil.
Indice
Indice
Gracias por comprar un TEAC. Lea este manual con cuidado para
obtener el mejor rendimiento de esta unidad.
Obrigado por ter comprado un produto TEAC. Leia este manual
atentamente para obter o máximo desempenho de seu produto.
Before Use. . . . . . . . . . . . . . . . . . . . . . . . . . . . . . . . . . . . . . . . . . . . . 4
Handling Records . . . . . . . . . . . . . . . . . . . . . . . . . . . . . . . . . . . . . . 4
Connection . . . . . . . . . . . . . . . . . . . . . . . . . . . . . . . . . . . . . . . . . . . . 5
Names of Each Control . . . . . . . . . . . . . . . . . . . . . . . . . . . . . . . . . . 6
Listening to a Record . . . . . . . . . . . . . . . . . . . . . . . . . . . . . . . . . . . 8
Listening to the Radio . . . . . . . . . . . . . . . . . . . . . . . . . . . . . . . . . . 10
How to Replace the Stylus . . . . . . . . . . . . . . . . . . . . . . . . . . . . . . 10
Troubleshooting . . . . . . . . . . . . . . . . . . . . . . . . . . . . . . . . . . . . . . . 11
Specifications . . . . . . . . . . . . . . . . . . . . . . . . . . . . . . . . . . . . . . . . 11
Antes de usarse . . . . . . . . . . . . . . . . . . . . . . . . . . . . . . . . . . . . . . . 20
Manejo de discos. . . . . . . . . . . . . . . . . . . . . . . . . . . . . . . . . . . . . . 20
Conexión . . . . . . . . . . . . . . . . . . . . . . . . . . . . . . . . . . . . . . . . . . . . . 21
Nombres de cada control . . . . . . . . . . . . . . . . . . . . . . . . . . . . . . . 22
Cómo escuchar un disco . . . . . . . . . . . . . . . . . . . . . . . . . . . . . . . 24
Cómo escuchar el radio . . . . . . . . . . . . . . . . . . . . . . . . . . . . . . . . 26
Cómo reemplazar la aguja . . . . . . . . . . . . . . . . . . . . . . . . . . . . . . 26
Solución de fallas. . . . . . . . . . . . . . . . . . . . . . . . . . . . . . . . . . . . . . 27
Especificaciones . . . . . . . . . . . . . . . . . . . . . . . . . . . . . . . . . . . . . . 27
Antes de Usar . . . . . . . . . . . . . . . . . . . . . . . . . . . . . . . . . . . . . . . . . 28
Manuseio dos discos. . . . . . . . . . . . . . . . . . . . . . . . . . . . . . . . . . . 28
Conexões . . . . . . . . . . . . . . . . . . . . . . . . . . . . . . . . . . . . . . . . . . . . 29
Nomes de Cada Controle . . . . . . . . . . . . . . . . . . . . . . . . . . . . . . . 30
Escutando um Disco . . . . . . . . . . . . . . . . . . . . . . . . . . . . . . . . . . . 32
Escutando ao Rádio . . . . . . . . . . . . . . . . . . . . . . . . . . . . . . . . . . . . 34
Como substituir a agulha . . . . . . . . . . . . . . . . . . . . . . . . . . . . . . . 34
Dicas e Duvidas . . . . . . . . . . . . . . . . . . . . . . . . . . . . . . . . . . . . . . . 35
Especificações . . . . . . . . . . . . . . . . . . . . . . . . . . . . . . . . . . . . . . . . 35
Avant l'utilisation . . . . . . . . . . . . . . . . . . . . . . . . . . . . . . . . . . . . . . 12
Manutention des disques . . . . . . . . . . . . . . . . . . . . . . . . . . . . . . . 12
Branchement . . . . . . . . . . . . . . . . . . . . . . . . . . . . . . . . . . . . . . . . . 13
Nomenclatures des controles . . . . . . . . . . . . . . . . . . . . . . . . . . . 14
Écoute de disque . . . . . . . . . . . . . . . . . . . . . . . . . . . . . . . . . . . . . . 16
Écoute de la radio . . . . . . . . . . . . . . . . . . . . . . . . . . . . . . . . . . . . . 18
Comment remlacer l'aiguille . . . . . . . . . . . . . . . . . . . . . . . . . . . . 18
Dépanage . . . . . . . . . . . . . . . . . . . . . . . . . . . . . . . . . . . . . . . . . . . . 19
Spécifications . . . . . . . . . . . . . . . . . . . . . . . . . . . . . . . . . . . . . . . . . 19

4
Handling Records
Before Use
Read this before operation
< As the unit may become warm during operation, always leave
sufficient space around the unit for ventilation.
< The voltage supplied to the unit should match the voltage as
printed on the rear panel. If you are in any doubt regarding this
matter, consult an electrician.
< Choose the installation location of your unit carefully. Avoid
placing it in direct sunlight or close to a source of heat. Also
avoid locations subject to vibrations and excessive dust, heat,
cold or moisture.
< Do not place the unit on an amplifier/receiver or any other
electronic device that generates heat.
< Do not open the sealed cabinet as this might result in damage
to the circuitry or electrical shock. If a foreign object should
get into the set, contact your dealer or service agency.
< When removing the power plug from the wall outlet, always
pull directly on the plug, never yank the cord.
< Do not attempt to clean the unit with chemical solvents as this
might damage the finish. Use a clean, dry cloth or a cleaner
specifically formulated for plastics.
< Keep this manual in a safe place for future reference.
DO NOT MOVE THE UNIT DURING PLAYBACK
Do NOT lift or move the unit during playback. Doing so may
damage the record.
WHEN MOVING THIS UNIT
When changing places of installation or packing the unit for
moving, be sure to remove the record. Moving this unit with
the record loaded may result in damage to this unit. If the unit
is to be packed and moved a large distance, it is also advisable
to tighten the turntable transport locking screw. See Page ??
for instructions.
Beware of condensation
When the unit (or a record) is moved from a cold to a warm
place, or used after a sudden temperature change, there is a
danger of condensation; vapor in the air could condense on
the internal mechanism, making correct operation erratic or
impossible. To prevent this, or if this occurs, leave the unit for
one or two hours with the power turned on. The unit will
stabilize at the temperature of its surroundings.
Maintenance
Always keep the turntable clean.
If the surface of the unit gets dirty, wipe with a soft cloth or
use diluted mild liquid soap. Be sure to remove any excess
completely. Do not use thinner, benzine or alcohol as they may
damage the surface of the unit. Allow the surface of the unit to
dry completely before using
< Keep your records away from dust. Keep them in a cool, dry
place.
< To avoid dust and scratches, keep records in their sleeves and
jackets when not in use.
< Store records upright on their edges. Records stored
horizontally will eventually bend and warp.
< Do not expose records to direct sunlight or high humidity and
temperature. Long exposure to high temperatures will warp
the record.
< Do not store your records in the trunk of your car. The
temperatures in a closed trunk can ruin your collection.
< Store records in an area with stable temperature and humidity.
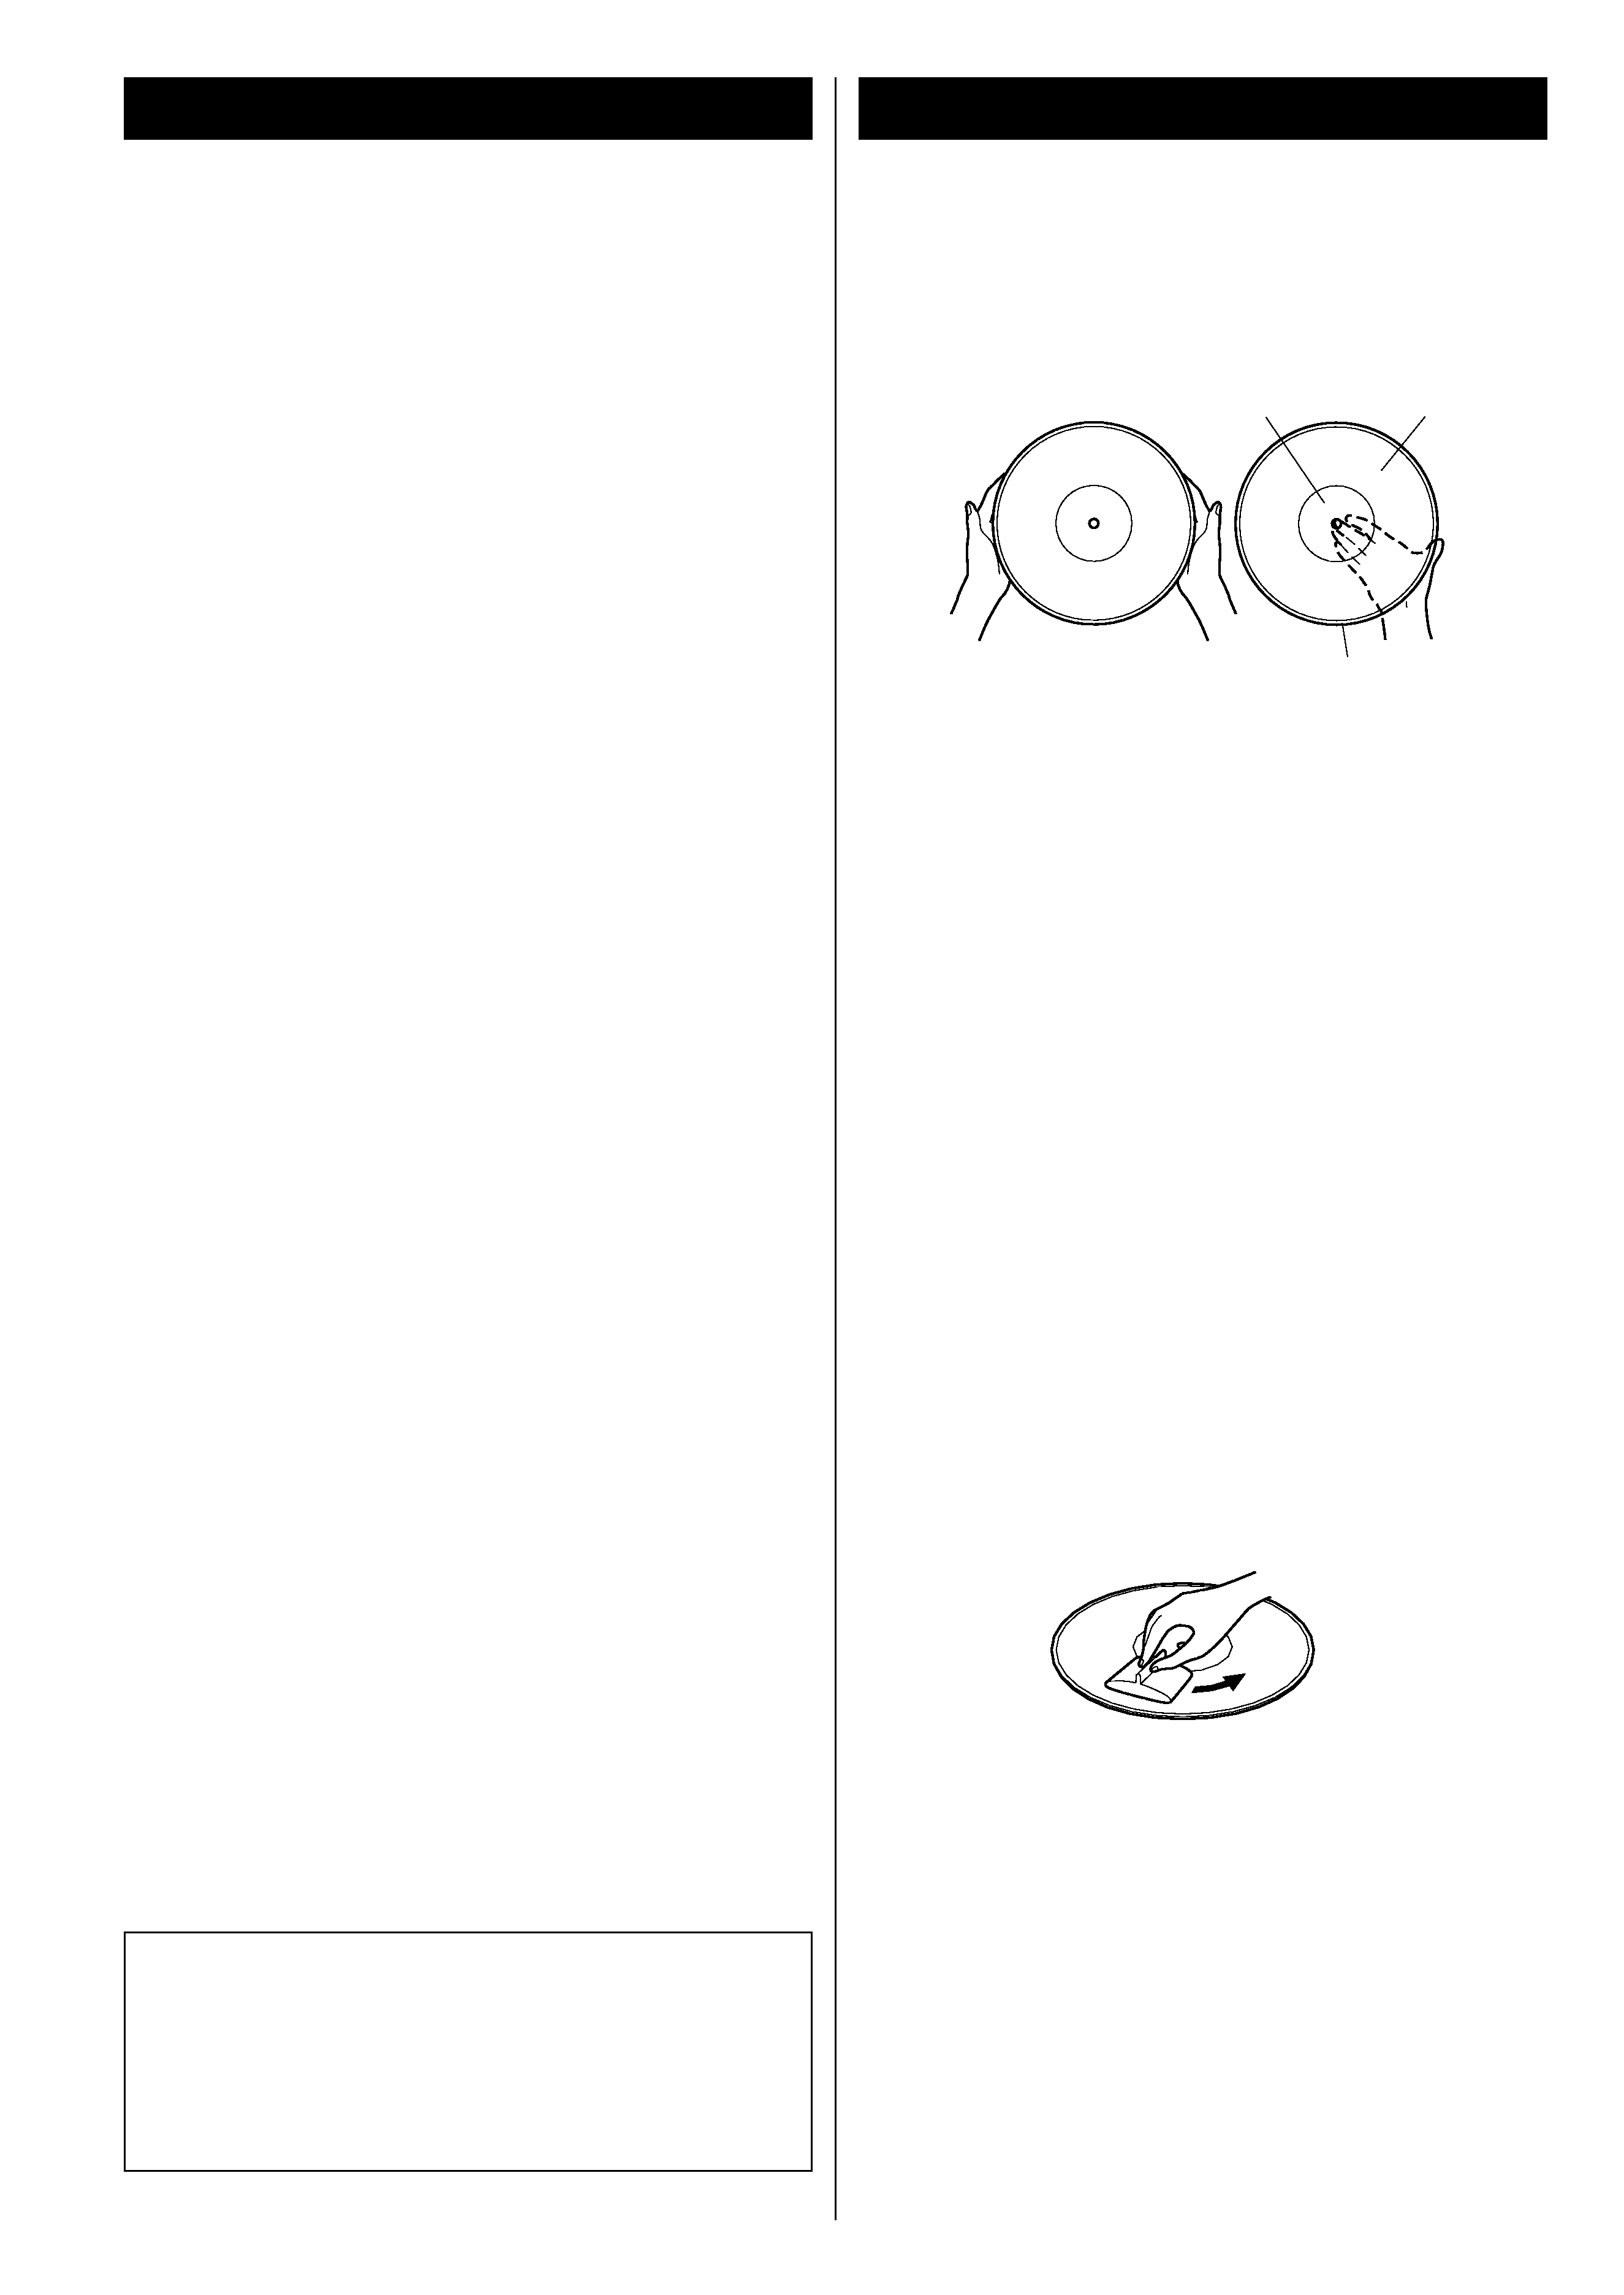
< Should the record become dirty, gently wipe the surface in a
circular motion, using a soft anti-static cloth.
Many commercial record cleaning systems are available from
many retailers or on-line. TEAC does not endorse any specific
product but, depending on the condition of your record
collection, it may be advisable to look into one of these
systems. Clean records protect your stylus from undue wear.
< Do not touch grooves. Handle records by the edges or the
label only, with clean hands. Skin oils from even clean hands
can leave a residue on the record surface that will gradually
deteriorate the quality of your record.
label
grooves
edge
CAUTION
Do not expose this unit to liquids of any kind. Keep any objects
containing liquids such as vases, water glasses, potted plants,
et cetera off the top of this unit.
Do not install this equipment in a confined space such as a
book-case or similar unit.

ENGLISH
5
Connection
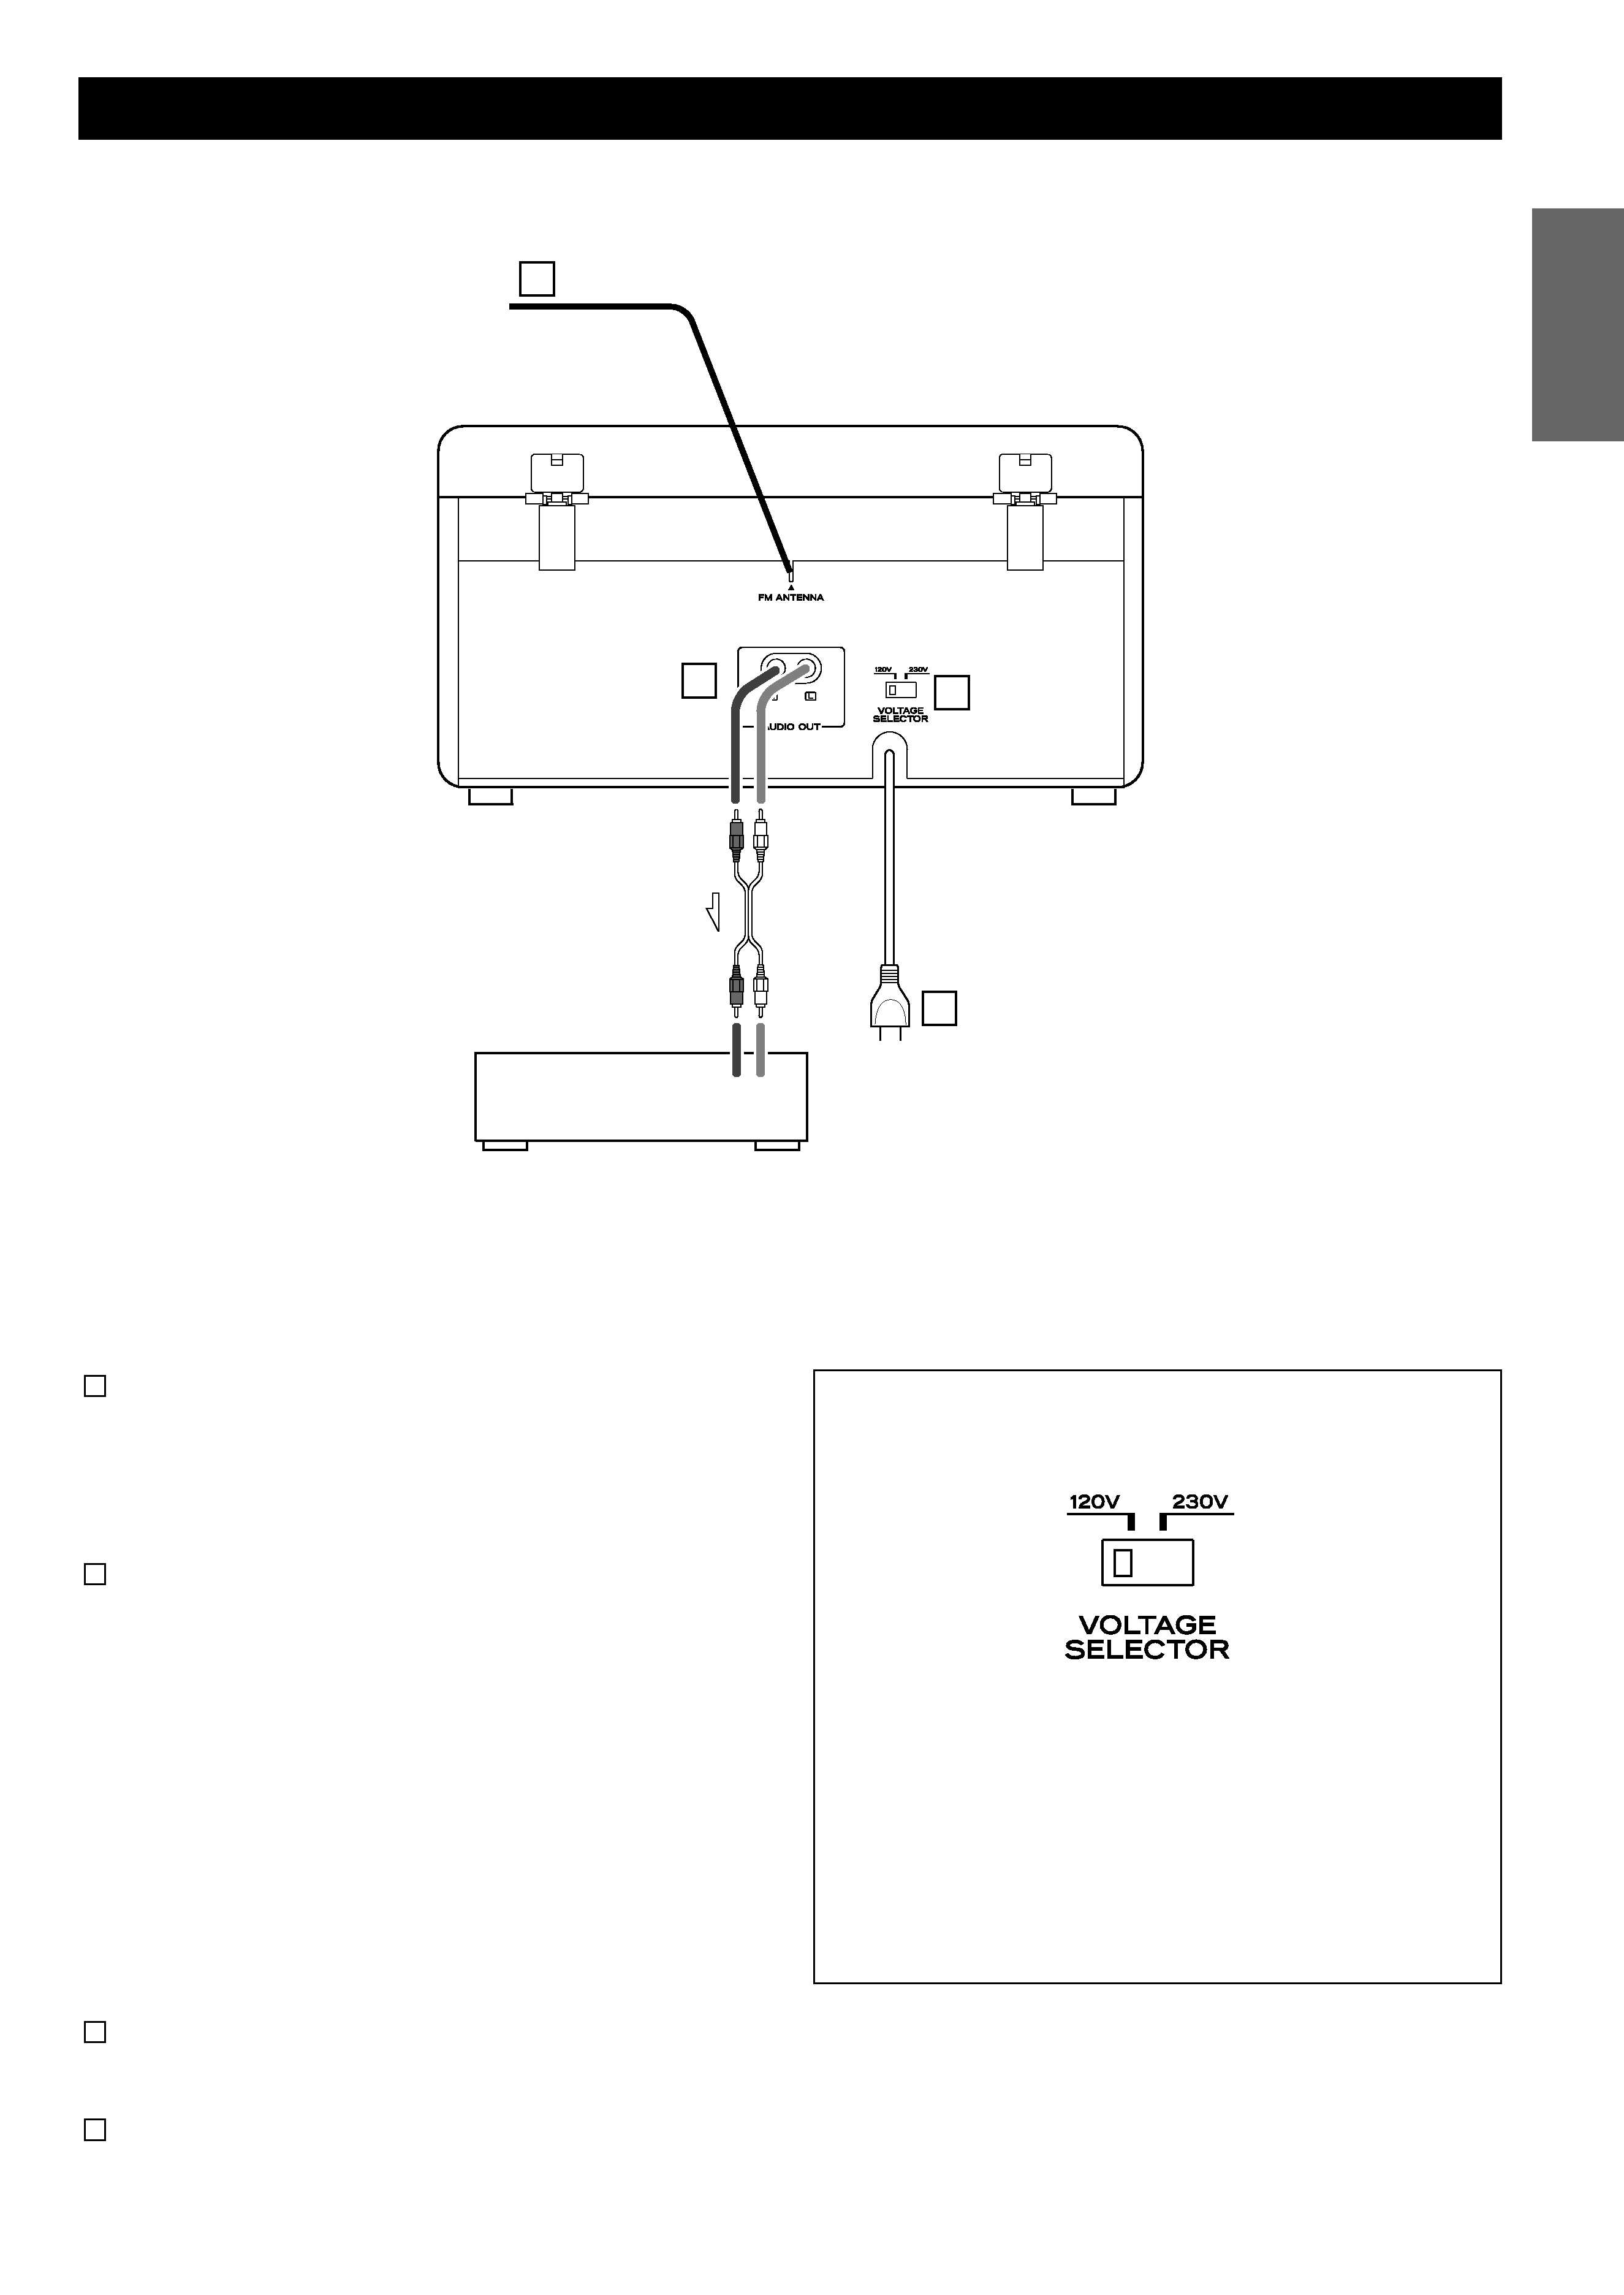
FM antenna
While in FM mode, tune in an FM station and extend the lead
to find the best position for the reception. This antenna may
need to be repositioned if you move your unit to a new
location.
LINE OUT jacks
You can connect this unit to an external amplifier, cassette
tape deck, etc.
Connect the component with RCA pin cords. Make sure to
connect the white plug to the white jacks (Left) and the red
plug to the red jacks (Right).
Note:
< This output jack is a "line level" output. Do NOT connect to
the "PHONO" jack on your amplifier or distortion may occur.
< The volume level of line output cannot be adjusted by the
VOLUME control knob of this unit. Use the volume control of
your amplifier to adjust the volume.
AC Power Cord
Plug this AC power cord into an AC wall socket.
VOLTAGE SELECTOR (General Export Models only)
d
c
b
a
Amplifier, Cassette Tape Deck,
CD-R, MD, etc.
LINE IN
RL
a
b
d
c
Voltage Conversion
(General export models only)
Be sure to remove the power cord from the AC outlet before
repositioning the voltage converter switch.
1. Locate the voltage selector on the rear panel.
2. Using a flat-bladed screwdriver, set to the appropriate 230V
or 120V position according to your area.
IN NORTH AMERICA USE ONLY ON 120 V SUPPLY.
