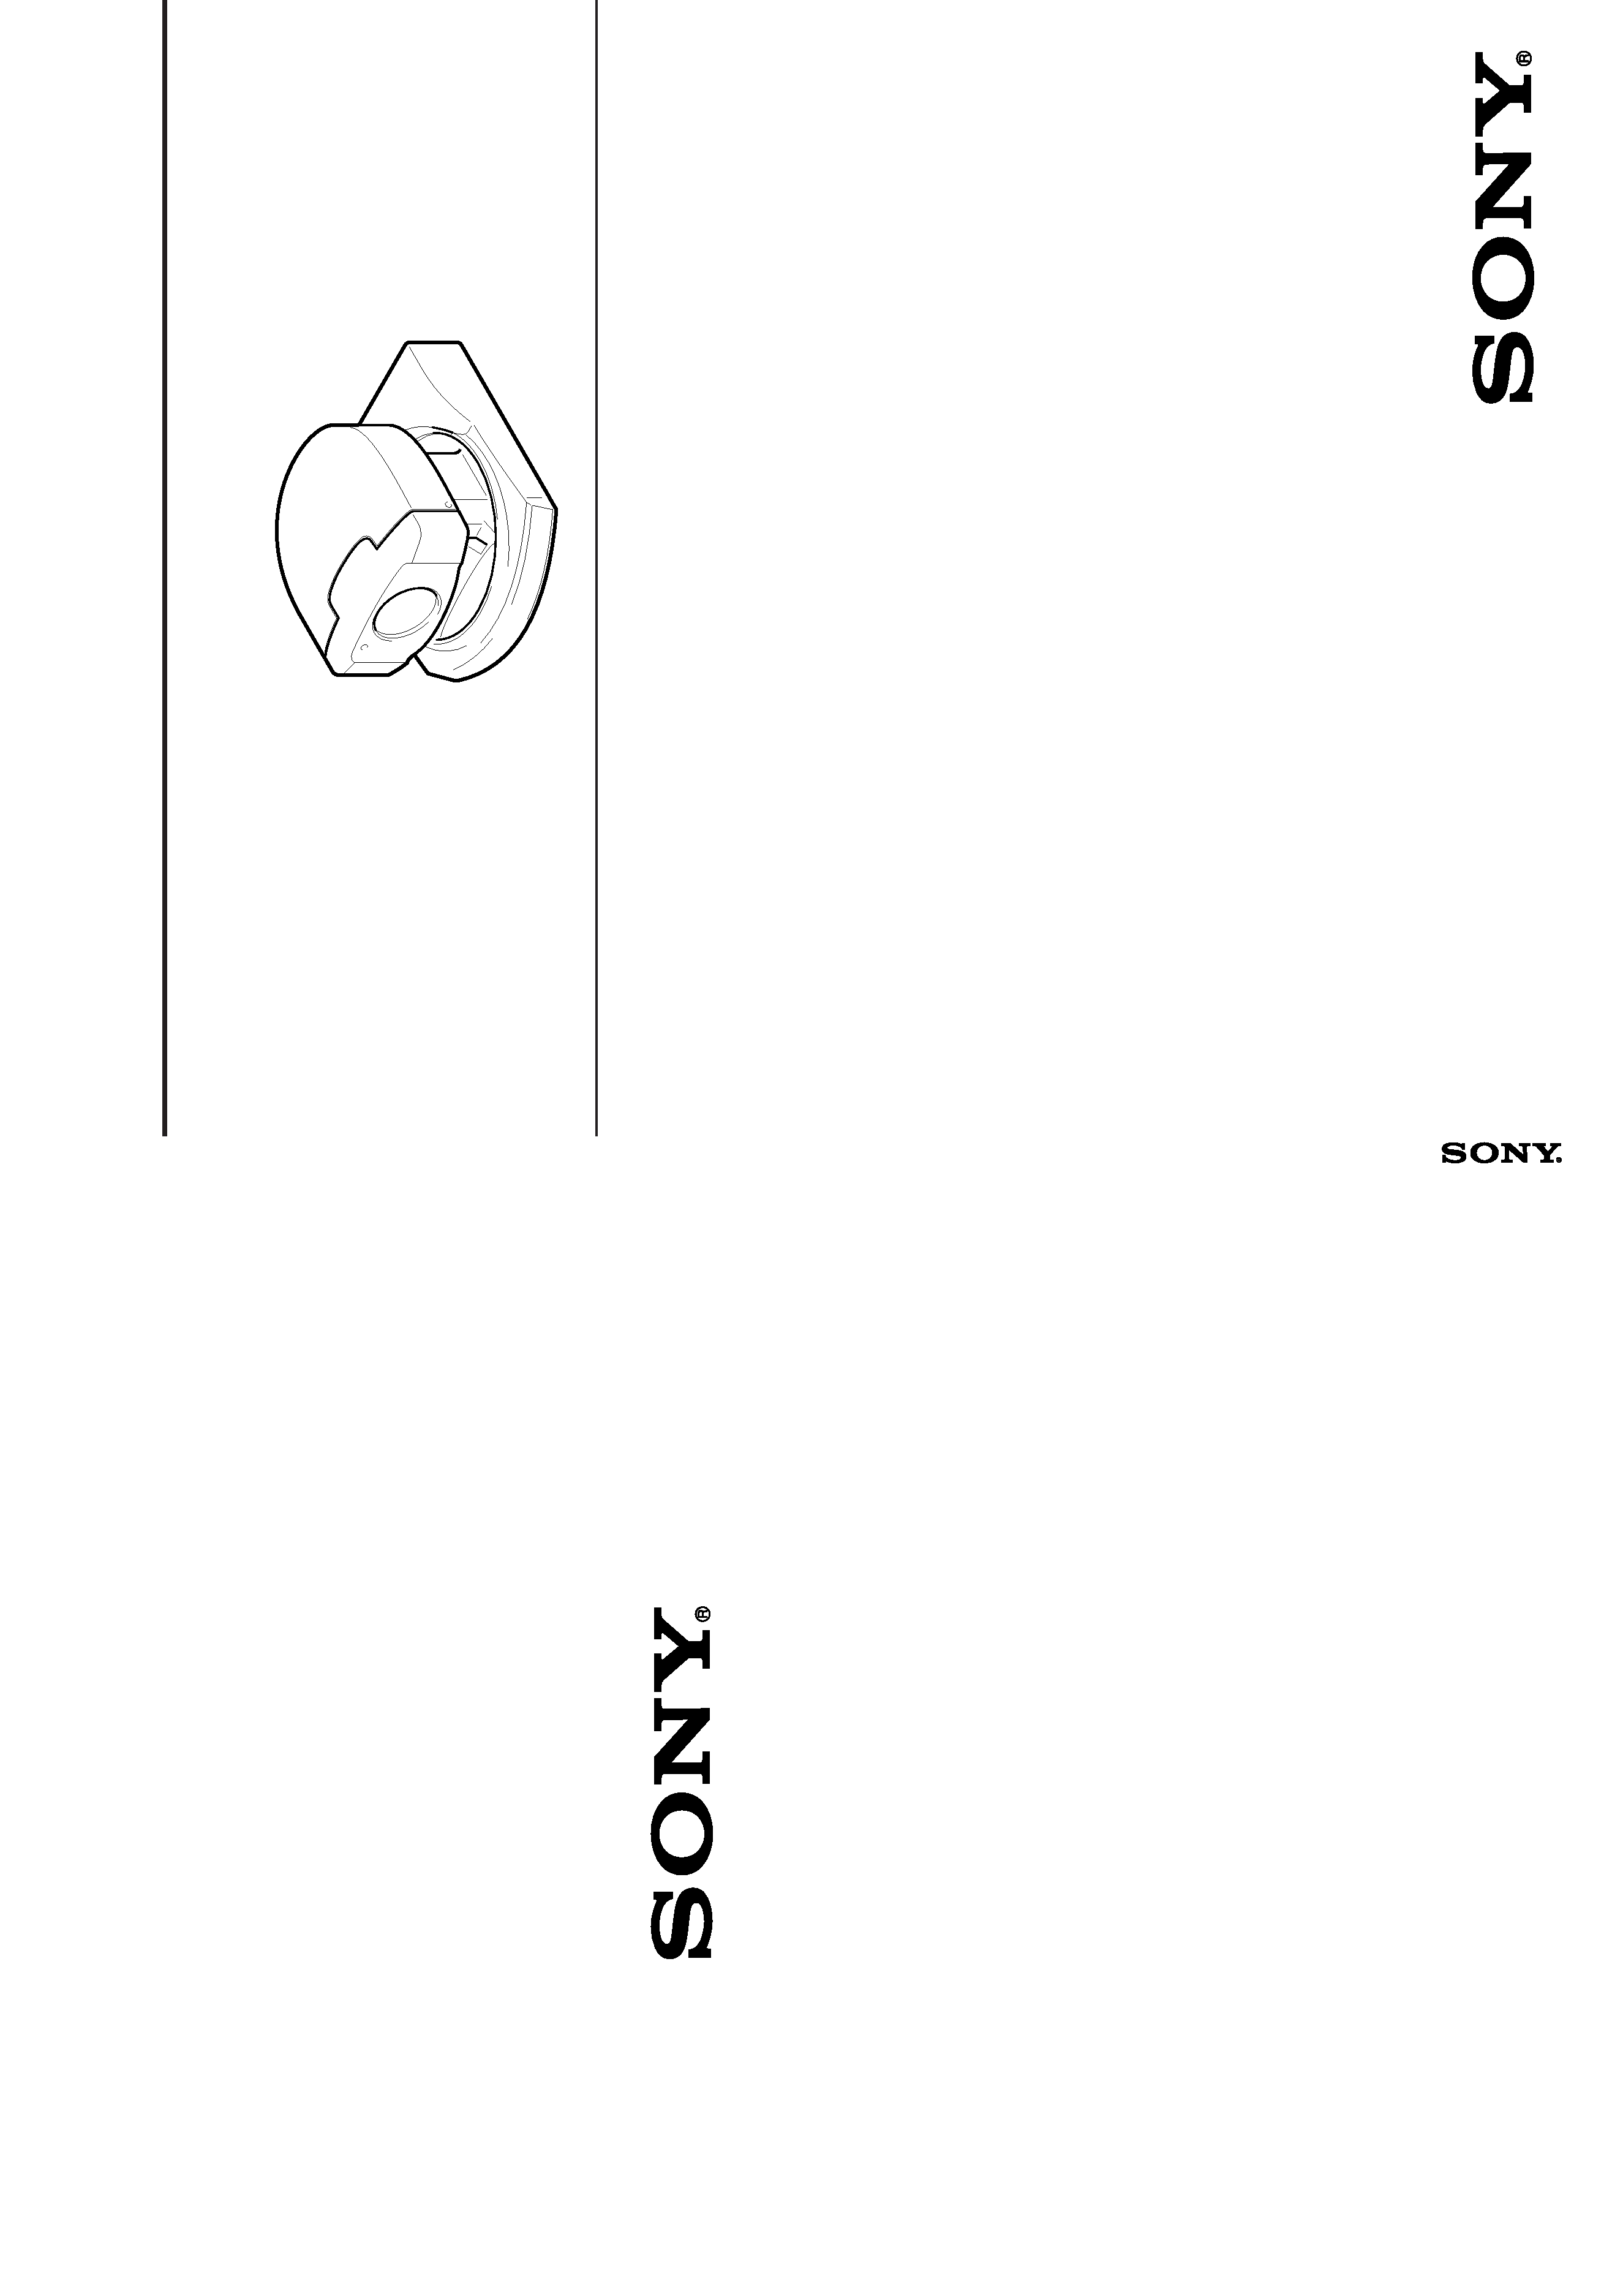
SERVICE MANUAL
PCS-C150 (NTSC)
PCS-C150P (PAL)
SPECIFICATIONS
COLOR VIDEO CAMERA
PCS-C150/C150P
System
Video signal
PCS-C150 : NTSC standards
PCS-C150P : PAL Color, CCIR
standards
Picture element
1/3 inch color CCD
(Total picture element number :
PCS-C150 : Approx. 410,000
PCS-C150P : Approx. 470,000)
(Effective picture element
number :
PCS-C150 : Approx. 380,000
PCS-C150P : Approx. 440,000)
Lens
Electromotion twelve fold zoom
lens
f=5.4 to 64.8mm, F1.8 to F2.7
Horizontal angle : 4.4º to 48.8º
Point-blank range
WIDE end : 10mm
TELE end : 800mm
Minimum illumination 7 lux (F1.8)/with 50IRE
Illumination range
7 to 100,000 lux
Shutter speed
PCS-C150 : 1/60 to 1/10,000 (VISCA
control)
PCS-C150P : 1/50 to 1/10,000 (VISCA
control)
Gain selector
Automatic/manual
Horizontal resolution
NTSC : 460 TV
PAL : 450 TV
Video S/N
48 dB
Pan/tilt action
Horizontal : 100º, Vertical : 25º
Input/output terminals
Processor terminal
D-sub 15 pin
Output control terminal 8 pin mini DIN
General
Input voltage
DC 12 to 14 V
Power consumption
11 W (Refference value)
Operating temperature 0º to 40º (32º to 104ºF)
Storage temperature
20º to 60º ( 4º to 140ºF)
Dimensions
Approx 142
× 109 × 162 mm
(w/h/d)
Mass
Approx. 1,200 g (42.3 oz.)
9-928-130-11
PCS-C150/C150P
Sony Corporation
Information Technology Company
99E09008-1
Printed in Japan C1999. 5
Published by VAIO Custormer Link
9-928-130-11
9-928-130-11
99E09008-1
PCS-C150/PCS-C150P
80

R-Y
B-Y
R
B
G
MG
YL
CY
R-Y
B-Y
R
B
G
MG
YL
CY
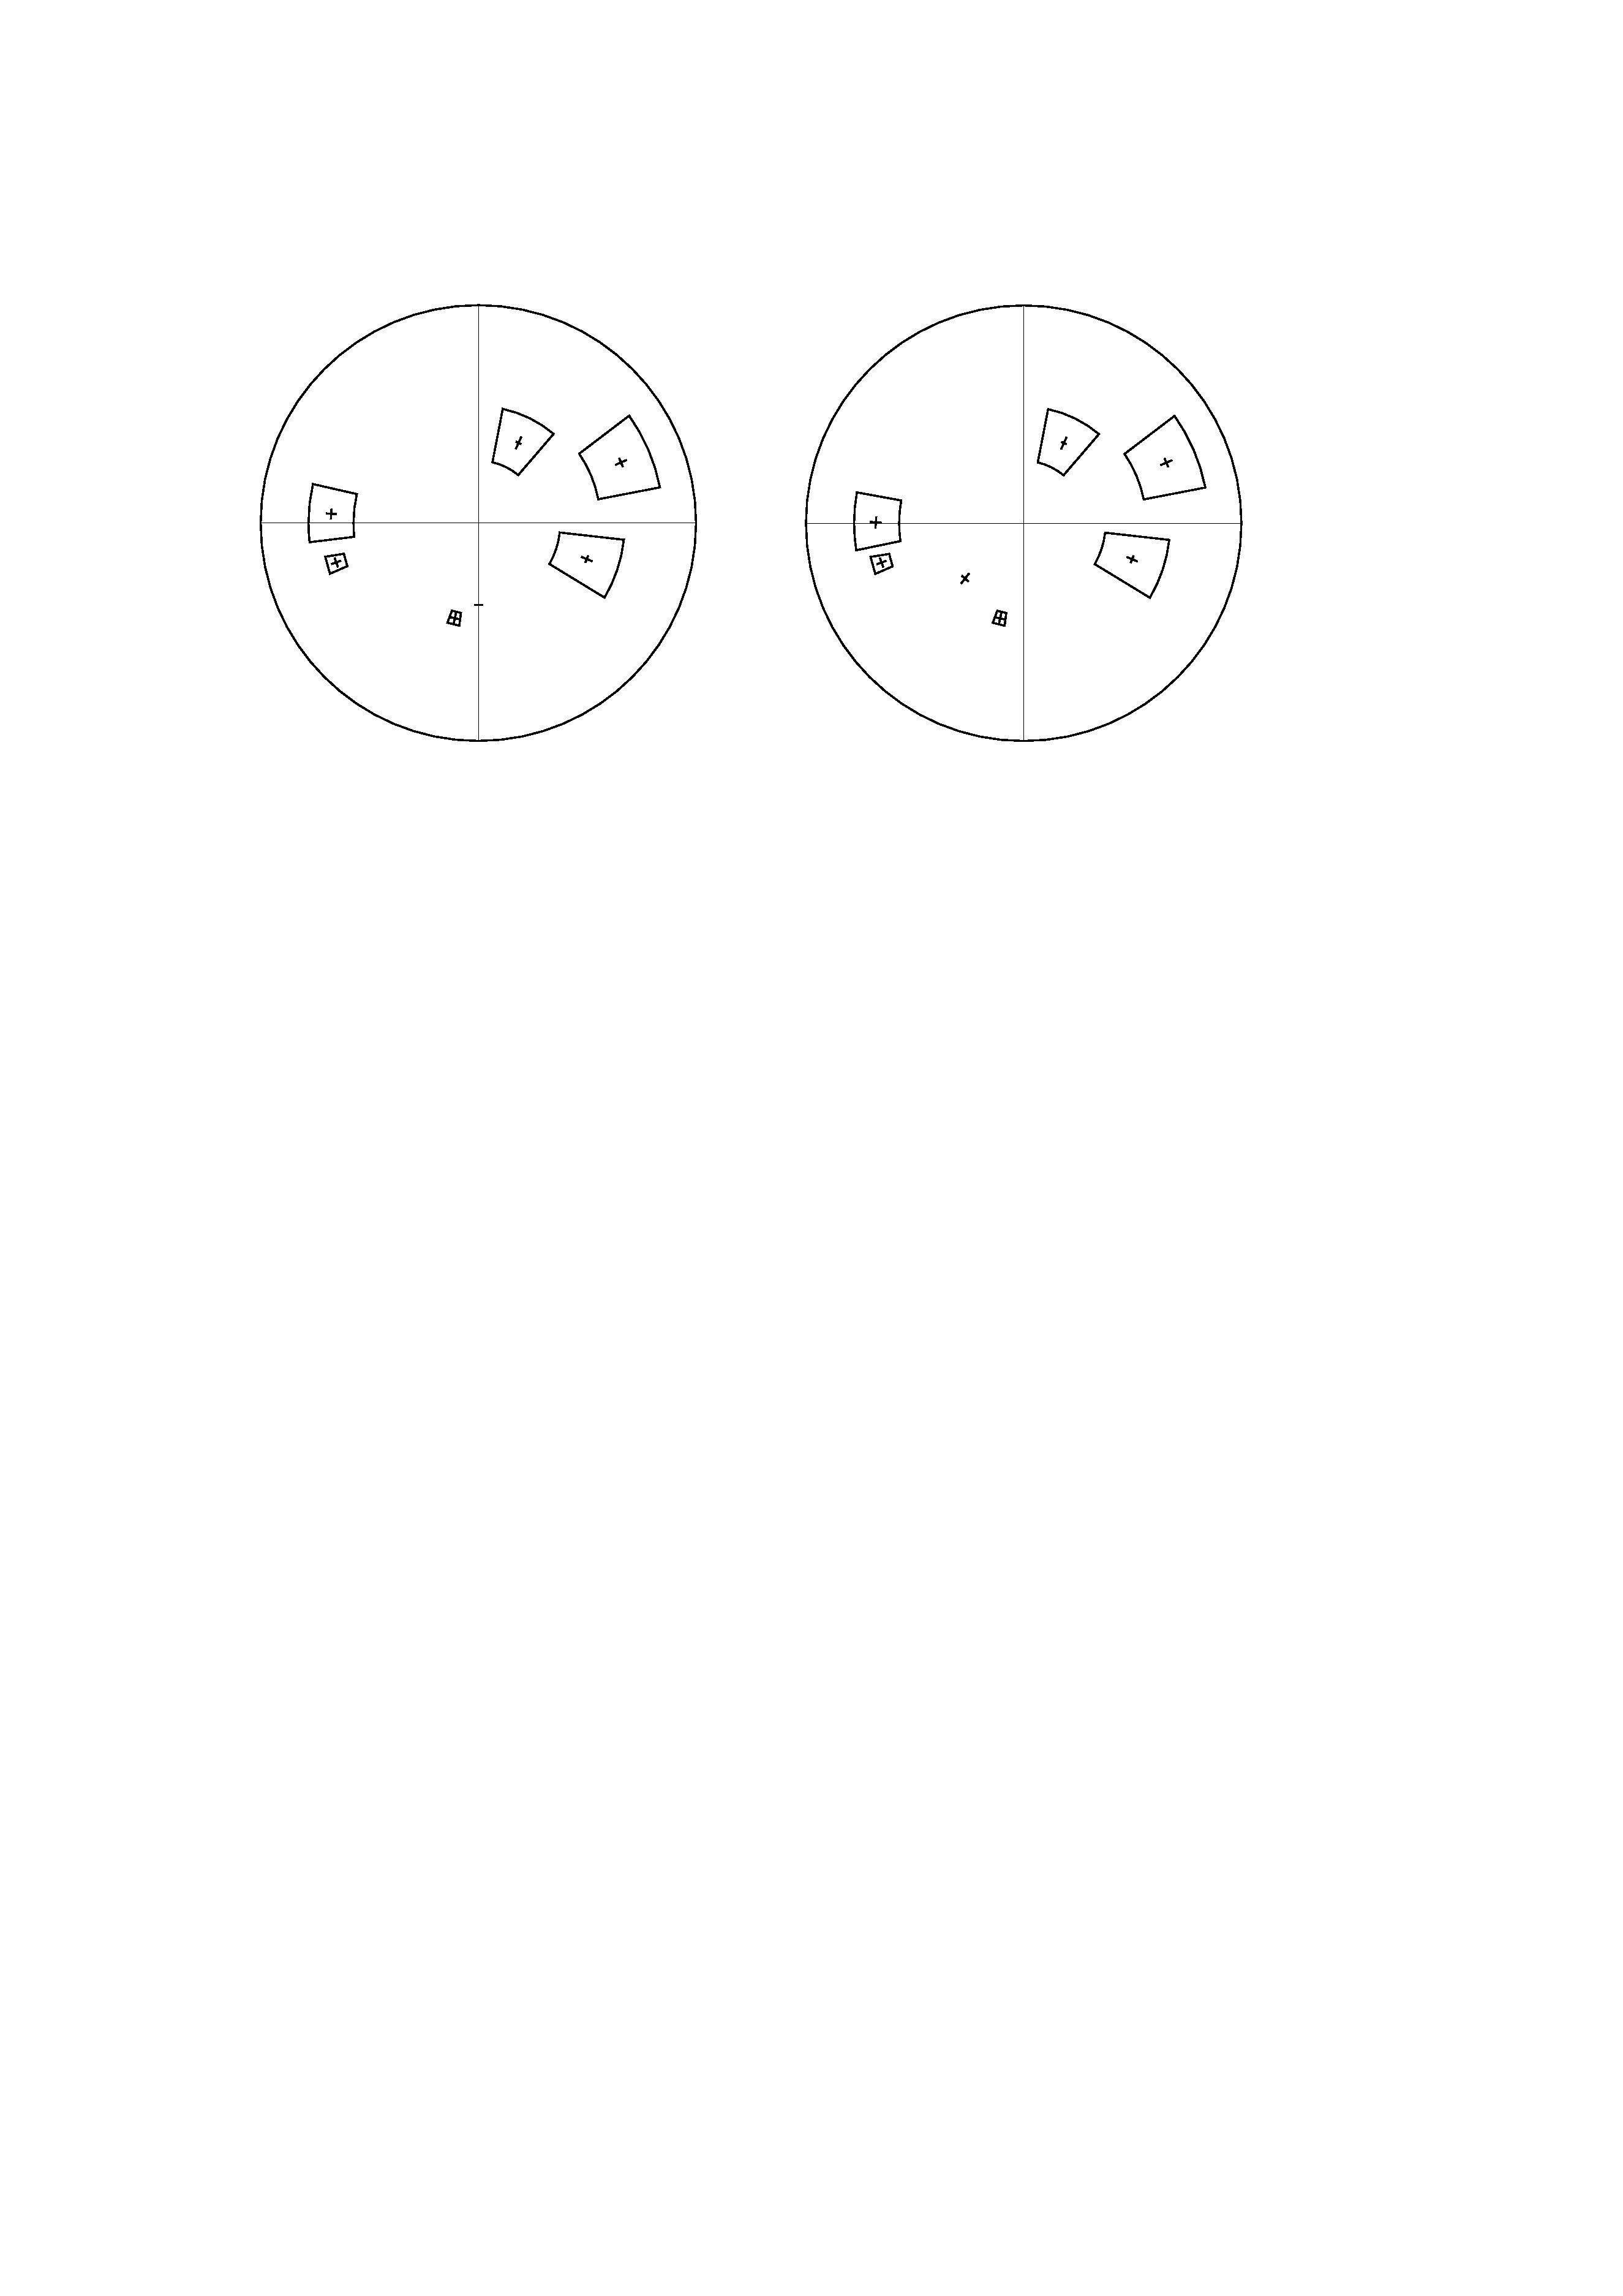
FOR CAMERA COLOR REPRODUCTION ADJUSTMENT
PCS-C150 (NTSC)
PCS-C150P (PAL)
SAFETY CHECK-OUT
After correcting the original service problem, perform the following
safety checks before releasing the set to the customer :
1. Check the area of your repair for unsoldered or poorly-soldered
connections. Check the entire board surface for solder splashes
and bridges.
2. Check the interboard wiring to ensure that no wires are "pinched"
or contact high-wattage resistors.
3. Look for unauthorized replacement parts, particularly transis-
tors, that were installed during a previous repair. Point them out to
the customer and recommend their replacement.
4. Look for parts which, though functioning, show obvious signs
of deterioration. Point them out to the customer and recommend
their replacement.
5. Check the line cord for cracks and abrasion. Recommend the
replacement of any such line cord to the customer.
6. Flexible Circuit Board Repairing
· Keep the temperature of the soldering iron around 270°C during
repairing.
· Do not touch the soldering iron on the same conductor of the cir
cuit board (within 3 times).
· Be careful not to apply force on the conductor when soldering or
unsoldering.
SAFETY-RELATED COMPONENT WARNING!!
COMPONENTS IDENTIFIED BY MARK
! OR DOTTED LINE
WITH MARK
! ON THE SCHEMATIC DIAGRAMS AND IN THE
PARTS LIST ARE CRITICAL TO SAFE OPERATION. RE-
PLACE THESE COMPONENTS WITH SONY PARTS WHOSE
PART NUMBERS APPEAR AS SHOWN IN THIS MANUAL OR
IN SUPPLEMENTS PUBLISHED BY SONY.
2
79

3
TABLE OF CONTENTS
1. GENERAL
· Locations of Controls ............................................................ 1-1
· Precautions ............................................................................ 1-1
· Connections ......................................................................... 1-2E
· Turning on the Power .......................................................... 1-2E
2. DISASSEMBLY
2-1.
Camera Cabinet (Upper) ............................................... 2-1
2-2.
Bottom Plate Assy ......................................................... 2-1
2-3.
Main Block .................................................................... 2-2
2-4.
ID-11A (A) Board ......................................................... 2-2
2-5.
Pan Base Assy ............................................................... 2-3
2-6.
LI-55A (A) Board ......................................................... 2-3
2-7.
Pan Cabinet ................................................................... 2-4
2-8.
CCD Lens Assy ............................................................. 2-4
2-9.
Camera Cabinet (Lower) ............................................... 2-5
2-10. Stepping Motor ............................................................. 2-5
2-11. LI-59A (A) Board ......................................................... 2-6
2-12. LD-84A (A)/84A (B) Board .......................................... 2-6
2-13. VC-179 (A)/179 (B) Board ........................................... 2-7
2-14. RS-67A (A)/LB-47A (A) Board ................................... 2-7
2-15. MD-68 (A) Board ........................................................ 2-8E
2-16. Lens Block .................................................................. 2-8E
2-17. CD-154A (A) Board .................................................... 2-8E
2-18. CCD Fitting Adaptor (H) ............................................ 2-8E
4. BLOCK DIAGRAM/SCHEMATIC DIAGRAM
(Extra number: 9-928-130-41)
4-1. Overall Block Diagram ................................................... 4-1
4-2. Schematic Diagram
· This Note is Common for Schematic Diagrams ............... 4-3
4-2-1. CD-154A (A) Board .............................................. 4-3
4-2-2. LI-52A (A), LI-55A (A) and LI-59A (A) Boards .. 4-5
4-2-3. LD-84A (A)/84A (B) Board .................................. 4-7
4-2-4. RS-67A (A) Board, LB-47A (A) Board,
RM-77A (A) Board ................................................ 4-9
4-2-5. VC-179 (A)/179 (B) Board (1/4) ......................... 4-11
4-2-6. VC-179 (A)/179 (B) Board (2/4) ......................... 4-13
4-2-7. VC-179 (A)/179 (B) Board (3/4) ......................... 4-15
4-2-8. VC-179 (A)/179 (B) Board (4/4) ......................... 4-17
4-2-9. MD-68 (A) Board ................................................ 4-20
4-2-10. ID-11A (A) Board ................................................ 4-23
4-2-11. AT-21A (A) Board ............................................... 4-26
5. PRINTED WIRING BOARDS
5-1. Circuit Boards Location .................................................. 5-1
5-2. Printed Wiring Boards
· This Note is Common for Printed Wiring Boards ............. 5-2
· CD-154A (A) Board .......................................................... 5-2
· VC-179 (A)/179 (B) Board ............................................... 5-3
· MD-68 (A) and RS-67A (A) Boards ................................. 5-5
· ID-11A (A) Boards ........................................................... 5-7
· AT-21A (A), LI-52A (A), LI-55A (A) and
LI-59A (A) Boards ............................................................ 5-9
· LD-84A (A)/84A (B) Board ............................................ 5-11
· LB-47A (A) and RM-77A (A) Board ........................... 5-12E
6. ADJUSTMENTS
6-1. Preparation for Adjustment
6-1-1.
List of Servicing Jigs ............................................ 6-1
6-1-2.
Preparations .......................................................... 6-2
6-1-3.
Precautions ........................................................... 6-5
6-1-4.
Adjusting Remote Commander ............................ 6-6
6-1-5.
Page D Address List ............................................. 6-7
6-1-6.
Page F Address List .............................................. 6-9
6-1-7.
Page 5 Address List ............................................ 6-12
6-1-8.
Data Processing .................................................. 6-14
6-2. Camera System Adjustment
6-2-1.
Power Supply Voltage Check .............................. 6-15
6-2-2.
Page D Data Initialization ................................... 6-15
6-2-3.
Page D Data Modification 1 ............................... 6-15
6-2-4.
Page F Data Initialization ................................... 6-15
6-2-5.
Page F Data Modification ................................... 6-15
6-2-6.
28 MHz Original Oscillation Adjustment ........... 6-16
6-2-7.
V SUB Adjustment ............................................. 6-16
6-2-8.
VRG Adjustment ................................................ 6-16
6-2-9.
Flange Back Adjustment ..................................... 6-17
6-2-10. Flange Back Check ............................................. 6-17
6-2-11. Hall Adjustment .................................................. 6-18
6-2-12. Picture Frame Setting ......................................... 6-19
6-2-13. Color Reproduction Adjustment ......................... 6-20
6-2-14. Iris IN/OUT Adjustment ..................................... 6-21
6-2-15. Max Gain Adjustment ......................................... 6-21
6-2-16. Auto White Balance Standard Data Input .......... 6-22
6-2-17. Auto White Balance Adjustment ........................ 6-22
6-2-18. White Balance Check ......................................... 6-23
6-2-19. VIDEO OUT Level Check ................................. 6-23
6-2-20. Page D Data Modification 2 ............................. 6-24E
6-2-21. Page 5 Data Initialization ................................. 6-24E
6-2-22. Home Position Adjustment ............................... 6-24E
6-3. Electrical Block Check
6-3-1.
Pan Tilter Operation Check .............................. 6-24E
7. VISCA COMMAND LIST
7-1. VISCA Summary ............................................................. 7-1
7-2. PCS-C150/C150P-VISCA Connection ............................ 7-2
7-3. VISCA Communication Formats
7-3-1. VISCA Packet Structure .......................................... 7-2
7-3-2.
Commands and Inquiries ...................................... 7-3
7-3-3.
Responses to Commands and Inquiries ................ 7-3
7-3-4.
Socket Number ..................................................... 7-3
7-3-5.
Command Execution Stop .................................... 7-3
7-4. PCS-C150/C150P Setting Commands (Network setting)
7-4-1.
VISCA Network Management Commands .......... 7-4
7-4-2.
VISCA Interface Commands ................................ 7-4
7-4-3.
PCS-C150/C150P Functions ................................ 7-5
7-5. PCS-C150/C150P Commands ......................................... 7-6
7-6. PCS-C150/C150P Inquiry Command ............................ 7-10
7-7. Code List
7-7-1.
Code list for Shutter, Iris, Gain and
Wide con lens ..................................................... 7-12
7-7-2.
Code list for Pan/Tilter status,
AT mode status and MD mode status ................. 7-13
7-8. VISCA Communications Examples ............................ 7-14E

4
8. REPAIR PARTS LIST
8-1. Exploded Views
8-1-1. Camera Cabinet Section ........................................... 8-1
8-1-2. Pan Base Section ...................................................... 8-2
8-1-3. Tilt Base Section ...................................................... 8-3
8-1-4. Lens Section ............................................................. 8-5
8-2. Electrical Parts List
· AT-21A (A) Board ............................................................ 8-6
· CD-154A (A) Board ......................................................... 8-6
· ID-11A (A) Board ............................................................ 8-7
· LB-47A (A) Board ........................................................... 8-8
· LD-84A (A)/84A (B) Board ............................................. 8-8
· LI-52A (A) Board ............................................................. 8-9
· LI-55A (A) Board ............................................................. 8-9
· LI-59A (A) Board ............................................................. 8-9
· MD-68 (A) Board ............................................................. 8-9
· RM-77A (A) Board ........................................................ 8-11
· RS-67A (A) Board .......................................................... 8-11
· VC-179 (A)/179 (B) Board ............................................ 8-12
· For Camera Color Reproduction Adjustment .................... 79

1-1
SECTION 1
GENERAL
PCS-C150/C150P
General
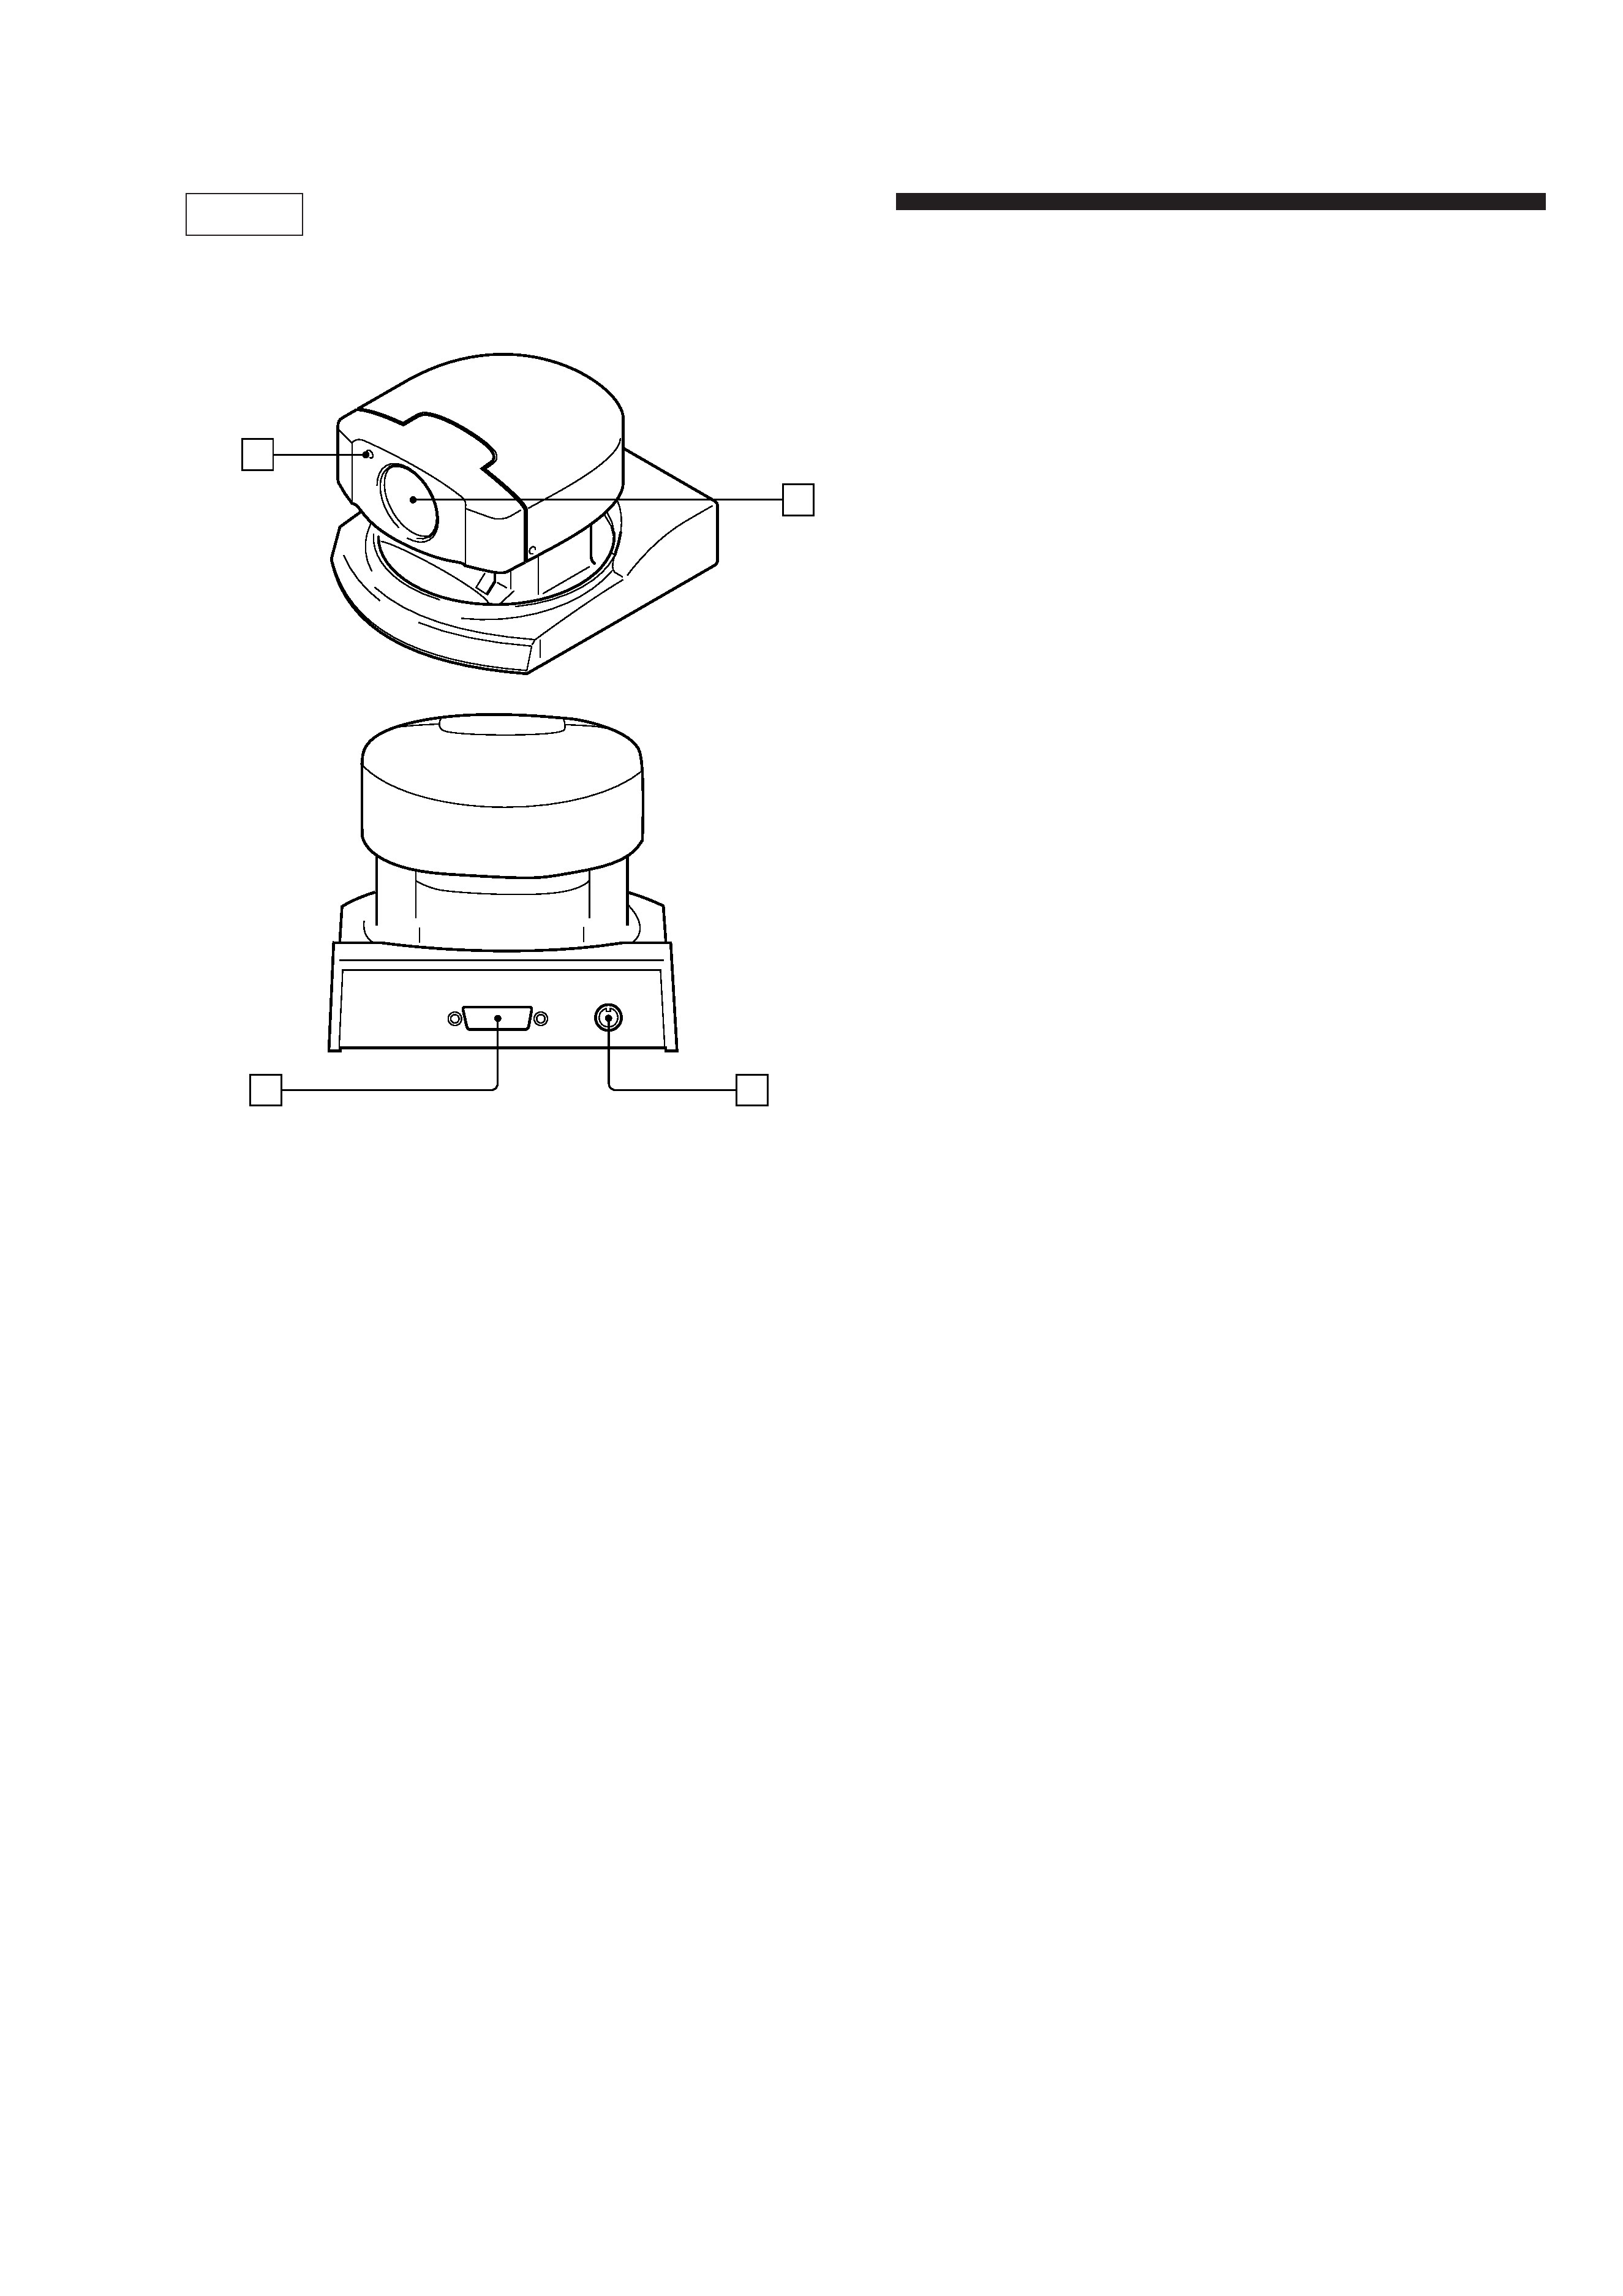
Locations of Controls
1 Caution lamp
2 Lens
3 VISCA OUT jack
4 PROCESSOR jack
Precautions
· After operating the unit with an AC power adaptor, disconnect the AC
power adaptor from the wall outlet if the set is not to be used for an ex-
tended period of time.
Brightness of a subject
Color Video Camera might not work with its best performance in a place
where brightness exceeds the illumination range (such as a place exposed to
direct sunlight).
Avoid specialized application
Avoid using Color Video Camera for monitoring application where it would
be forced to focus on a stationary object for a long period of time. Also
avoid focusing the camera on an extremely bright object such as sunlight or
a fluorescent lamp. Otherwise the color filter might be damaged.
Precaution on copyright
Television programs, pictures, magazines, and other materials may be copy-
righted. Unauthorized recording or storing of such materials violates the
provision of the copyright laws.
1
2
3
4
