1
Safety information
The headset is capable of
producing high sound pressure
levels that may cause permanent
hearing damage. Please avoid
listening at high volume levels.
Never disassemble or modify
components of the BW 900
system!
Use the BW 900 system in dry
rooms only and keep liquids and
small electrically conductive parts
away from it. Only to be used
with Sennheiser Communications
supplied approved and certified
power supply (EU 094707,
UK 092892, US 092893,
AUS 520334).
For cleaning the BW 900 system,
use a dry cloth only. Do not use
any solvents or cleansing agents.
Sennheiser Communications
does not accept any liability for
damage arising from the loss of
connection due to a flat battery or
the like or an exceeded transmit-
ting range.
If you combine the BW 900 sys-
tem with any accessories such as
a handset lifter, follow the instruc-
tions supplied with them.
Safety information on recharge-
able batteries:
Only charge at ambient tempera-
tures between 10 °C (50 °F) and
40 °C (104 °F).
Only charge in the BW 900 base
station! Never try to charge bat-
teries other than those supplied
with the BW 900 headset in the
base station!
Do not short-circuit or expose to
moisture.
Keep away from children.
When not using rechargeable
batteries for extended periods
of time, charge them regularly
(about every three months).
Do not continue to use defective
rechargeable batteries. Immedi-
ately remove rechargeable bat-
teries from obviously defective
devices.
Do not heat above 70 °C (158 °F)
or incinerate!
Dispose of according to the laws
and regulations of your country.
·
·
·
·
·
·
·
·
Intended use
The BW 900 system is an accessory
for fixed-line and mobile phones,
allowing for wireless communication
in office and home office
applications.
Improper use
"Improper use" means using the
BW 900 system other than as
described in these instructions, or
under operating conditions which
differ from those described herein.
1
ENGLISH

BW 900 base station
operating elements
³ Headset/handset switch
· Base station hook button
» Headset charging LED
¿ Spare battery charging LED
´ Hook LED
² Mute LED
¶ Spare battery charging slot
º Headset cradle
¾ Program button
µ Microphone volume knob
¸ Telephone adjustment switch
¹ HANDSET socket
PHONE socket
ACCESSORIES socket
DC IN socket
BW 900 headset operating
elements
Microphone boom
Hinged speaker
Multi switch
Headset hook button
Battery compartment
Headset LED
Speaker adapters
1
2
4
2
For more detailed information
on setting up and operating the
BW 900 system, please refer to
the manual provided as PDF on
CD.
Connecting the base
station to the telephone
Disconnect the office phone hand-
set A with its cable from the
office phone, but leave the hand-
set on the phone.
Plug the free handset cable con-
nector to the HANDSET socket
¹
of the base station.
The phone connecting cable is
already connected to the PHONE
socket
. Connect the other end
of this cable to the socket on
the office phone from where the
handset cable was removed.
Connect the power supply C to
the DC IN socket
and to the
mains.
All LEDs light up for 2 seconds.
If you wish to connect a handset lif-
ter B , connect it to the ACCESSORIES
socket
as described in the handset
lifter manual. If you wish to connect
a PC, refer to the manual provided
as PDF on CD or www.senncom.
com/bw900.
Setting up the headset
Insert the battery into the head-
set. The headset LED
flashes
blue three times, indicating that
the headset is switched on.
If the headset does not switch on
automatically, see "Charging the
battery" and "Switching on/off"
on page 4.
Expand the speaker
.
Put the headset on your right or
left ear.
Close the speaker for a firm fit.

If the pre-assembled medium size
earpeace adapter
does not fit
your ear, exchange the earpeace
adapter for a larger or smaller
one.
Turn the microphone towards
your mouth.
Testing the setup
Release the headset/handset
switch
³ to the "up" position.
Pick up the handset A from your
office phone. If a dial tone is
heard in the handset, the system
is connected properly. If no dial
tone is heard, please refer to the
section "Adjusting the system to
your office phone" on page 3.
Adjusting the system to your
office phone
Press the headset/handset
switch
³ to the "down" position.
Put on the headset and adjust it
for comfort.
Press either the headset hook
button
or the base station
hook button
·.
Adjust the telephone adjustment
switch
¸ to A, B or C so that the
dial tone can be heard loud and
clear in the BW 900 headset.
Turn the microphone volume
knob
µ to position 1.
Pick up the handset from your
office phone and hold it to your
other ear.
Make a test call to someone who
will help you to find the cor-
rect sensitivity setting for your
microphone.
Speak to the other party by
alternately using the handset
(headset/handset switch
³ is in
the "up" position) and the head-
set (headset/handset switch
³ is
in the "down" position), always
starting with the handset.
While the headset/handset
switch
³ is in the "down" posi-
tion, turn the microphone volume
knob
µ. The setting is correct
when the other party hears you
at the same volume, irrespective
of whether you use the headset
or the handset.
To adjust the speaker volume,
push the multi switch
in the
"up" or "down" direction.
To end the call, press either the
headset hook button
or the
base station hook button
· and
hang up the handset.
Pairing the headset to a
mobile phone
Simultaneously press and hold
the headset hook button
and
the multi switch
(in the "push"
direction) until the headset
LED
alternately flashes red and
blue.
Start a search for Bluetooth de-
vices on your mobile phone (see
the mobile phone manual).
If your mobile phone prompts
for a keyword, enter four zeros
(0000).
If no connection is established within
60 seconds, the headset automati-
cally returns to standby mode.
3
5
6
ENGLISH
3

Charging the battery
When charging the battery for the
first time, charge it for at least four
hours without interruption.
To charge the battery in the headset:
Place the headset in the headset
cradle
º. The headset charging
LED
» lights up red. When charging
is complete, the LED
» turns blue.
To charge a second battery (optional):
Insert the second battery into the
spare battery charging slot
¶. The
spare battery charging LED
¿ lights
up red. When charging is complete,
the LED turns blue.
Switching between headset
and office phone handset
If you want to use your office phone:
Release the headset/handset
switch
³ to the "up" position. Your
office phone works as usual.
If you want to use your headset:
Press the headset/handset
switch
³ to the "down" position.
Making/accepting a call with
your office phone
Put on the headset and adjust it for
comfort.
Press the base station hook
button
· or the headset hook
button
.
Lift off the office phone handset
(if a handset lifter is installed, the
handset is lifted automatically).
Dial/talk.
To end the call, press the base sta-
tion hook button
· or the headset
hook button
and hang up the
handset.
Making/accepting a call with
your mobile phone
Put on the headset and adjust it for
comfort.
Press and hold down the headset
hook button
until a confirma-
tion beep is heard in the headset.
A headset symbol appears on the
mobile phone`s display.
Dial/talk.
To end the call, press the headset
hook button
.
Switching on/off
To switch on/off the headset when it
is not placed in the headset cradle:
Press and hold down the multi
switch
(in the "push" direction)
until the headset LED
flashes
three times (red = off, blue = on).
To switch on/off the base station:
Plug/unplug the power supply.
4
7

5
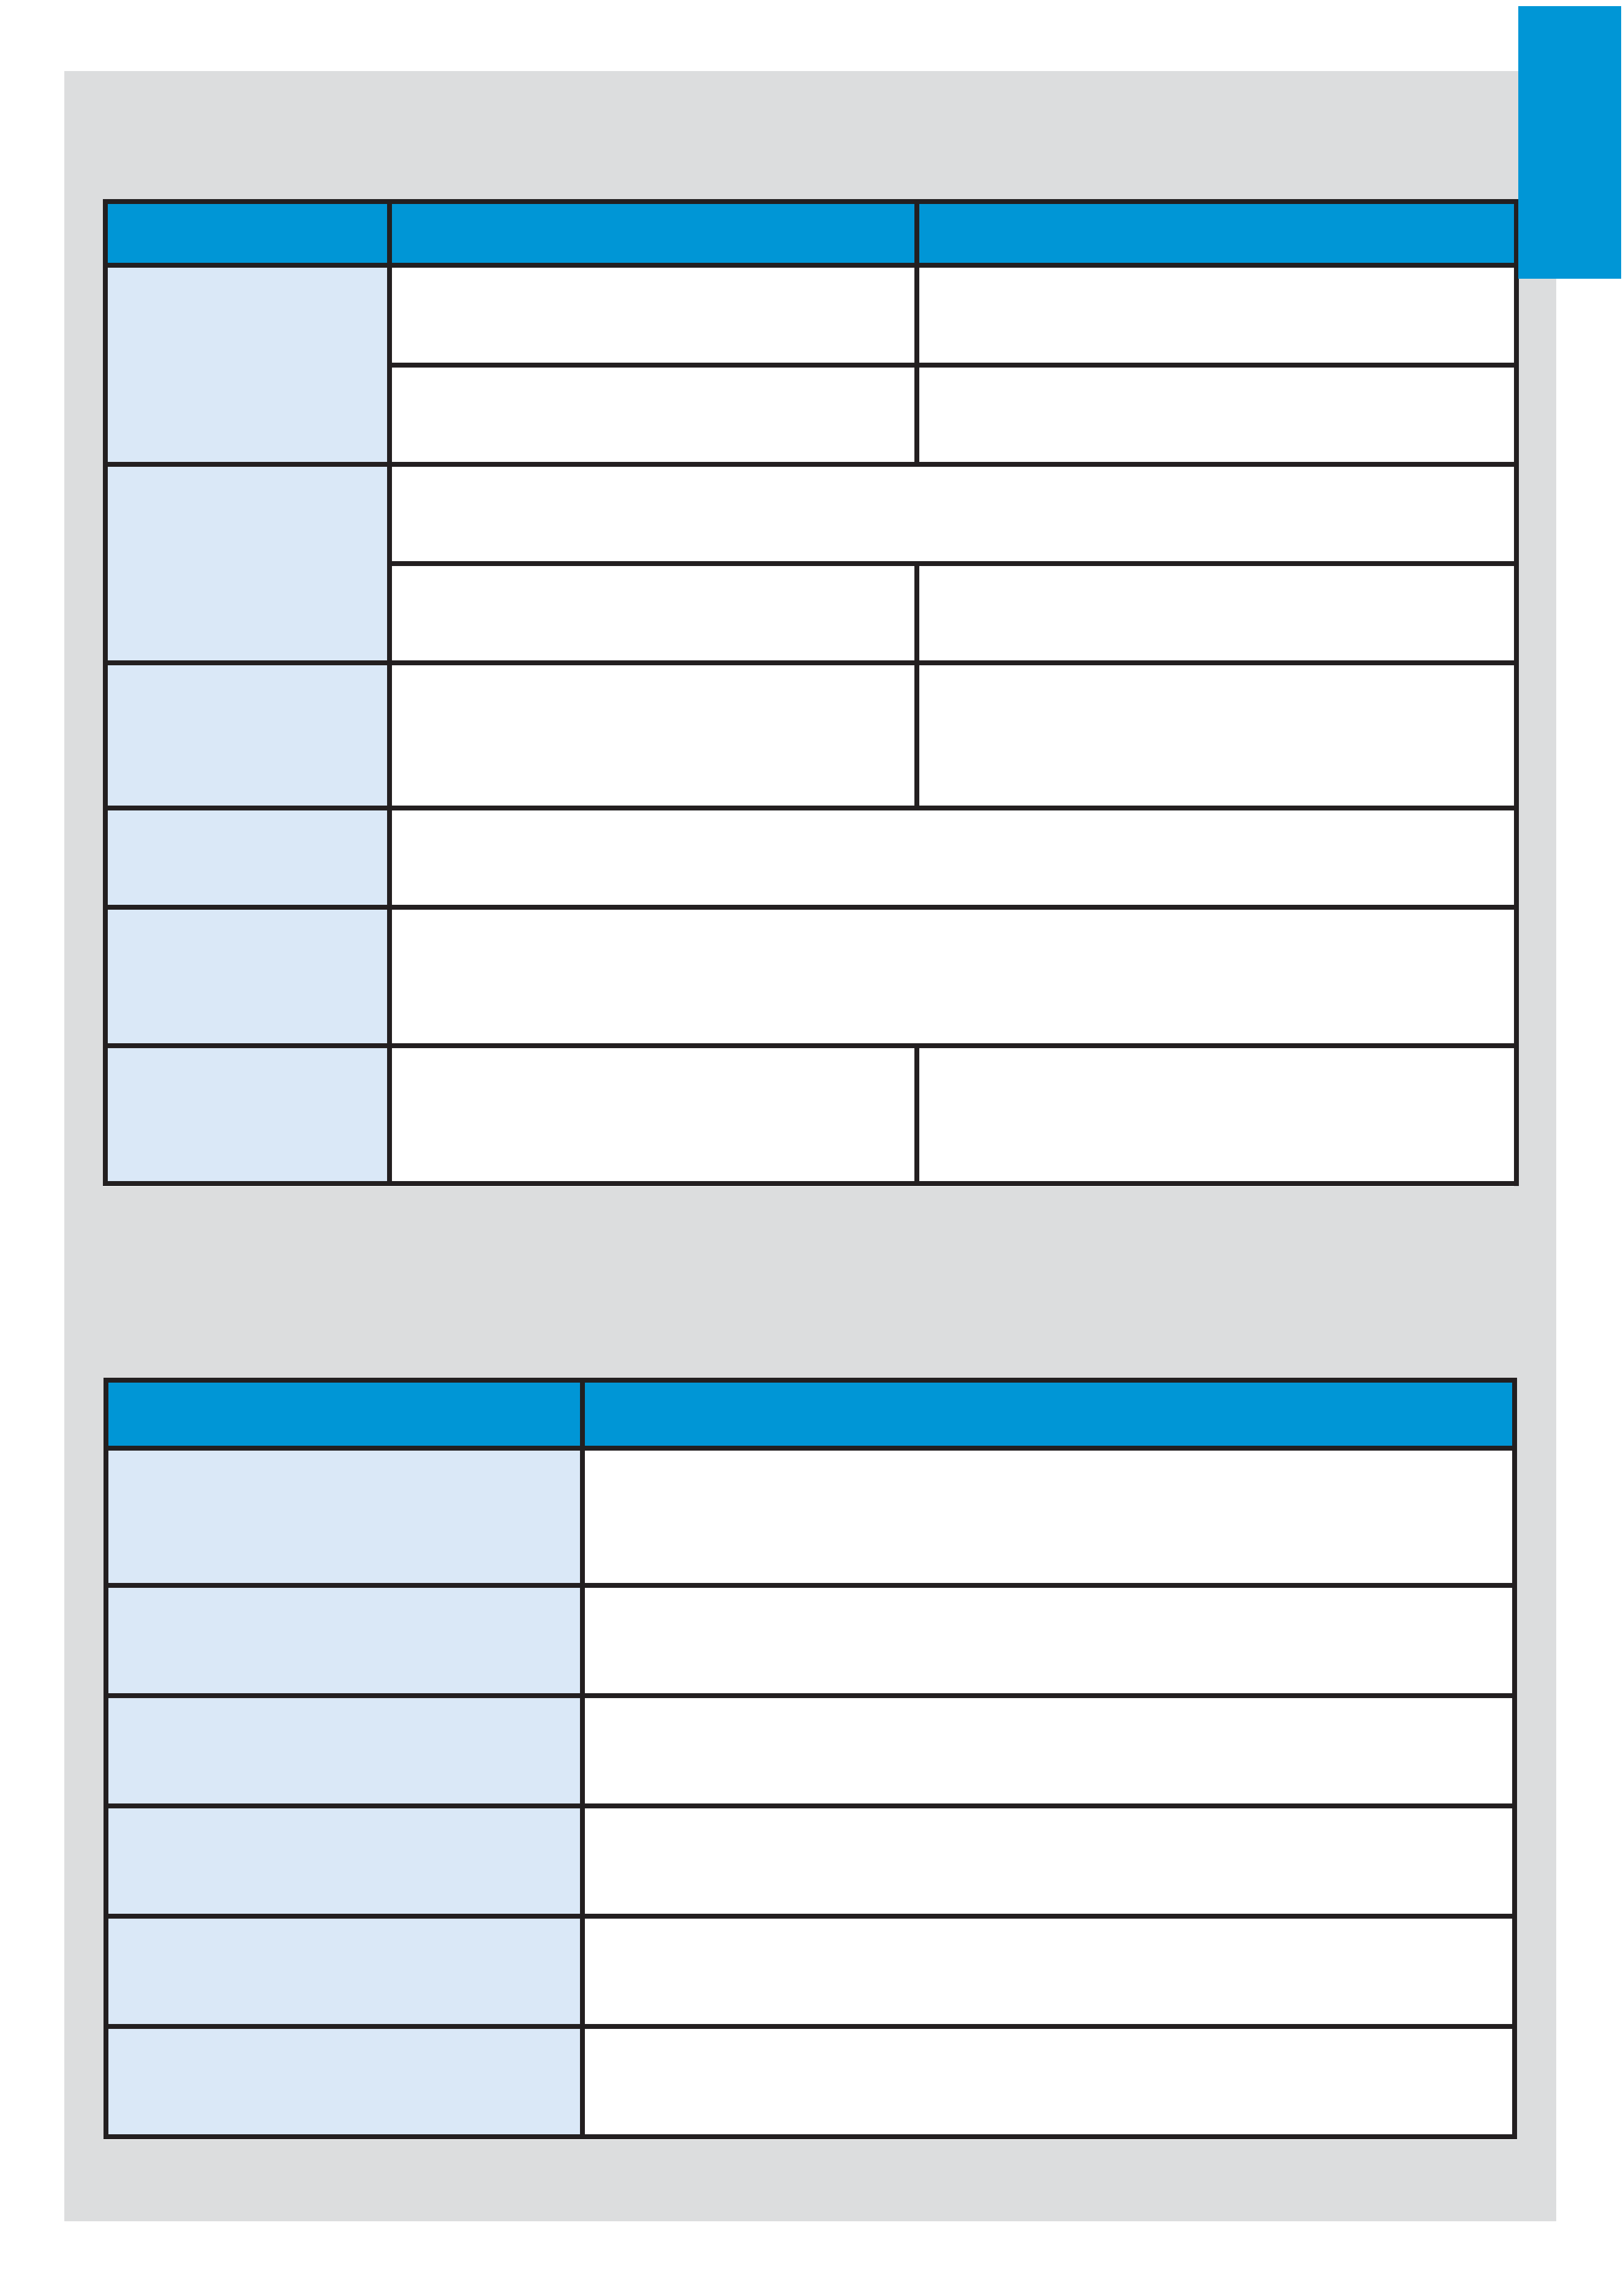
Function
Button(s) to be pressed
Switching the headset
on/off
Press and hold down the multi switch
(in the "push"
direction) until the head-set LED
flashes three times
(red = off, blue = on).
Activating the headset
Press the headset/handset switch
³ to the "down"
position.
Activating the office phone
handset
Release the headset/handset switch
³ to the "up"
position.
Accepting an office phone
call
Press the headset hook button
or the base station
hook button
· and lift the handset.
Accepting a mobile phone
call (mobile phone rings)
Keep the headset hook button
pressed until a confir-
mation beep is heard in the headset.
Making a call via the office
phone
Press the headset hook button
or the base station
hook button
· and lift the handset, then dial.
Table of the most important operations
Table of the most important displays
Headset...
Indication in standby mode
Indication during a call
... is within the
range of the
base station
The base station hook LED
´
is off.
The base station hook LED
´ is
constantly blue.
The headset LED
flashes
blue once every five seconds.
The headset LED
flashes blue
once every second.
... is out of the
range of the
base station
The base station hook LED
´ is red constantly. Calls are only possible
via the mobile phone.
The headset LED
flashes
blue twice every five seconds.
The headset LED
flashes blue
once every second.
... microphone
muted
The mute LED
² is constantly red.
A beep is heard in the headset
every five seconds.
... connected to
a mobile phone
A headset symbol appears on the mobile phone`s display.
... battery is
flat
The base station hook LED
´ and the headset LED
flash three
times red every 15 seconds. Three low frequency beeps are heard in
the headset after 15, 30 and 45 seconds.
... is ringing
The base station hook LED
´
and the headset LED
flash
quickly.
ENGLISH
5
