Stereo DVD Tuner Deck
XV-EV51
XV-EV21
Stereo Power Amplifier
M-EV51
M-EV21
Speaker System
S-EV51V
S-EV21V
Operating Instructions

2
En
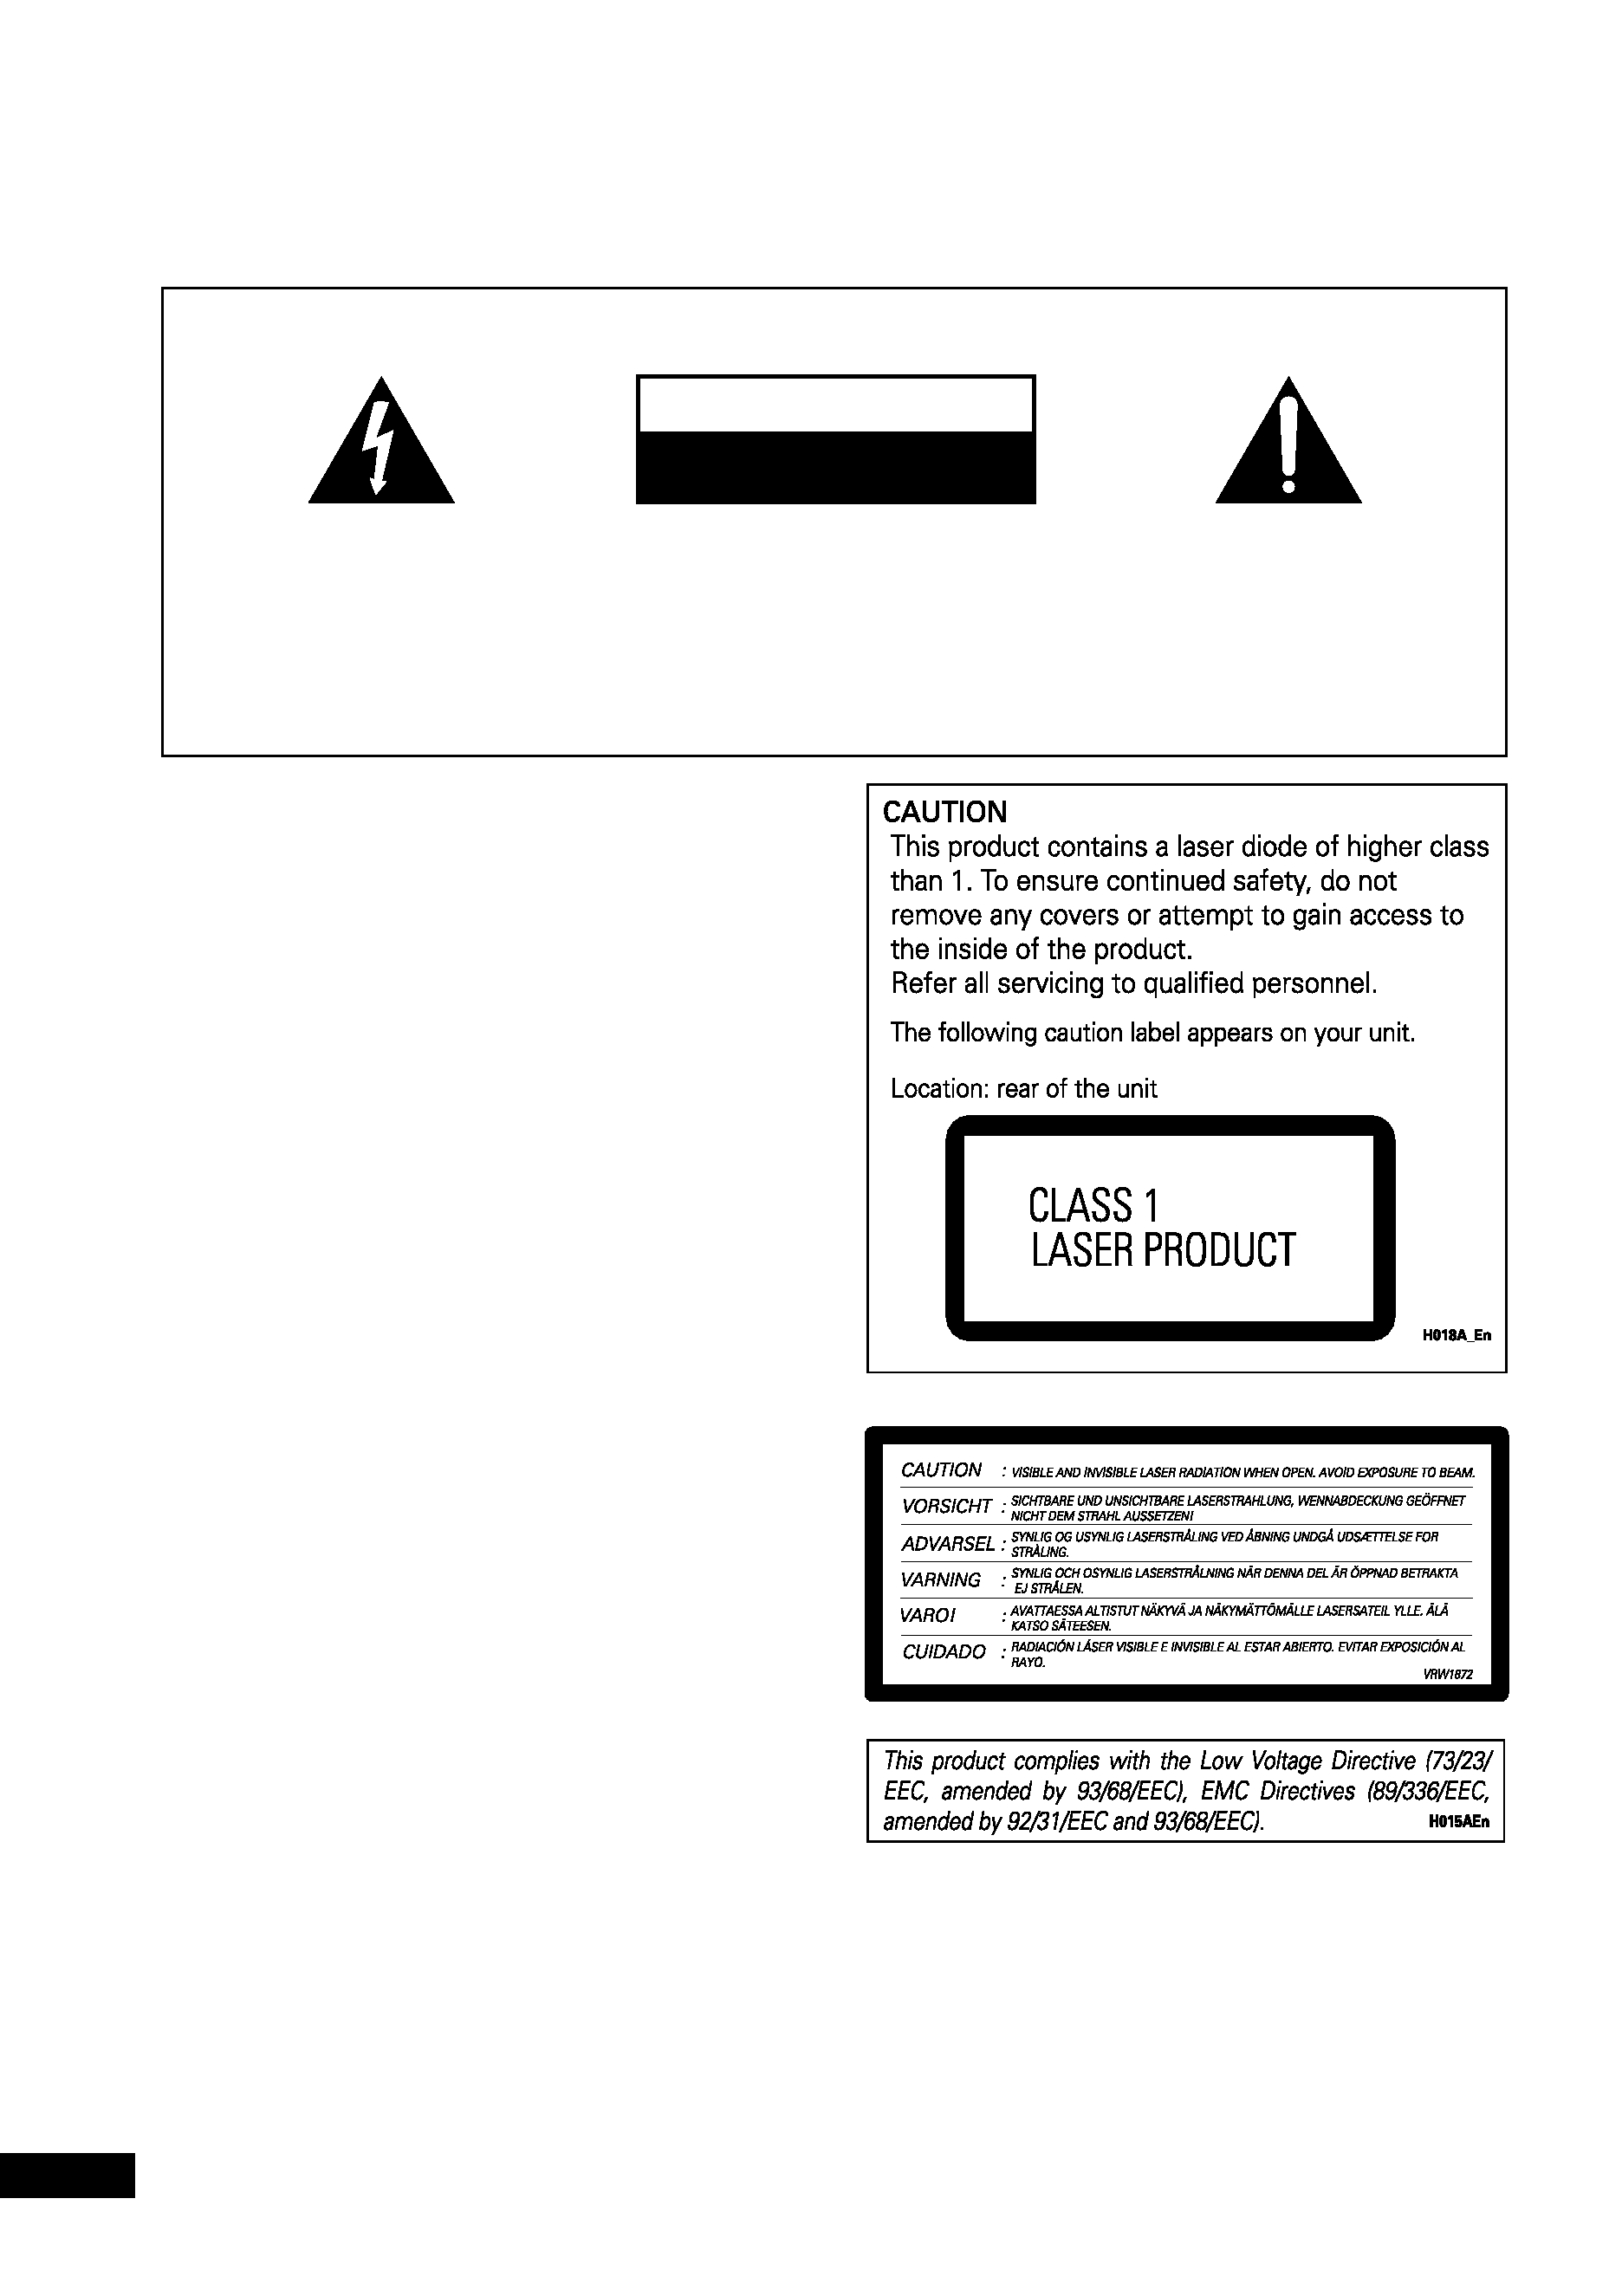
The lightning flash with arrowhead
symbol, within an equilateral
triangle, is intended to alert the
user to the presence of uninsulated
"dangerous voltage" within the
product's enclosure that may be of
sufficient magnitude to constitute
a risk of electric shock to persons.
IMPORTANT
CAUTION:
TO PREVENT THE RISK OF ELECTRIC
SHOCK, DO NOT REMOVE COVER
(OR BACK). NO USER-SERVICEABLE
PARTS INSIDE. REFER SERVICING
TO
QUALIFIED
SERVICE
PERSONNEL.
The exclamation point within an
equilateral triangle is intended to
alert the user to the presence of
important
operating
and
maintenance
(servicing)
instructions in the literature
accompanying the appliance.
H002_En
RISK OF ELECTRIC SHOCK
DO NOT OPEN
CAUTION
WARNING: THE APPARATUS IS NOT
WATERPROOFS, TO PREVENT FIRE OR SHOCK
HAZARD, DO NOT EXPOSE THIS APPARUTUS TO
RAIN OR MOISTURE AND DO NOT PUT ANY
WATER SOURCE NEAR THIS APPARATUS, SUCH
AS VASE, FLOWER POT, COSMETICS CONTAINER
AND MEDICINE BOTTLE ETC.
H001A_En
WARNING: BEFORE PLUGGING IN THE UNIT
FOR THE FIRST TIME, READ THE FOLLOWING
SECTION CAREFULLY. THE VOLTAGE OF THE
AVAILABLE POWER SUPPLY DIFFERS
ACCORDING TO COUNTRY OR REGION. BE SURE
THAT THE POWER SUPPLY VOLTAGE OF THE
AREA WHERE THIS UNIT WILL BE USED MEETS
THE REQUIRED VOLTAGE (E.G., 230V OR 120V)
WRITTEN ON THE REAR PANEL.
H041A_En
Operating Environment H045_En
Operating environment temperature and
humidity:
+5ºC +35ºC (+41ºF +95ºF); less than 85%RH
(cooling vents not blocked)
Do not install in the following locations
÷ Location exposed to direct sunlight or strong
÷ artificial light
÷ Location exposed to high humidity, or poorly
ventilated location
On the bonnet of the unit
CONGRATULATIONS ON YOUR PURCHASE OF THIS FINE PIONEER PRODUCT.
Pioneer is on the leading edge of DVD research for consumer products and this unit incorporates
the latest technological developments.
We are sure you will be fully satisfied with the DVD player.
Thank you for your support.
WARNING: NO NAKED FLAME SOURCES,
SUCH AS LIGHTED CANDLE, SHOULD BE
PLACED ON THE APPARATUS. IF NAKED FLAME
SOURCES ACCIDENTALLY FALL DOWN, FIRE
SPREAD OVER THE APPARATUS THEN MAY
CAUSE FIRE.
H044_En
Recording equipment and copyright:
Recording equipment should be used only
for lawful copying and you are advised to
check carefully what is lawful copying in the
country in which you are making a copy.
Copying of copyright material such as films
or music is unlawful unless permitted by a
legal exception or consented to by the
rightowners.
H067_En

3
En
VOLTAGE SELECTOR SWITCH
The line voltage selector switch is located on
the rear panel. Check that it is set properly
before plugging the power cord into the outlet.
If the voltage is not properly set, or if you move
to an area where the voltage requirements
differ, adjust the selector switch as follows:
1. Make sure the power cord is disconnected.
2. Insert a small-sized screwdriver into the
groove on the voltage selector, and adjust
the VOLTAGE SELECTOR.
CAUTION 220-230 V
Power source voltage is factory
adjusted at 220-230 volts. If your area is
different, change the voltage selector's
setting.
H039En
NOTE: This equipment has been tested and
found to comply with the limits for a Class B
digital device, pursuant to Part 15 of the FCC
Rules. These limits are designed to provide
reasonable protection against harmful
interference in a residential installation. This
equipment generates, uses, and can radiate
radio frequency energy and, if not installed
and used in accordance with the instructions,
may cause harmful interference to radio
communications. However, there is no
guarantee that interference will not occur in a
particular installation. If this equipment does
cause harmful interference to radio or
television reception, which can be determined
by turning the equipment off and on, the user
is encouraged to try to correct the interference
by one or more of the following measures:
Reorient or relocate the receiving antenna.
Increase the separation between the
equipment and receiver.
Connect the equipment into an outlet on a
circuit different from that to which the
receiver is connected.
Consult the dealer or an experienced radio/
TV technician for help.
H010_En
CAUTION:
This product satisfies FCC regulations when
shielded cables and connectors are used to
connect the unit to other equipment. To
prevent electromagnetic interference with
electric appliances such as radios and
televisions, use shielded cables and connec-
tors for connections.
H012_En
Information to User
Alteration or modifications carried out without
appropriate authorization may invalidate the
user's right to operate the equipment. H011_En
CAUTION
· Use of controls or adjustments or
performance of procedures other than those
specified herein may result in hazardous
radiation exposure.
· The use of optical instruments with this
product will increase eye hazard.
H013_En
CAUTION: THE STANDBY/ON BUTTON IS
SECONDARY CONNECTED AND THEREFORE
DOES NOT SEPARATE THE UNIT FROM MAINS
POWER IN STANDBY POSITION. therefore install
the unit suitable places easy to disconnect the
MAINS plug in case of the accident. The MAINS
plug of unit should be unplugged from the wall
socket when left unused for a long period of
time.
H017B_En
VENTILATION: When installing this
unit, make sure to leave space around the
unit for ventilation to improve heat
radiation (at least 30 cm at top, 15 cm at
rear, and 15 cm at each side).
WARNING: Slot and openings in the
cabinet are provided for ventilation and to
ensure reliable operation of the product
and to protect it from overheating, to
prevent fire hazard, the openings should
never be blocked and covered with items,
such as newspapers, table-cloths, curtains,
etc. Also do not put the apparatus on the
thick carpet, bed, sofa, or fabric having a
thick pile.
H040 En
Energy-saving design
This system is designed to use 1W of
electricity when power is switched to Standby.

4
En
Contents
01 Before you start
What's in the box ............................................... 7
Putting the batteries in the remote control ..... 7
Using the remote control .................................. 8
General disc compatibility ................................. 8
CD-R/RW compatibility ................................ 8
DVD-R/RW compatibility ............................. 8
PC-created disc compatibility ..................... 9
MP3 audio compatibility .............................. 9
Titles, chapters and tracks ......................... 10
DVD Video regions ..................................... 10
02 Connecting up
Connecting the system components ............. 11
Connecting the speakers ................................ 12
Connecting the front speakers .................. 12
Connecting the front speaker cables .. 12
Connecting the center speaker ................. 12
Connecting the surround speakers .......... 13
Hints on speaker placement ..................... 13
Overhead view of speakers ........................ 13
Basic surround sound setup ............... 13
Extra power mode sound setup ........... 14
Connecting a subwoofer ............................ 14
Connecting to your TV ..................................... 14
Connecting the radio antennas ...................... 15
Connecting external antennas .................. 16
External AM antenna ............................ 16
External FM antenna ............................. 16
Connecting auxiliary components ................. 16
Connecting the power ..................................... 17
03 Controls and displays
Front panel ........................................................ 18
Remote control ................................................. 20
Display .............................................................. 23
04 Getting started
Setting the unit to match your TV system ...... 25
Switching on and setting the clock ................ 26
Changing the clock format ........................ 26
Setting up the remote to control your TV ....... 27
Switching off the demo ................................... 27
Using the on-screen displays .......................... 28
Playing discs .................................................... 29
Basic playback controls ............................. 30
Front panel controls .............................. 31
DVD-Video disc menus .............................. 31
Video CD PBC menus ................................ 32
Listening to auxiliary components ................. 32
Automatic power on buttons .......................... 32
05 Setting up for surround sound
(EV51DVD only)
Choosing your surround sound settings ....... 33
Front speaker distance setting .................. 34
Center speaker distance setting ............... 34
Surround speaker distance setting ........... 34
Dynamic range control setting .................. 34
Dual mono setting ...................................... 35
LFE attenuator setting ................................ 35
Subwoofer setting ...................................... 35
Setting the relative volume
level of each channel ....................................... 36
06 Playing discs
Introduction ...................................................... 38
Using the Disc Navigator to browse
the contents of a disc ...................................... 38
Scanning discs ................................................. 39
Playing in slow motion .................................... 39
Frame advance/frame reverse ........................ 40
Looping a section of a disc ............................. 40
Using repeat play ............................................. 41
Using the OSD ............................................ 41
Using the front panel display .................... 42

5
En
Using random play ........................................... 42
Using the OSD ............................................ 42
Using the front panel display .................... 43
Creating program lists ..................................... 43
Using the OSD ............................................ 43
Editing program lists using the OSD .. 45
Other functions available from
the OSD program menu ....................... 45
Using the front panel display .................... 46
Clearing a track from the
program list ........................................... 47
Clearing the program list ..................... 47
Searching a disc .............................................. 47
Switching subtitles .......................................... 48
Switching DVD audio language ...................... 48
Switching audio channels when
playing a Video CD ........................................... 48
Zooming the screen ......................................... 48
Switching camera angles ................................ 49
Displaying disc information ............................ 49
Using the OSD ............................................ 49
Using the front panel display .................... 50
07 Listening to the radio
Choosing stations ............................................ 51
Improving poor FM reception .................... 51
Memorizing stations ........................................ 52
Manually saving station presets ............... 52
Automatically saving station presets ........ 52
Listening to station presets ....................... 53
Changing tuner displays ................................. 53
08 Using the cassette deck
Playing cassette tapes ..................................... 54
Resetting the tape counter ........................ 56
Changing tape displays ............................. 56
Making tape recordings .................................. 56
Automatically recording CDs (ASES) ............. 57
Improving AM tape recordings ................. 58
Reducing the source signal level .............. 59
09 Singing Karaoke
Singing karaoke ............................................... 60
Changing the vocal mix ............................. 61
Changing the backing track ...................... 61
10 Using surround sound (EV51DVD
only)
Introduction to surround sound ..................... 62
Surround modes ......................................... 62
Advanced Surround DSP modes .............. 62
Listening to multi-channel playback .............. 63
Using Advanced Surround .............................. 64
11 Adjusting the sound
Adjusting the bass and treble ......................... 65
Adjusting the balance ..................................... 65
Creating wider stereo sound ........................... 65
Saving your sound preferences ...................... 65
Using the Sound Field Control ........................ 66
Adjusting the effect level ................................. 66
Switching off the center speaker .................... 66
Boosting the bass level .................................... 66
Muting the sound ............................................. 67
12 Using the timer
Setting the wake-up timer ............................... 68
Turning the wake-up timer on/off .............. 69
Setting the sleep timer .................................... 69
Setting the record timer .................................. 70
Turning the record timer on/off ................. 71
Child Lock ......................................................... 71
