Operating Instructions
Stereo CD Receiver
XC-L77
(DU-L77)
S-L9-LRW
S-L9-A-LRW
S-L8-LRW
Stereo Cassette Deck
CT-L77
Speaker System

WARNING: TO PREVENT FIRE OR SHOCK
HAZARD, DO NOT EXPOSE THIS APPLIANCE TO
RAIN OR MOISTURE.
Thank you for buying this Pioneer product.
Please read through these operating instructions
so you will know how to operate your model
properly. After you have finished reading the
instructions, put them away in a safe place for
future reference.
In some countries or regions, the shape of the
power plug and power outlet may sometimes
differ from that shown in the explanatory
drawings. However, the method of connecting
and operating the unit is the same.
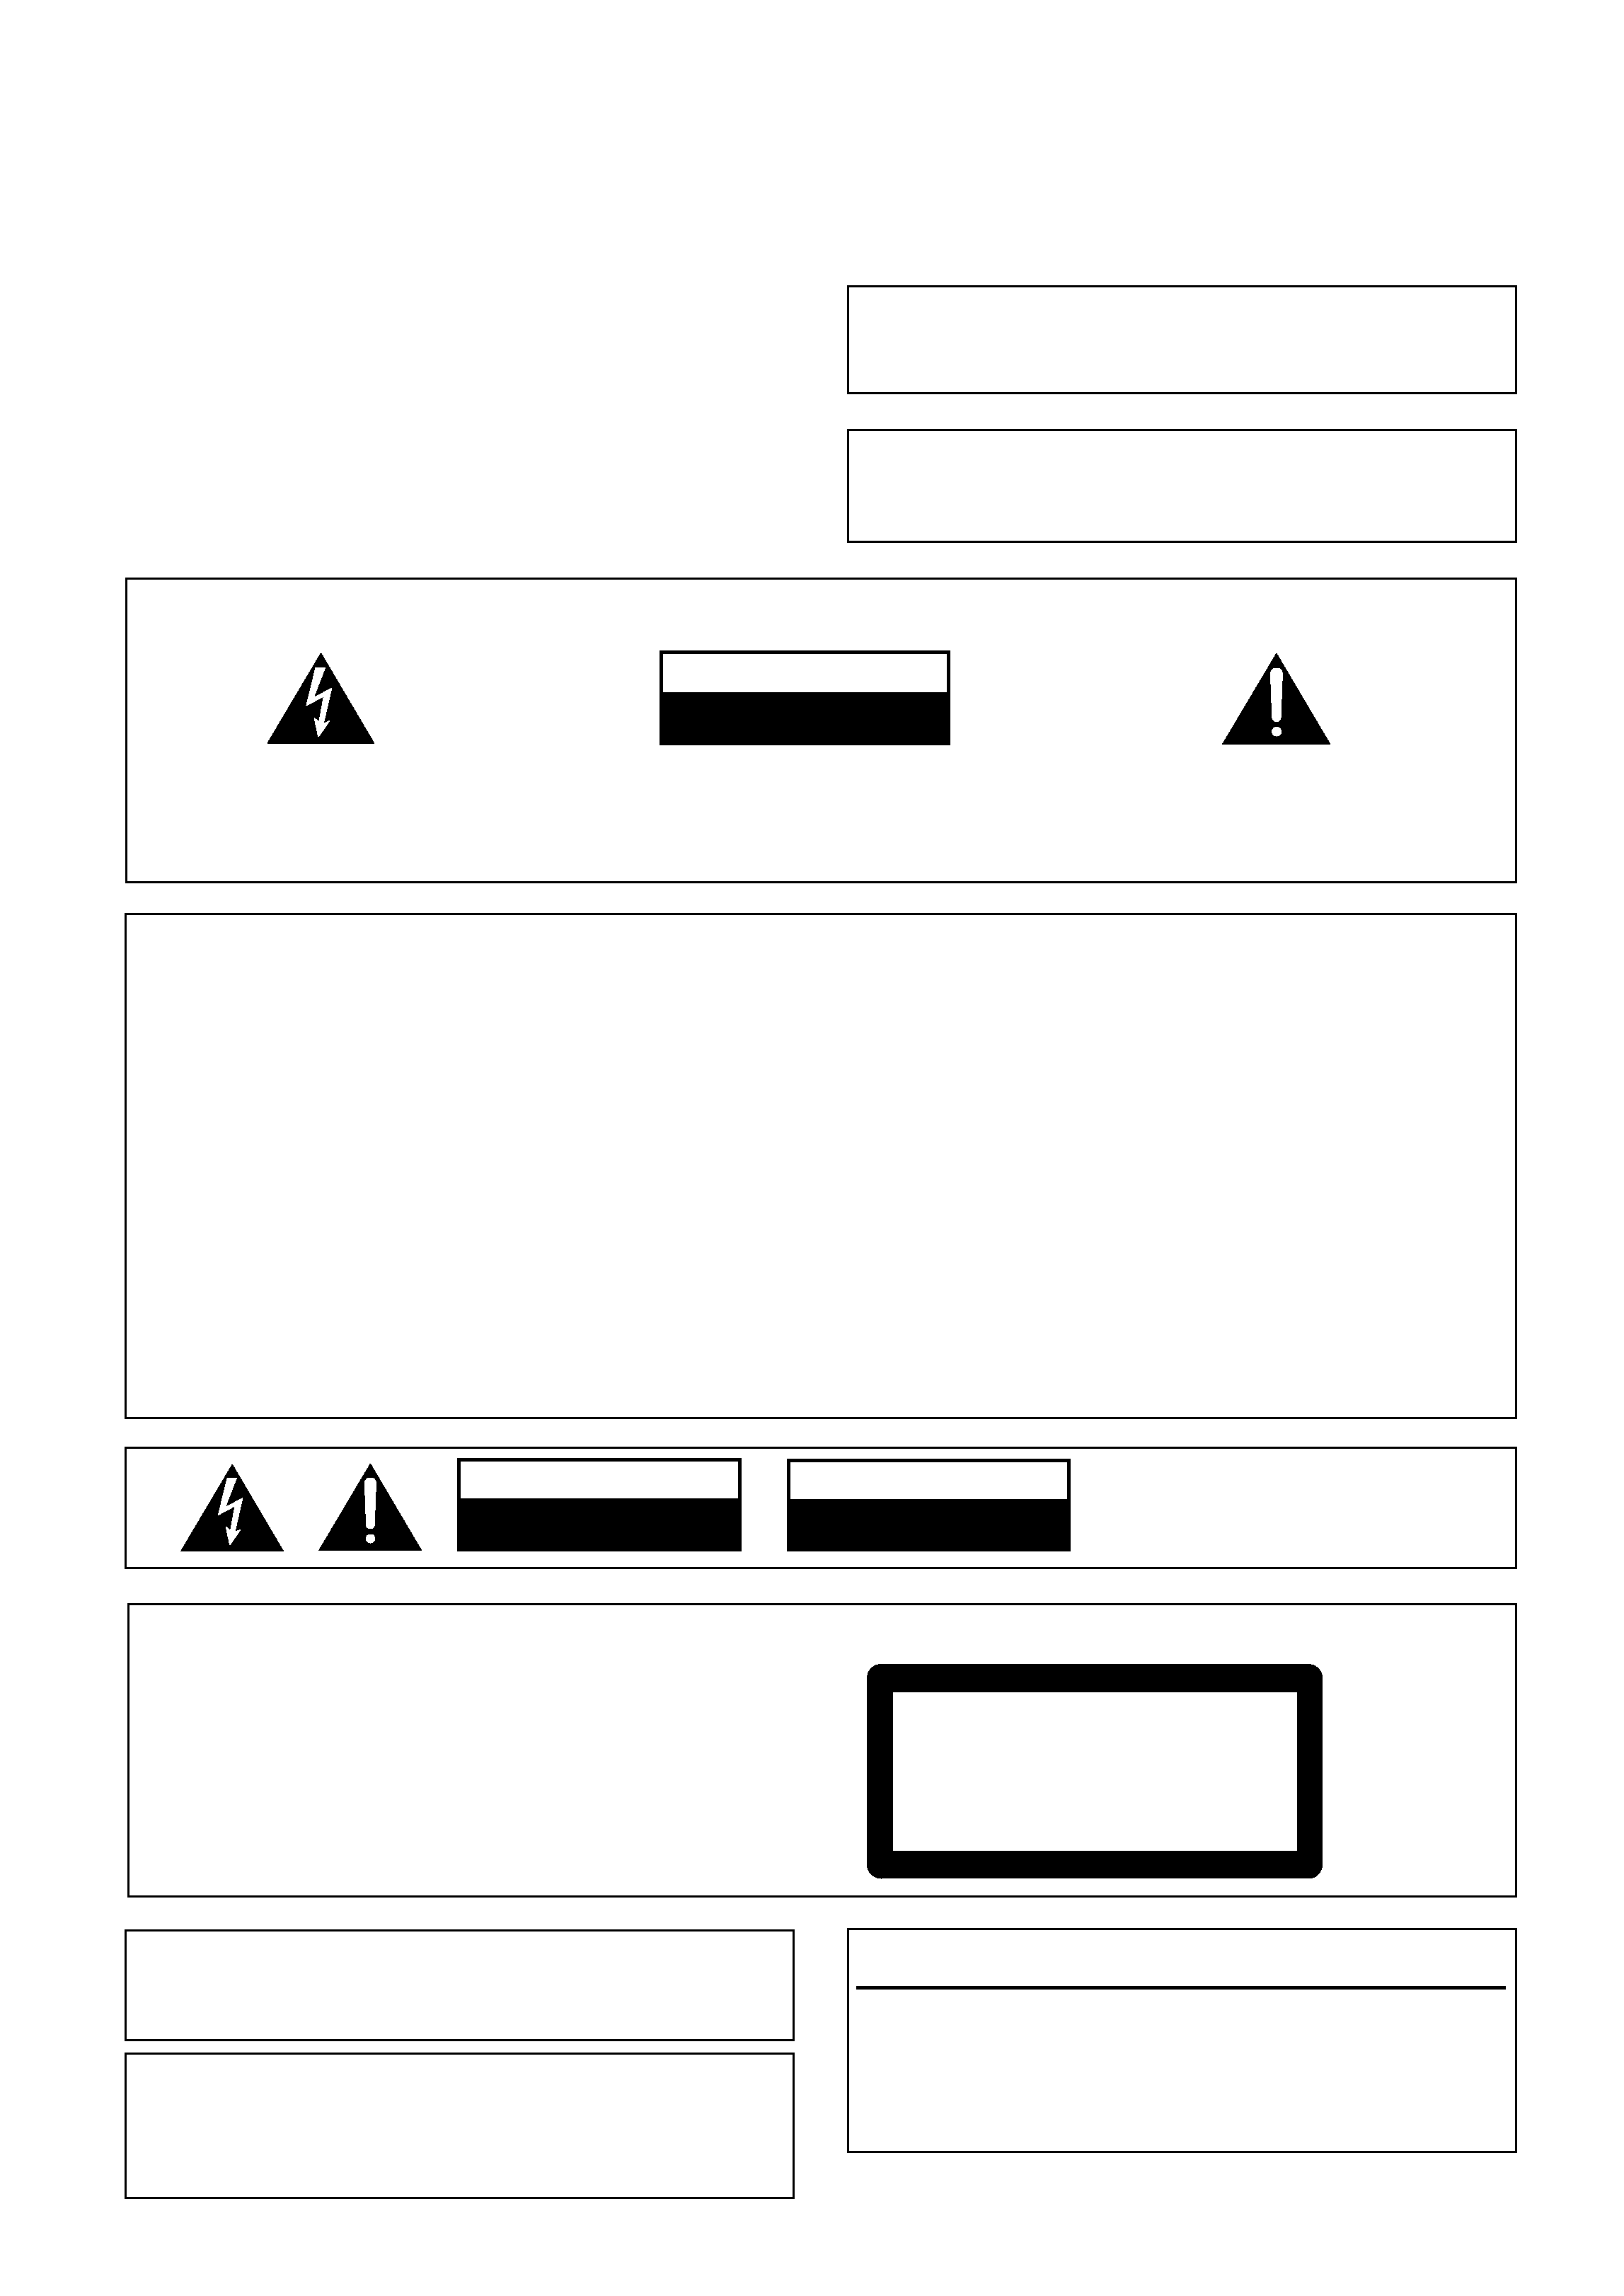
RISK OF ELECTRIC SHOCK
DO NOT OPEN
CAUTION
IMPORTANT 1
CAUTION:
TO PREVENT THE RISK OF ELECTRIC SHOCK, DO
NOT REMOVE COVER (OR BACK).
NO USER-
SERVICEABLE PARTS INSIDE. REFER SERVICING TO
QUALIFIED SERVICE PERSONNEL.
The exclamation point within an equilateral triangle is
intended to alert the user to the presence of important
operating and maintenance (servicing) instructions in
the literature accompanying the appliance.
The lightning flash with arrowhead symbol, within an
equilateral triangle, is intended to alert the user to the
presence of uninsulated "dangerous voltage" within the
product's enclosure that may be of sufficient magnitude
to constitute a risk of electric shock to persons.
IMPORTANT
FOR USE IN THE UNITED
KINGDOM
The wires in this mains lead are
coloured in accordance with the
following code:
Blue :
Neutral
Brown :
Live
If the plug provided is unsuitable for
your socket outlets, the plug must be
cut off and a suitable plug fitted.
The cutoff plug should be disposed of
and must not be inserted into any 13
amp socket as this can result in
electric shock. The plug or adaptor of
the distribution panel should be
provided with a 5 amp fuse. As the
colours of the wires in the mains lead
of this appliance may not correspond
with coloured markings identifying
the terminals in your plug, proceed as
follows:
The wire which is coloured blue must
be connected to the terminal which is
marked with the letter N or coloured
black.
The wire which is coloured brown
must be connected to the terminal
which is marked with the letter L or
THE POWER SWITCH IS SECONDARY CONNECTED
AND THEREFORE DOES NOT SEPARATE THE UNIT
FROM MAINS POWER IN THE STANDBY POSITION.
This product complies with the Low Voltage
Directive (73/23/EEC), EMC Directives (89/336/EEC,
92/31/EEC) and CE Marking Directive (93/68/EEC).
coloured red.
Do not connect either wire to the earth
terminal of a three-pin plug.
NOTE
After replacing or changing a fuse, the
fuse cover in the plug must be replaced
with a fuse cover which corresponds to
the colour of the insert in the base of
the plug or the word that is embossed
on the base of the plug, and the
appliance must not be used without a
fuse cover. If lost, replacement fuse
covers can be obtained from your dealer.
Only 5 A fuses approved by B.S.I. or
A.S.T.A. to B.S. 1362 should be used.
RISK OF ELECTRIC SHOCK
DO NOT OPEN
CAUTION
ATTENTION
DANGER D'ELECTROCUTION
NE PAS OUVRIR
These labels can be found on
the unit's bottom panel.
[For Stereo CD Receiver XC-L77]
CAUTION
This product contains a laser diode of higher
class than 1. To ensure continued safety, do not
remove any covers or attempt to gain access to
the inside of the product.
Refer all servicing to qualified personnel.
The following caution label appears on your unit.
Location: Bottom of the unit.
CLASS 1
LASER PRODUCT
INFRINGEMENT OF COPYRIGHT
Recording and playback of copyrighted material
may require consent. See the Copyright Design
and Patent Act 1988.
US and foreign patents licensed from Dolby
Laboratories Licensing Corporation
These Operating Instructions describe the operating
procedures of not only the XC-L77 Stereo CD Receiver
but the CT-L77 Stereo Cassette Deck as well. How-
ever, the CT-L77 is sold separately.

Contents
1
Before You Start
Before you Start ................................................................................................. 5
2
Installing and Connecting up
Finding a Suitable Location ............................................................................. 7
Connecting Up the System ................................................................................ 8
3
What's What
Front Panel ...................................................................................................... 13
Remote Control ............................................................................................... 14
Display ............................................................................................................. 15
4
Switching On
Switching On and Setting the Clock ............................................................... 16
Playing a Compact Disc .................................................................................. 17
Adjusting the Sound ........................................................................................ 18
Listening to the Radio ..................................................................................... 19
Playing a Cassette Tape ................................................................................... 20
5
Using the CD player
Using the Menu System ................................................................................... 23
Programming the Track Order ....................................................................... 24
Playing Things Again ...................................................................................... 25
Playing Tracks at Random ............................................................................. 26
Changing the Display ...................................................................................... 26
6
Using the Tuner
The Tuner Menu .............................................................................................. 27
Memorizing Stations for Quick Recall ........................................................... 27
Listening to Memorized Stations .................................................................... 28
Giving a Station Memory a Name .................................................................. 28
An Introduction to RDS ................................................................................... 29
Displaying RDS Information .......................................................................... 30
Searching for a Programme Type ................................................................... 31
Changing the Display ...................................................................................... 32
7
Using the Tape Deck
Setting the Reverse Mode ................................................................................ 33
Making Tape Recordings ................................................................................ 33
Automatically Recording a CD ....................................................................... 34
Automatically Recording an MD .................................................................... 35
Recording Other Sources ................................................................................ 36
Resetting the Tape Counter ............................................................................. 37
Changing the Display ...................................................................................... 37
8
Using the Timer
The Timer Menu ............................................................................................. 38
Setting the Wake Up Timer ............................................................................. 38
Cancelling the Wake Up Timer ....................................................................... 39
Setting the Sleep Timer ................................................................................... 40
Setting Up a Future Recording ....................................................................... 40
Cancelling the Record Timer .......................................................................... 42
Setting Multiple Timers ................................................................................... 42
9
Additional Information
Setting the Display Brightness ........................................................................ 43
Switching Off the Demo Mode ........................................................................ 43
Troubleshooting .............................................................................................. 44
Maintenance .................................................................................................... 46
Specifications .................................................................................................. 47

1 Before You Start
4
Features
Elegant design
The XLP77 looks as good it sounds. With a front panel almost completely free
from the usual array of buttons and flashing lights, the XLP77 has been
designed to blend in elegantly with its surroundings rather than draw attention
to itself. And since the CD receiver and optional tape deck and MD recorder are
separate components, you can choose to place them side-by-side for a sleek,
horizontal look, or on top of each other for a more conventional vertical
arrangement. The compact, slim-line speakers also can be used vertically or
horizontally to complement the layout of the system.
Display with detachable remote control
All the components in the XLP77 share a single large fluorescent display and
control panel. This control panel can easily be detached from the display,
turning it into the system's infrared remote controller.
Direct play function
From standby mode to playing a CD or listening to a tape or the radio in a
single button press: the direct play function intelligently switches on the system,
changes to the desired function and starts playback.
Energy Saving Design
The XLP77 has been designed to minimize power consumption when in
standby mode (plugged in to the power supply, but with the unit switched off).
Standby power consumption is just 1W, even when both the optional tape deck
and MD recorder are connected.

1 Before You Start
5
Checking What's in the Box
Thank you for buying this Pioneer product. Before starting to set up your new stereo
system, please check that you received the following supplied accessories in the
XCL77 Stereo CD Receiver box:
· AM loop antenna
· FM wire antenna
· Power cable
· Display unit connecting cable
· Lithium battery CR2025 (for remote control)
· Warranty card
· This instruction manual
In the box that the speakers came in you should find the following accessories:
· Subwoofer connecting cable
· Speaker cables (x2)
· Speaker stands (x2)
· Screws (x4) (to attach speaker stands)
· Non skid pads (for satellite speakers (x8), for subwoofer (x4))
Using this manual
This manual is for the XCL77 Stereo CD Receiver, CTL77 Stereo Cassette Deck and
SL8/SL9/SL9-A speaker system. It is split into two broad sections; the first covers
setting up, and the second, using the system. Set up, which starts here, shows you how
to install and connect up the system.
In the second section of the manual, starting on page 13, you'll learn how to use every
feature of the CD receiver/cassette deck system. The final part of the manual provides a
troubleshooting section and technical specifications.
Putting the battery in the remote
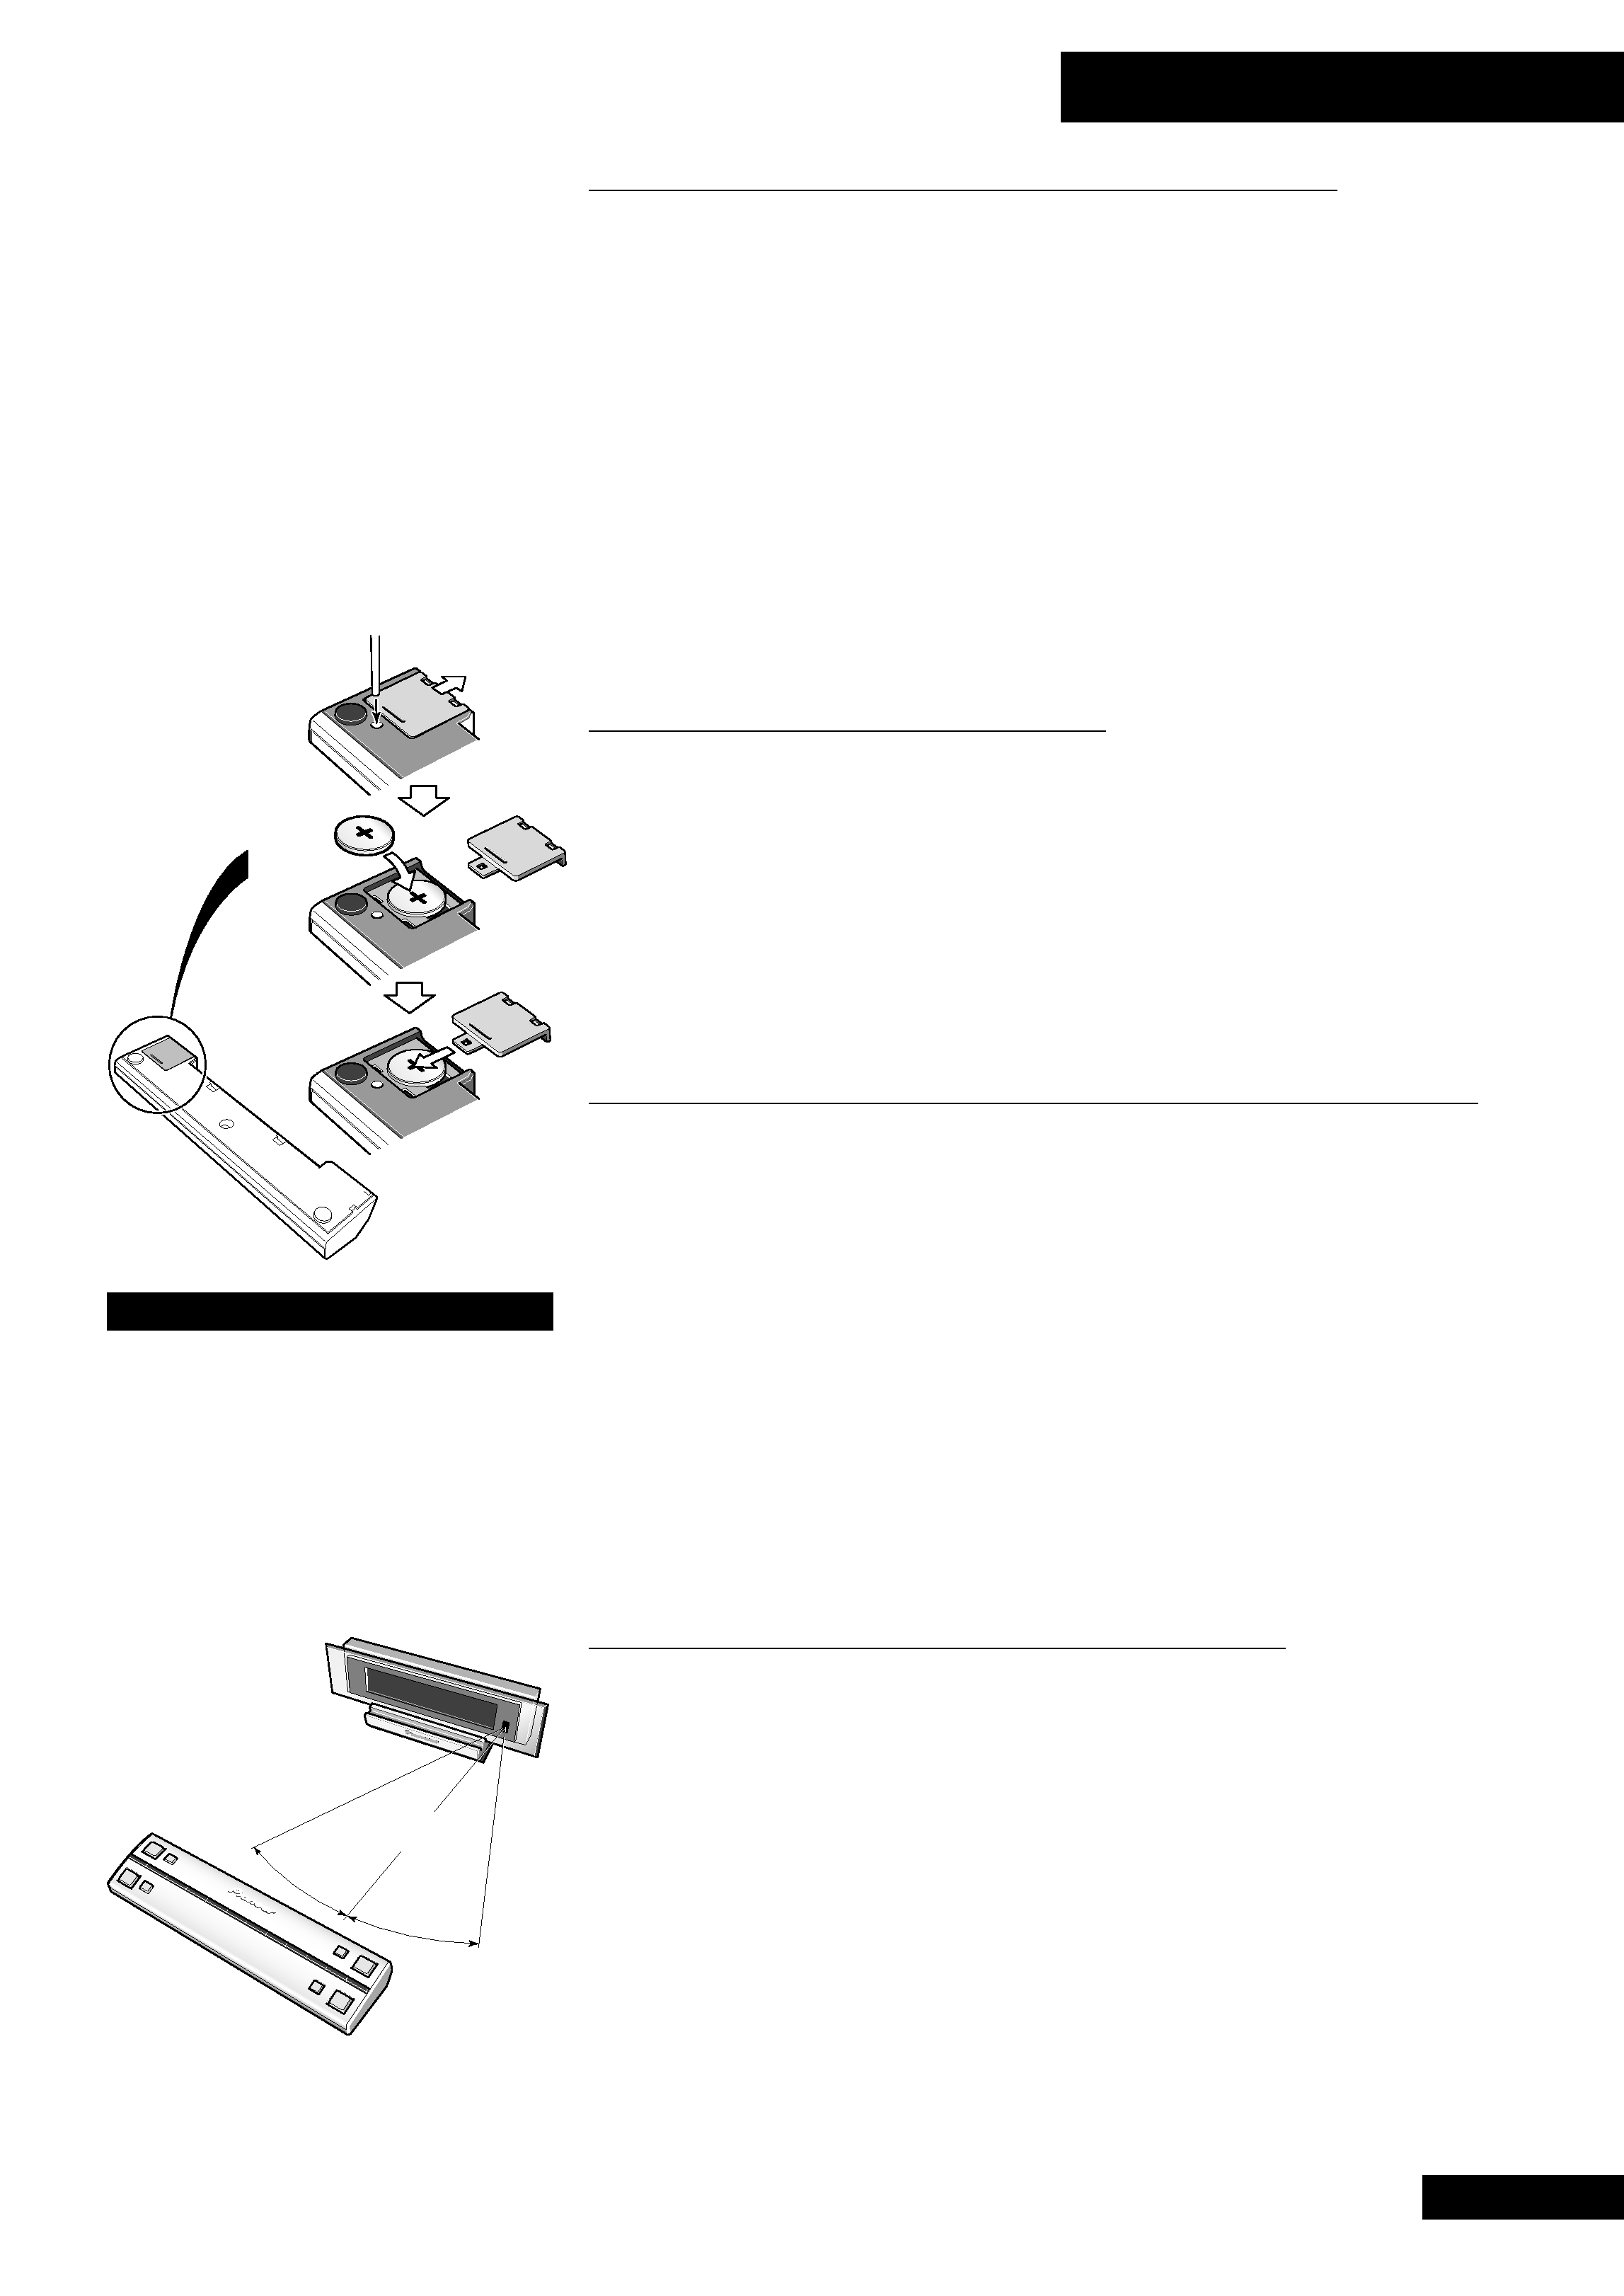
1 Turn over the remote control. Push a ball-point pen into the hole to release
the battery cover and slide it off.
2 Put in the supplied battery, taking care to match the plus and minus sides
with the markings inside the compartment.
3 Slide the cover back on, and your remote is ready for use.
CAUTION:
· Remove the battery if the remote is not going to be used for a month or more.
· Remove dead batteries promptly-- they can leak and damage the unit.
· If the remote is connected to the display, no battery is necessary for it to work.
The battery is not recharged by connecting the remote to the display, however.
Using the remote control
Keep in mind the following when using the remote control unit:
· Make sure that there are no obstacles in between the remote and the remote
sensor on the unit.
· Use within the operating range and angle, as shown in the diagram left.
· Remote operation may become unreliable if strong sunlight or fluorescent
light is shining on the unit's remote sensor.
· Remote controllers for different devices can interfere with each other. Avoid
using remotes for other equipment located nearby this unit.
· Replace the battery when you notice the operating range of the remote fall.
· On the rear of the remote there is a gold-coloured connector that links the
remote with the display unit. Avoid touching this when using the remote
separately.
Operating range of the remote
control unit
30o
30o
1
2
3
CAUTION
Danger of explosion if battery is incor-
rectly replaced.
Replace only with the same or
equivalent type recommended by the
manufacturer. Discard used batteries
according to the manufacturer's
instructions.
7 meters
