Operation Manual
Manual de instrucciones
CD RECEIVER
RADIO CD
DEH-4150SD
DEH-3100UB
English
Español

Thank you for purchasing this PIONEER product.
Please read through this manual before using the product for the first time, to en-
sure proper use. After reading, please keep the manual in a safe and accessible place
for future reference.
Before You Start
About this unit
4
Features
4
Visit our website
4
Protecting your unit from theft
4
Removing the front panel 4
Attaching the front panel 5
Use and care of the remote control
5
Installing the battery 5
Using the remote control 5
Operating this unit
What
's what 6
Head unit 6
Remote control 7
Display indication 7
Basic Operations
9
Power ON/OFF 9
Selecting a source 9
Adjusting the volume 9
Tuner
10
Basic Operations 10
Storing and recalling broadcast
frequencies
10
Introduction to advanced
operations
10
Storing the strongest broadcast
frequencies
10
Tuning in strong signals 11
Built-in CD Player
11
Basic Operations 11
Displaying text information on disc 12
Selecting files from the file name
list
12
Introduction to advanced
operations
12
Selecting a repeat play range 13
Playing tracks in random order 13
Scanning folders and tracks 13
Pausing playback 13
Using Sound Retriever 13
Playing songs in an external storage device
(USB, SD)
14
Basic Operations 14
Displaying text information of an audio
file
15
Selecting files from the file name
list
15
Introduction to advanced
operations
15
Playing songs on iPod
16
Basic Operations 16
Browsing for a song 17
Displaying text information on
iPod
17
Introduction to advanced
operations
18
Playing songs in a random order
(shuffle)
18
Playing all songs in a random order
(shuffle all)
18
Selecting songs from lists related to the
currently playing song
19
Operating this unit's iPod function
from your iPod
19
Changing audiobook speed 19
Audio Adjustments
Introduction of audio adjustments
21
Using balance adjustment
21
Using the equalizer
21
Recalling equalizer curves 22
Adjusting equalizer curves 22
Fine-adjusting equalizer curve 22
Adjusting loudness
23
Using subwoofer output
23
Adjusting subwoofer settings 23
Using the high pass filter
24
Boosting the bass
24
Contents
En
2

Adjusting source levels
24
Initial Settings
Adjusting initial settings
25
Setting the clock
25
Setting the FM tuning step
25
Setting the AM tuning step
25
Switching the auxiliary setting
26
Setting the rear output and subwoofer
controller
26
Switching the ever scroll
27
Other Functions
Using the AUX source
28
Selecting AUX as the source 28
Turning the clock display on or off
28
Switching the display indication and button
illumination
28
Additional Information
Error messages
29
Handling guideline of discs and player
30
Dual Discs
31
Handling guideline of external storage device
(USB, SD) and this unit
31
USB storage device 31
SD memory card 32
Compressed audio compatibility (disc, USB,
SD)
32
Supplemental information of
compressed audio (disc, USB, SD)
32
Compressed audio files on the disc
33
Compressed audio files in the external
storage device (USB, SD)
33
Example of a hierarchy and playback
sequences
33
The sequence of audio files on the
disc
33
The sequence of audio files on the
external storage device (USB, SD)
33
iPod
34
iPod compatibility 34
About handling the iPod 34
About iPod settings 34
Copyright and trademark notice
34
Specifications
36
En
3
English
Contents

About this unit
CAUTION
! Do not allow this unit to come into contact
with liquids. Electrical shock could result.
Also, damage to this unit, smoke, and over-
heating could result from contact with liquids.
! "CLASS 1 LASER PRODUCT"
This product contains a laser diode of higher
class than 1. To ensure continued safety, do
not remove any covers or attempt to gain ac-
cess to the inside of the product. Refer all ser-
vicing to qualified personnel.
! Keep this manual handy as a reference for op-
erating procedures and precautions.
! Always keep the volume low enough so that
you can hear sounds from outside the vehicle.
! Protect this unit from moisture.
! If the battery is disconnected or discharged,
the preset memory will be erased and must be
reprogrammed.
Features
This unit is compatible with a wide variety of
file formats and media/storage devices.
File format compatibility
! WMA
! MP3
! AAC
! WAV
For details about compatibility, refer to Addi-
tional Information.
Media/storage device compatibility
! CD/CD-R/CD-RW
! USB portable audio player/USB memory
! SD memory card (SDHC compatible)
The SD memory card is only available for DEH-
4150SD.
Make inquiries to the manufacturer about
your USB portable audio player/USB memory
and SD memory card.
For details about compatibility, refer to Addi-
tional Information.
iPod compatibility
This unit can control and listen to songs on an
iPod.
For details about the supported iPod, refer to
iPod compatibility on page 34.
CAUTION
! Pioneer accepts no responsibility for data lost
on the USB memory/USB portable audio
player/SD memory card/SDHC memory card
even if that data is lost while using this unit.
! Pioneer accepts no responsibility for data lost
on the iPod even if that data is lost while
using this unit.
Visit our website
Visit us at the following site:
http://pioneer.jp/group/index-e.html
! We offer the latest information about
Pioneer Corporation on our website.
Protecting your unit from
theft
The front panel can be detached to deter theft.
Important
! Handle gently when removing or attaching
the front panel.
! Avoid subjecting the front panel to excessive
shock.
! Keep the front panel out of direct sunlight and
high temperatures.
! Before detaching, be sure to remove the AUX/
USB cable and USB device from the front
panel. Otherwise, this unit, connected device
or vehicle interior may be damaged.
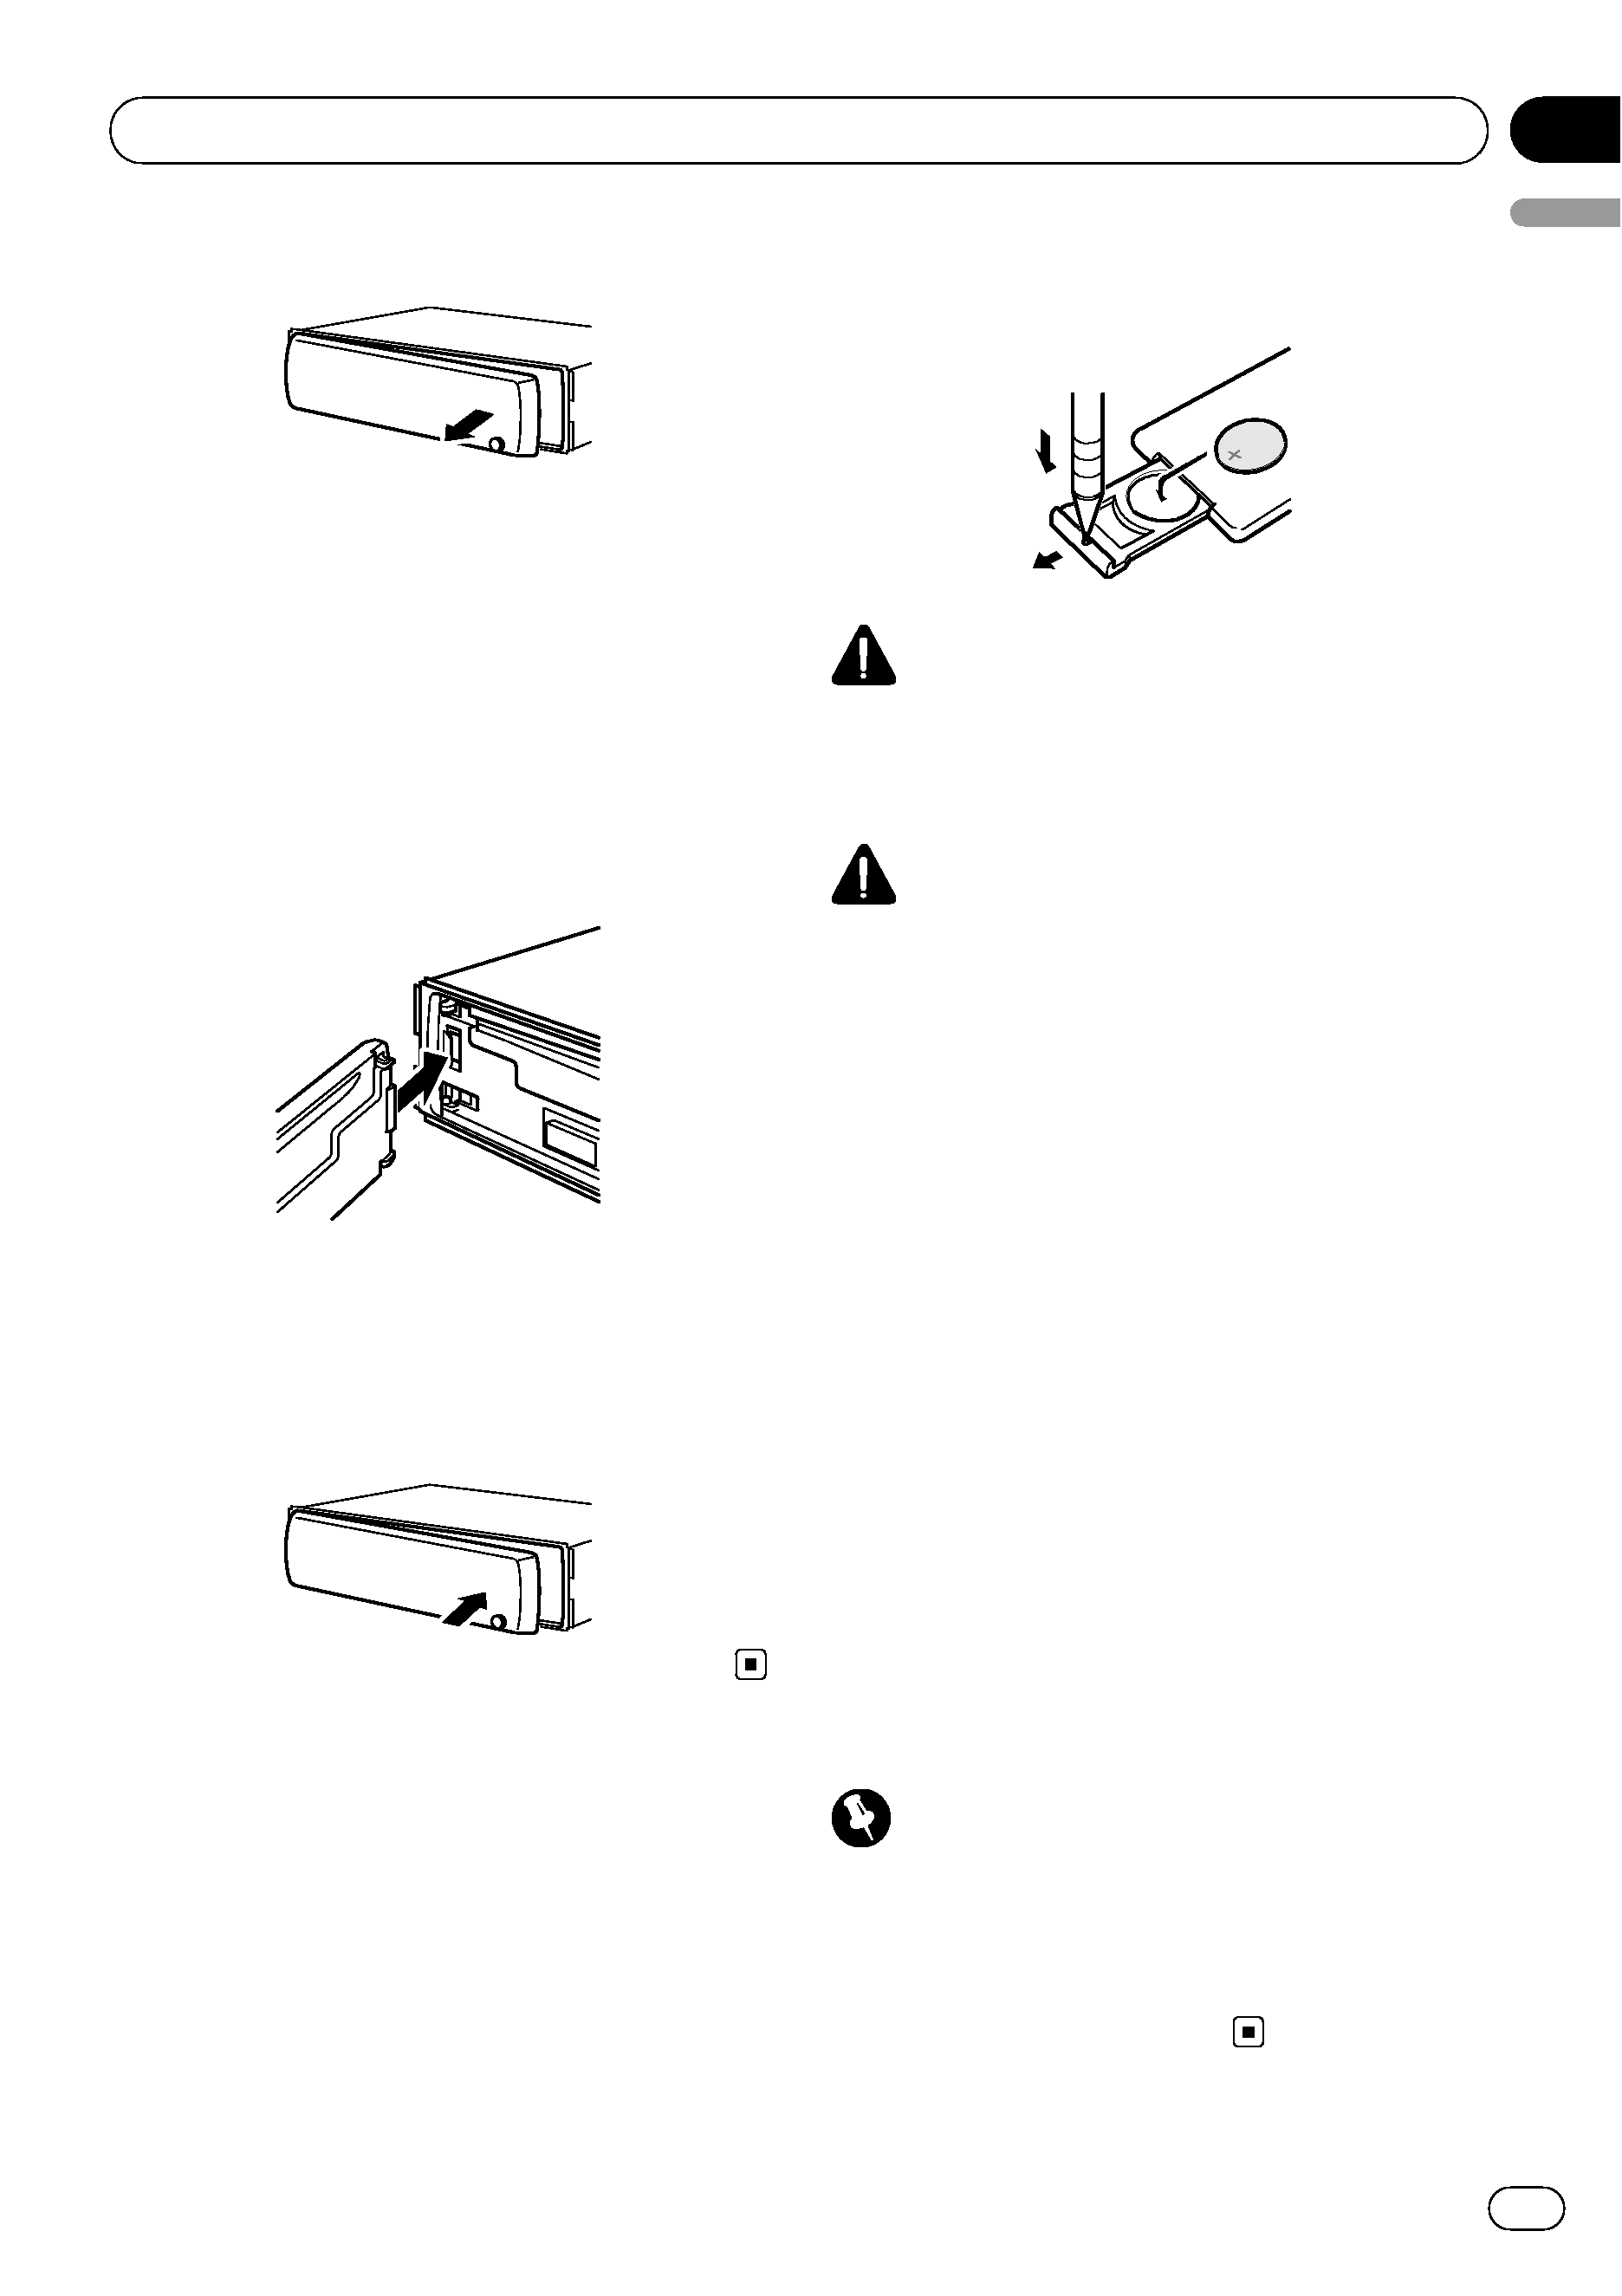
Removing the front panel
1
Press
(detach) to release the front
panel.
Before You Start
En
4
Section
01

2
Grab the front panel and remove.
3
Put the front panel into the provided
protective case for safe keeping.
Attaching the front panel
1
Slide the front panel to the left until it
clicks.
Front panel and the head unit are jointed on
the left side. Make sure that the front panel
has been jointed to the head unit.
2
Press the right side of the front panel
until it is firmly seated.
# If you can't attach the front panel to the head
unit successfully, try again. Front panel may be
damaged if you attach the front panel forcedly.
Use and care of the remote
control
Installing the battery
Slide the tray on the back of the remote con-
trol out and insert the battery with the plus (+)
and minus (
) poles aligned properly.
! When using for the first time, pull out the
film protruding from the tray.
WARNING
Keep the battery out of the reach of children.
Should the battery be swallowed, consult a doc-
tor immediately.
CAUTION
! Use one CR2025 (3 V) lithium battery.
! Remove the battery if the remote control is not
used for a month or longer.
! There is a danger of explosion if the battery is
incorrectly replaced. Replace only with the
same or equivalent type.
! Do not handle the battery with metallic tools.
! Do not store the battery with metallic objects.
! If the battery leaks, wipe the remote control
completely clean and install a new battery.
! When disposing of used batteries, comply
with governmental regulations or environmen-
tal public institutions
' rules that apply in your
country/area.
Using the remote control
Point the remote control in the direction of the
front panel to operate.
! The remote control may not function prop-
erly in direct sunlight.
Important
! Do not store the remote control in high tem-
peratures or direct sunlight.
! Do not let the remote control fall onto the
floor, where it may become jammed under the
brake or accelerator pedal.
Before You Start
En
5
English
Section
01
