CT-IS21
STEREO CASSETTE DECK
PLATINE CASSETTE STEREO
STEREO-CASSETTENDECK
DECK STEREO A CASSETTE
Operating Instructions
Mode d'emploi
Bedienungsanleitung
Istruzioni per l'uso
2
En/Fr
This product complies with the Low Voltage Directive
(73/23/EEC), EMC Directives (89/336/EEC, 92/31/EEC)
and CE Marking Directive (93/68/EEC).
THE POWER SWITCH IS SECONDARY CONNECTED
AND THEREFORE DOES NOT SEPARATE THE UNIT
FROM MAINS POWER IN STANDBY POSITION.
WARNING:TOPREVENTFIREORSHOCKHAZARD,
DO NOT EXPOSE THIS APPLIANCE TO RAIN OR
MOISTURE.
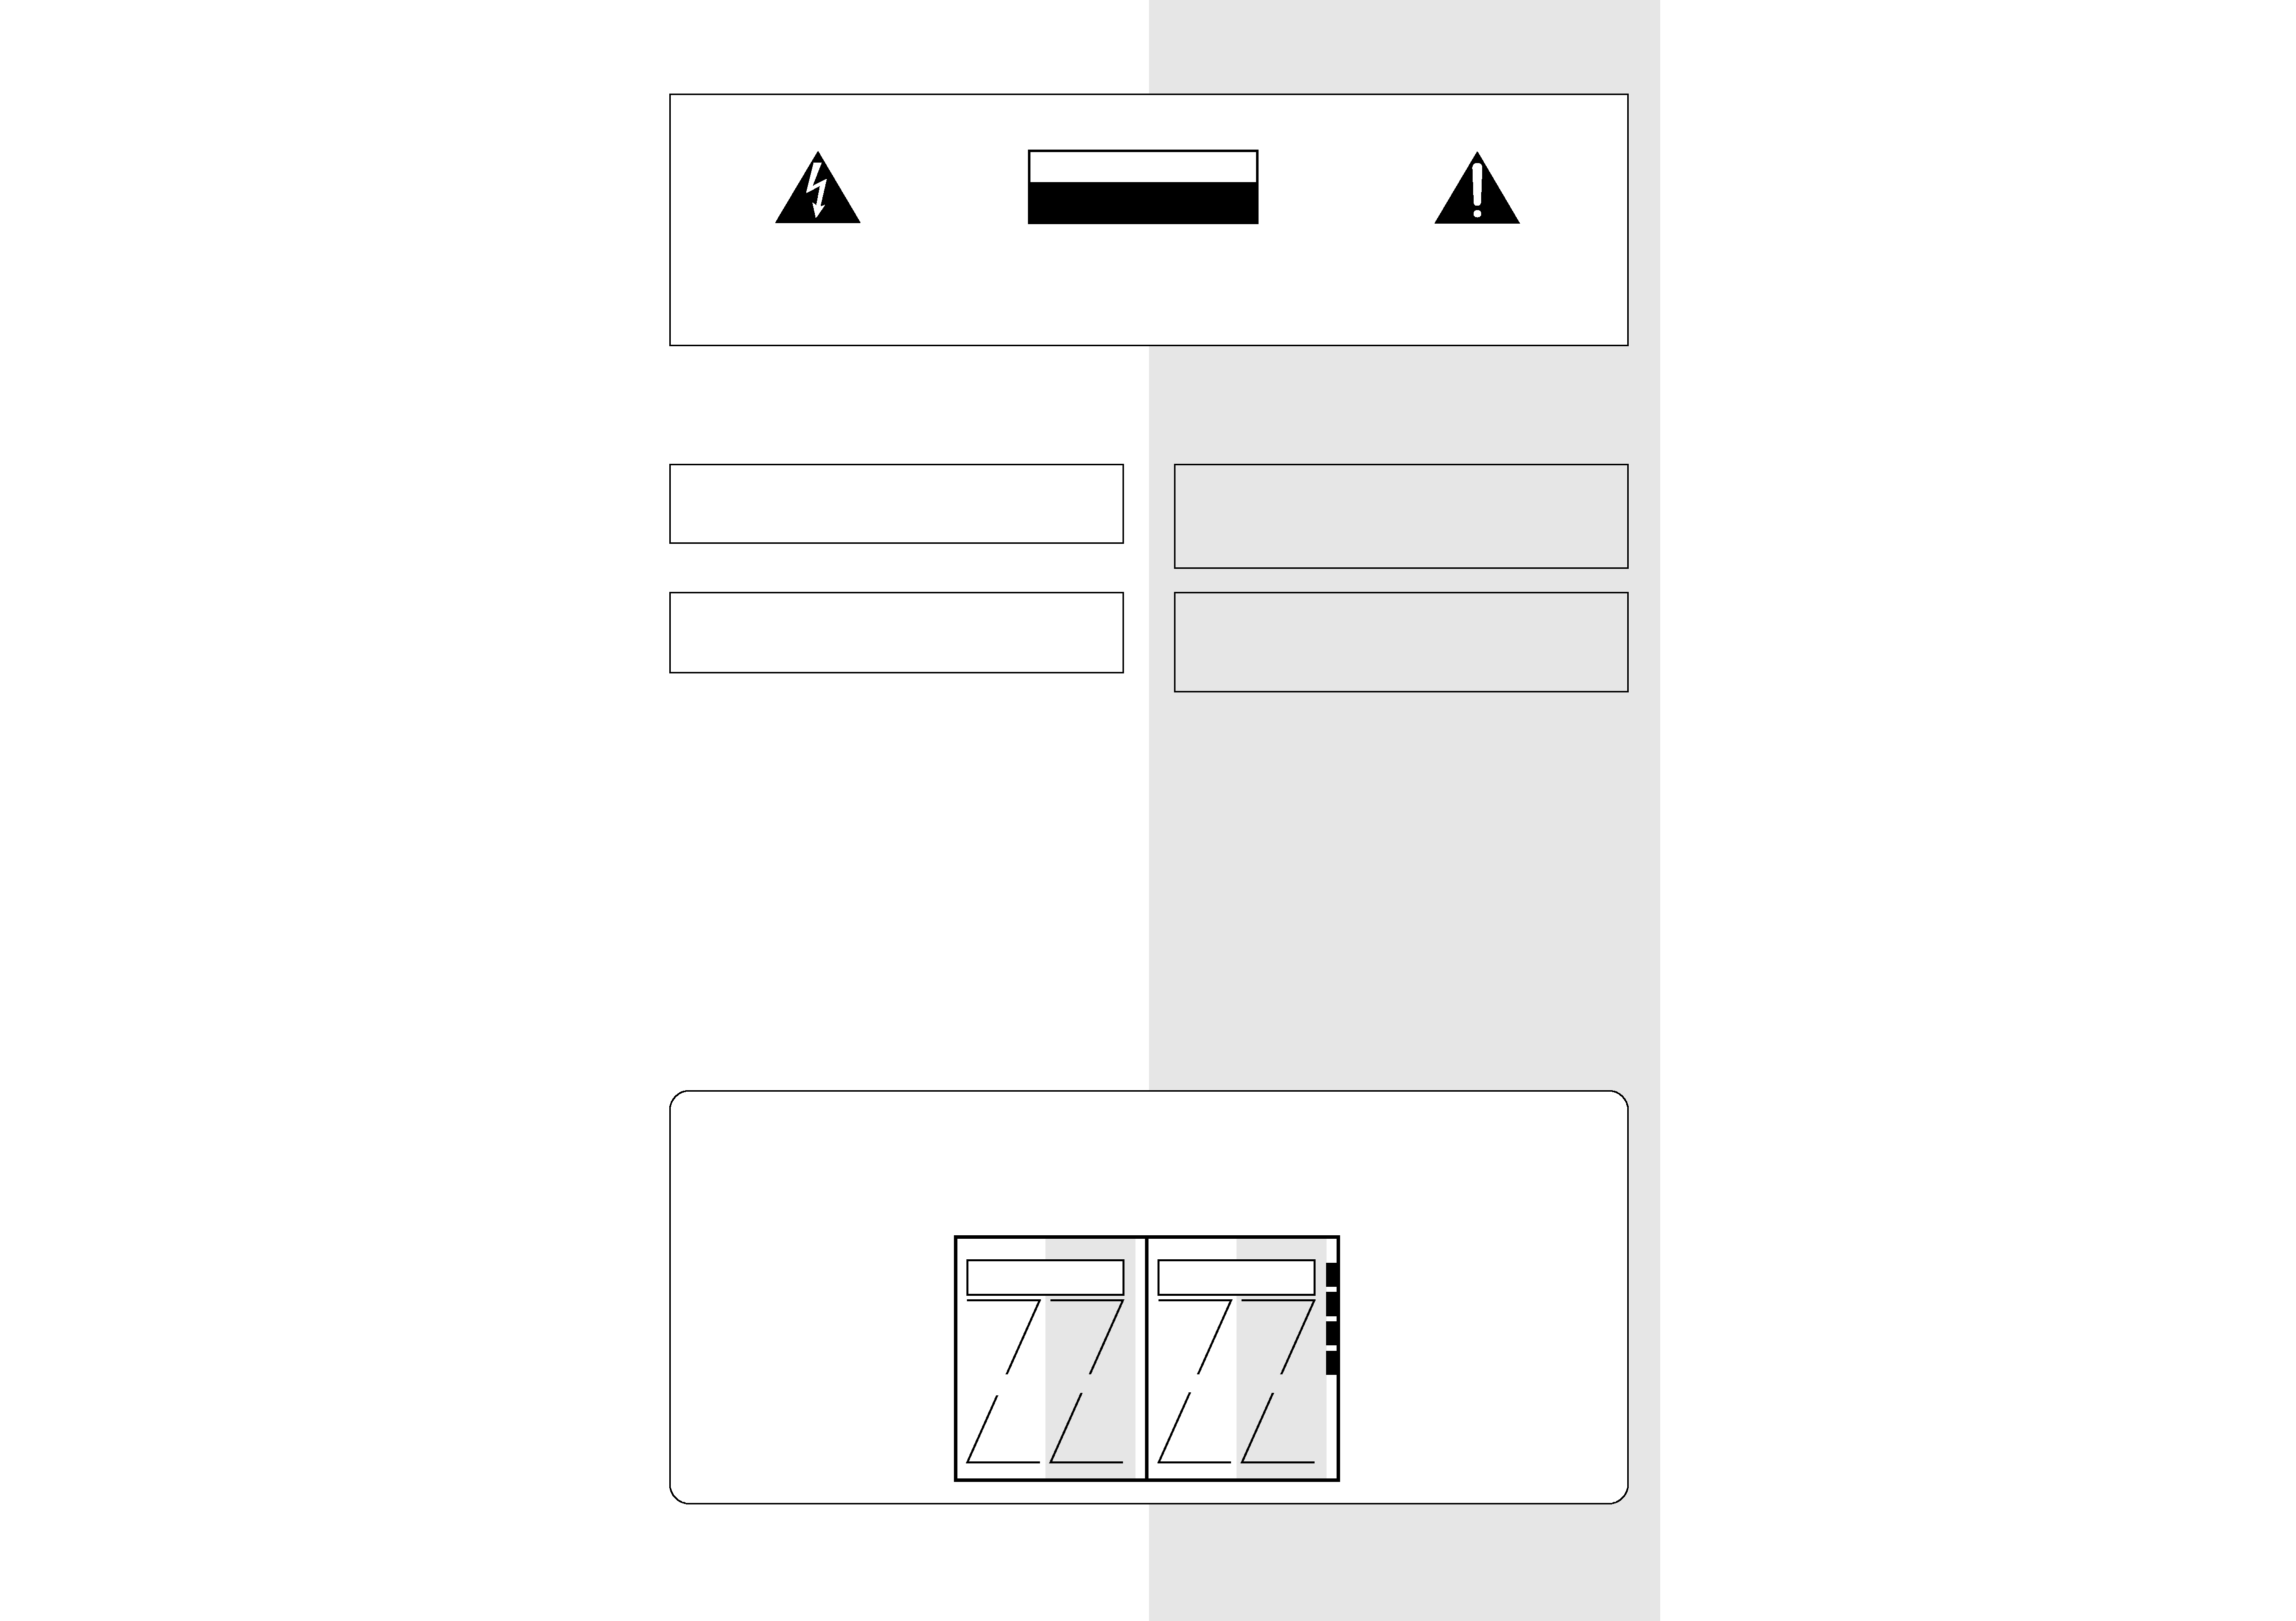
This Operation Manual has instructions in four lan-
guages. The basic layout (see the open-spread page
example below) features common illustrations to-
gether with four columns of instructions, each in a dif-
ferent language as shown.
English Français
Deutsch Italiano
English
Français
Deutsch
Italiano
Ce Mode d'emploi contient des explications en quatre
langues. La mise en page de base, illustrée par
l'exemple ci-dessous, présente des illustrations com-
munes et quatre colonnes explicatives, chacune dans
une langue différente.
RISK OF ELECTRIC SHOCK
DO NOT OPEN
CAUTION
IMPORTANT 1
CAUTION:
TO PREVENT THE RISK OF ELECTRIC SHOCK,
DO NOT REMOVE COVER (OR BACK). NO USER-
SERVICEABLE PARTS INSIDE. REFER SERVIC-
ING TO QUALIFIED SERVICE PERSONNEL.
The exclamation point within an equilateral
triangle is intended to alert the user to the
presence
of
important
operating
and
maintenance (servicing) instructions in the
literature accompanying the appliance.
The lightning flash with arrowhead symbol,
within an equilateral triangle, is intended to alert
the user to the presence of uninsulated
"dangerous voltage" within the product's
enclosure that may be of sufficient magnitude
to constitute a risk of electric shock to persons.
POWER-CORD CAUTION
Handle the power cord by the plug. Do not pull out the
plug by tugging the cord and never touch the power cord
when your hands are wet as this could cause a short
circuit or electric shock. Do not place the unit, a piece of
furniture, etc., on the power cord, or pinch the cord. Never
make a knot in the cord or tie it with other cords. The
power cords should be routed such that they are not
likely to be stepped on. A damaged power cord can cause
a fire or give you an electrical shock. Check the power
cord once in a while. When you find it damaged, ask
your nearest PIONEER authorized service center or your
dealer for a replacement.
NOTE IMPORTANTE SUR LE CABLE D'ALI-
MENTATION
Tenir le câble d'alimentation par la fiche. Ne pas
débrancher la prise en tirant sur le câble et ne pas toucher
le câble avec des mains mouillées. Cela risque de
provoquer un court-circuit ou un choc électrique. Ne pas
poser l'appareil ou un meuble sur le câble. Ne pas pin-
cer le câble. Ne pas faire de noeud avec le câble ou
l'attacher à d'autres câbles. Les câbles d'alimentation
doivent être posés de façon à ne pas être écrasés. Un
câble abîmé peut constituer un risque d'incendie ou un
choc électrique. Vérifier le câble d'alimentation de temps
en temps. Contacter le service après-vente PIONEER le
plus proche ou le revendeur pour un remplacement.
Ce produit est conforme à la directive relative aux appareils
basse tension (73/23/CEE), aux directives relatives à la
compatibilité électromagnétique (89/336/CEE, 92/31/CEE)
et à la directive CE relative aux marquages (93/68/CEE).
L'INTERRUPTEUR D'ALIMENTATION EST CONNECTE
PAR UN CIRCUIT SECONDAIRE ET IL NE COUPE DONC
PAS L'APPA-REIL DE L'ALIMENTATION SECTEUR
LORSQU'IL EST EN POSI-TION D'ATTENTE (STANDBY).
ATTENTION: AFIN DE PREVENIR TOUS RISQUES
DE CHOC ELECTRIQUE OU D'INCENDIE, NE PAS
EXPOSER CET APPAREIL A L'HUMIDITE OU A LA PLUIE.
English
Français
Deutsch
Italiano
3
Ge/It
Dieses Produkt entspricht den Niederspannungsrichtlinien
(73/23/EEC), EMV-Richtlinien (89/336/EEC, 92/31/EEC)
und den CE-Markierungsrichtlinien (93/68/EEC).
DER NETZSCHALTER IST MIT DEN SEKUNKÄR-
WICKLUNGEN VERBUNDEN UND TRENNT DAHER
IN DER BEREITSCHAFTSPOSITION DAS GERÄT
NICHT VOM NETZ.
WARNUNG: UM EINEN BRAND ODER STROM-
SCHLAG ZU VERMEIDEN, DIESES GERÄT NICHT REGEN
ODER FEUCHTIGKEIT AUSSETZEN.
L'INTERRUTTORE DI ALIMENTAZIONE È COLLE-
GATO AD UN CIRCUITO SECONDARIO E QUINDI,
NELLA POSIZIONE DI ATTESA (STANDBY), NON
SEPARA L'UNITÀ DALLA PRESA DI CORRENTE.
Questo prodotto è conforme alla direttiva sul basso
voltaggio (73/23/CEE), alle direttive EMC (89/336/CEE,
92/31/CEE) e alla direttiva sul marchio CE (93/68/CEE).
AVVERTENZA: PER EVITARE IL RESCHIO DI
FIAMME O SCOSSE ELETTRICHE, NON ESPORRE QUESTI
APPARECCHI ALLA PIOGGIA O ALL'UMIDITÀ.
English Français
Deutsch Italiano
English
Français
Deutsch
Italiano
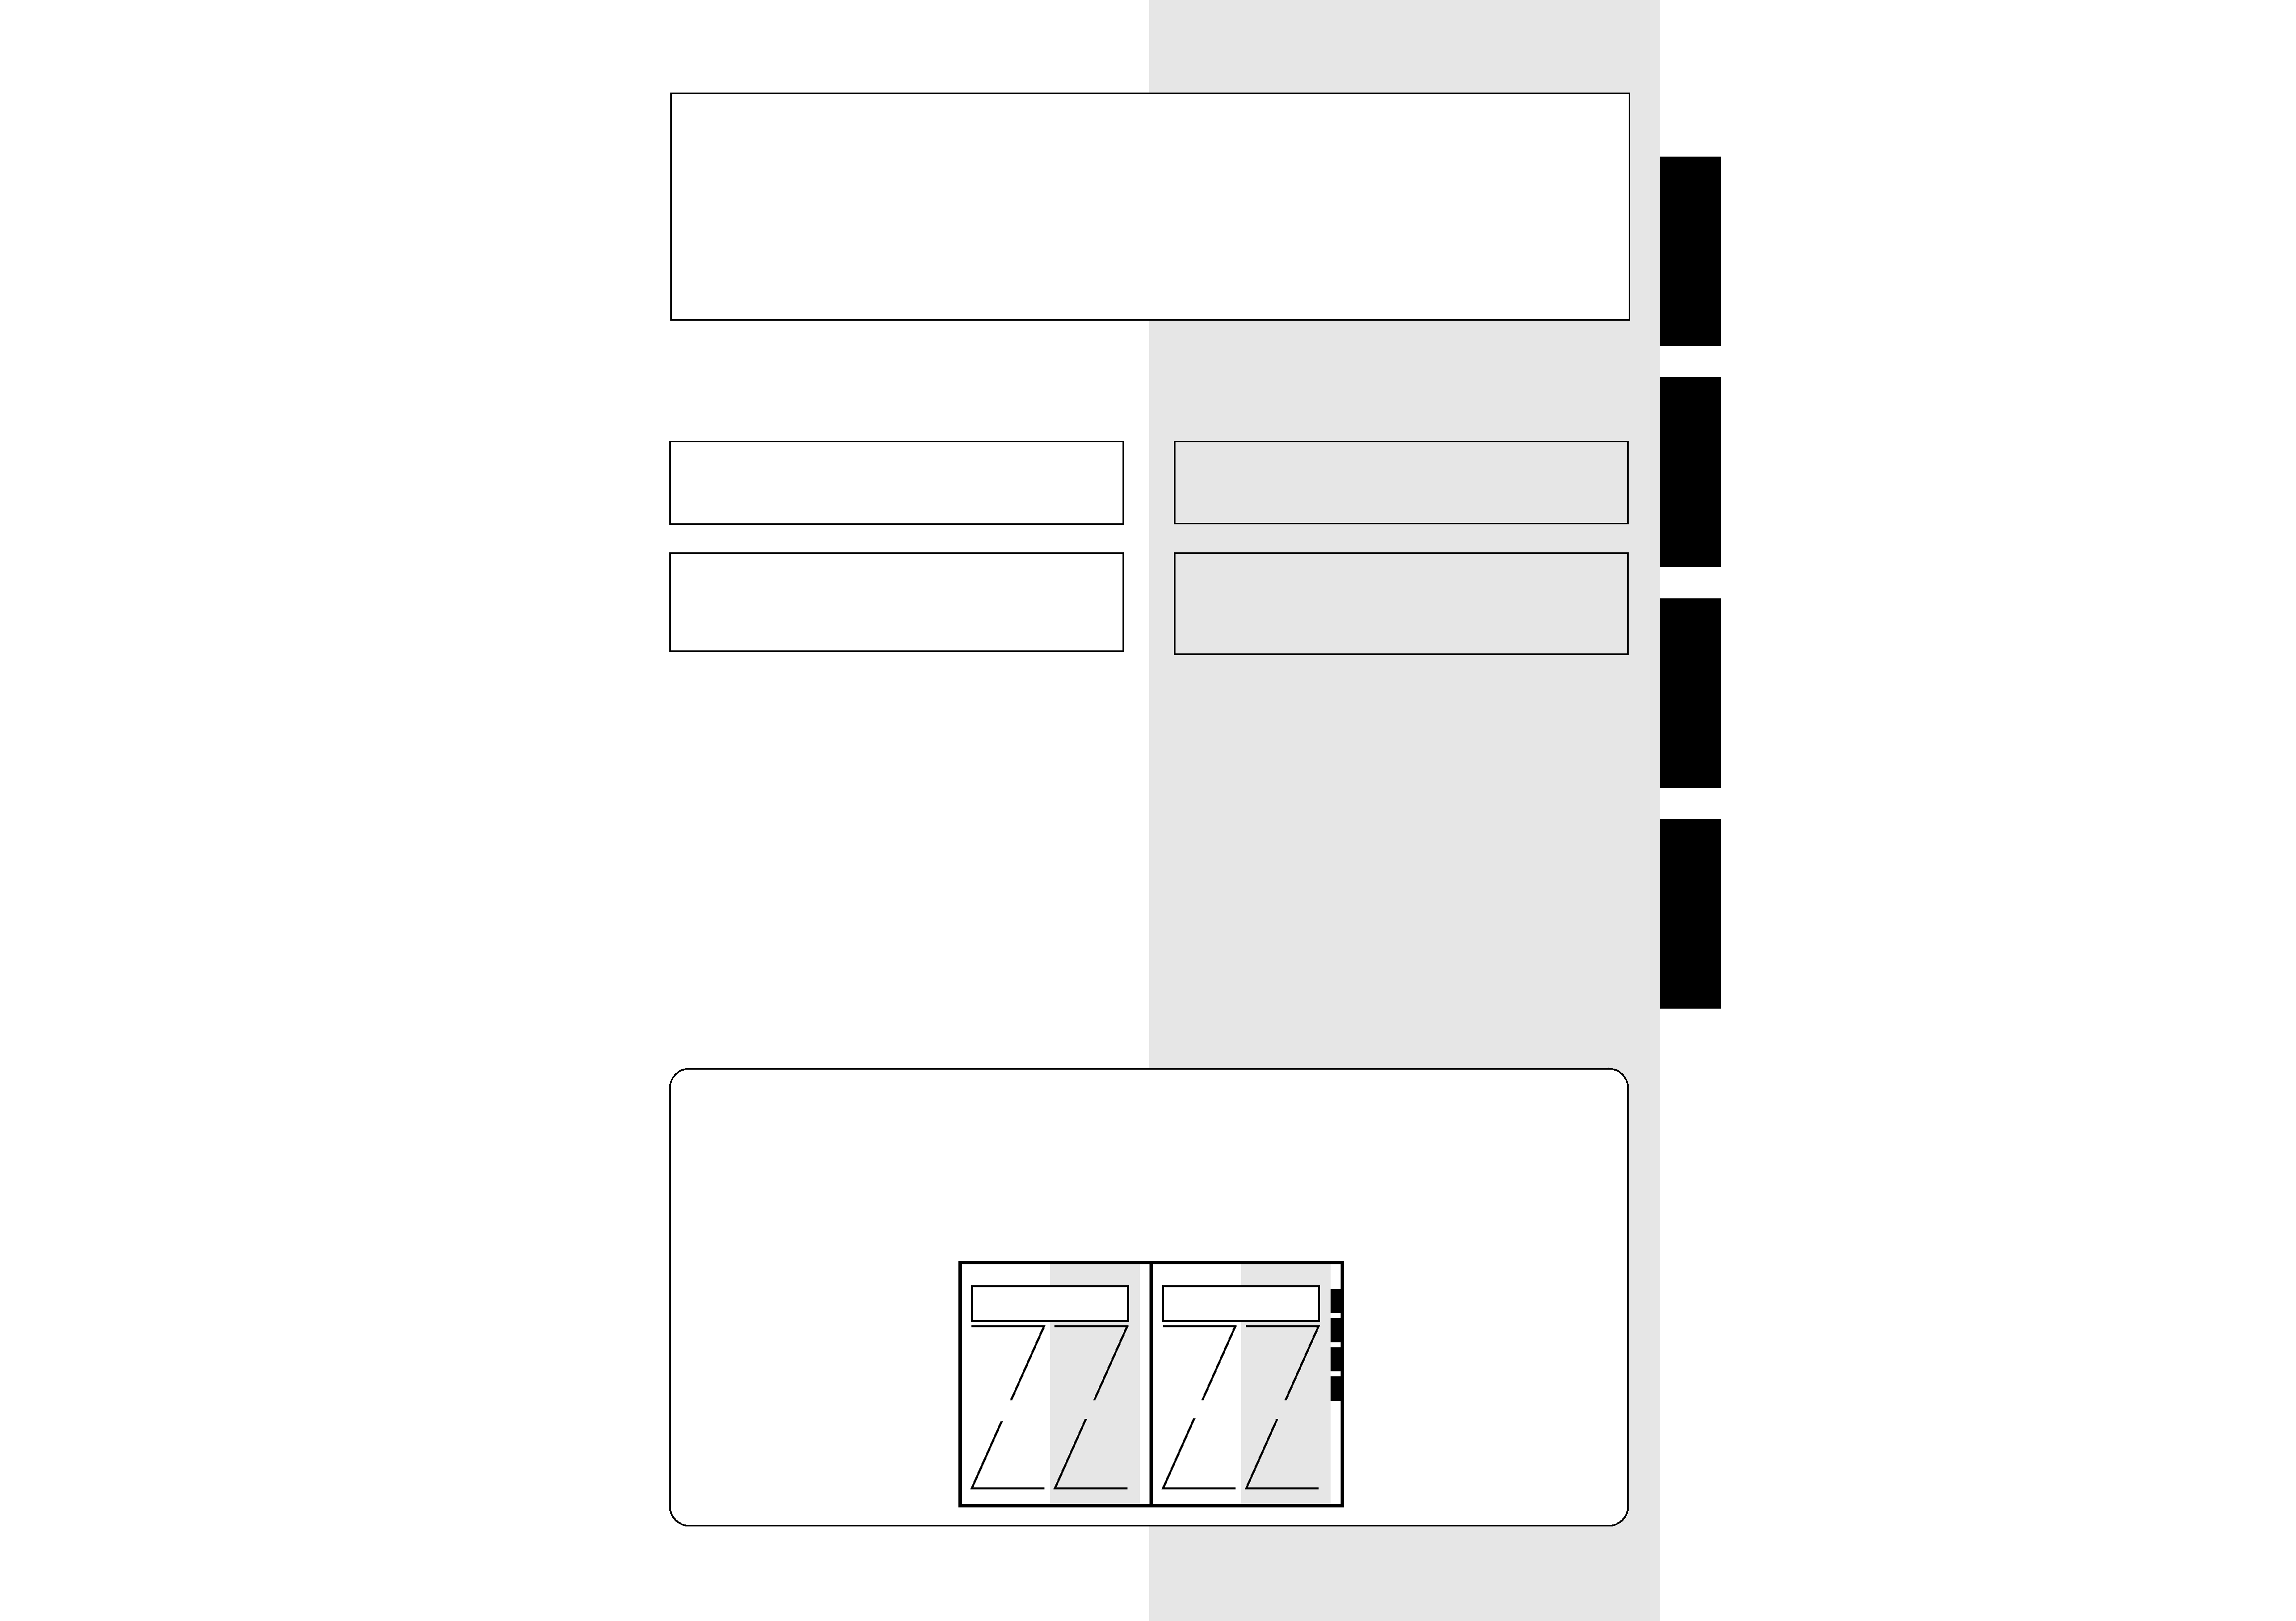
Diese Bedienungsanleitung ist in vier Sprachen
abgefaßt. Im grundlegenden Layout des Handbuchs
(siehe die nachstehende Abbildung) sind die allen vier
Sprachen gemeinsamen Abbildungen jeweils oben auf
einer Seite angeordnet, worunter sich zwei Spalten
mit Text in zwei Sprachen befinden. Auf der nächsten
Seite folgenden dann zwei Spalten mit Text in den
übrigen zwei Sprachen.
Questo Manuale di istruzioni è preparato in quattro
lingue. Come indicato nella configurazione di base
esemplificata qui di seguito, il manuale presenta delle
illustrazioni ad uso comune, seguite da quattro colonne
di istruzioni, ciascuna in una lingua diversa.
VORSICHT MIT DEM NETZKABEL
Fassen Sie das Netzkabel immer am Stecker. Ziehen Sie
nicht am Kabel selbst, und fassen Sie das Netzkabel
niemals mit nassen Händen an, da dies einen Kurzschluß
oder elektrischen Schlag verursachen kann. Stellen Sie
nicht das Gerät, Möbelstücke o.ä. auf das Netzkabel;
sehen Sie auch zu, daß es nicht eingeklemmt wird.
Machen Sie niemals einen Knoten in das Netzkabel, und
binden Sie es nicht mit anderen Kabeln. Das Netzkabel
sollte so gelegt werden, daß niemand darauf tritt. Ein
beschädigtes Netzkabel kann einen Brand oder
elektrischen Schlag verursachen. Prüfen Sie das
Netzkabel von Zeit zu Zeit. Sollte es beschädigt sein,
wenden Sie sich an lhre nächste autorisierte PIONEER-
Kundendienststelle oder lhren Händler, um es zu
ersetzen.
AVVERTIMENTO RIGUARDANTE IL FILO DI
ALIMENTAZIONE
Prendete sempre il filo di alimentazione per la spina. Non
tiratelo mai agendo per il filo stesso e non toccate mai il
filo con le mani bagnati, perchè questo potrebbe causare
cortocircuiti o scosse elettriche. Non collocate l'unità,
oppure dei mobili sopra il filo di alimentazione e
controllate che lo stesso non sia premuto. Non annodate
mai il filo di alimentazione nè collegatelo con altri fili. I
fili di alimentazione devono essere collocati in tal modo
che non saranno calpestati. Un filo di alimentazione
danneggiato potrebbe causare incendi o scosse
elettriche. Controllate il filo di alimentazione regolar-
mente. Quando localizzate un eventuale danno,
rivolgetevi al più vicino centro assistenza autorizzato della
PIONEER oppure al vostro rivenditore per la sostituzione
del filo di alimentazione.
IMPORTANT 2
FOR USE IN THE UNITED
KINGDOM
The wires in this mains lead are coloured in accord-
ance with the following code:
Blue :
Neutral
Brown :
Live
If the plug provided is unsuitable for your socket
outlets, the plug must be cut off and a suitable plug
fitted.
The cut-off plug should be disposed of and must
not be inserted into any 13 amp socket as this can
result in electric shock. The plug or adaptor of the
distribution panel should be provided with 5 amp
fuse. As the colours of the wires in the mains lead
of this appliance may not correspond with coloured
markings identifying the terminals in your plug,
proceed as follows:
The wire which is coloured blue must be connected
to the terminal which is marked with the letter N or
coloured black.
The wire which is coloured brown must be con-
nected to the terminal which is marked with the let-
ter L or coloured red.
Do not connect either wire to the earth terminal of
a three-pin plug.
NOTE
After replacing or changing a fuse, the fuse cover
in the plug must be replaced with a fuse cover which
corresponds to the colour of the insert in the base
of the plug or the word that is embossed on the
base of the plug, and the appliance must not be used
without a fuse cover. If lost, replacement fuse cov-
ers can be obtained from your dealer.
Only 5 A fuses approved by B.S.I. or A.S.T.A. to B.S.
1362 should be used.
English
Français
Deutsch
Italiano
Inhaltsverzeichnis
Indice
Wir danken lhnen für den Kauf dieses Pioneer-
Produkts.
Lesen Sie sich bitte diese Bedienungsanleitung
durch. Dann wissen Sie, wie Sie lhr Gerät richtig
bedienen. Bewahren Sie sie an einem sicheren
Platz auf, um auch zukünftig nachschlagen zu
können.
In manchen Ländern oder Verkaufsgebieten
weichen die Ausführungen von Netzstecker oder
Netzsteckdose u.U. von den in den Abbildungen
gezeigten ab; die Anschluß- und Bedienungs-
verfahren des Gerätes sind jedoch gleich.
Grazie per aver acquistato questo prodotto Pioneer.
Leggere attentamente questo manuale di istruzioni
per familiarizzarsi con l'uso dell'apparecchio.
Conservare poi il manuale per ogni eventuale fu-
turo riferimento.
I modelli disponibili in alcuni paesi o regioni
possono avere la forma della spina del cavo
d'alimentazione e della presa ausiliaria di corrente
diversa da quella mostrata nelle illustrazioni, ma il
loro modo di collegamento e funzionamento è lo
stesso.
Überprüfung des mitgelieferten Zubehörs .................. 7
Vorsichtshinweise zum Betrieb ..................................... 7
Anschlüsse ..................................................................... 8
Bedienungselemente an der Frontplatte .................... 11
Bandtransport-Betriebsartenanzeigen ................... 13
Fernbedienung ............................................................. 15
Einsetzen einer Cassette .............................................. 15
Handhabung von Cassettenbändern .......................... 17
Reinigen des Tonkopf-Bereichs .............................. 19
Entmagnetisieren des Tonkopfs ............................. 19
Wiedergabe von Cassetten ......................................... 21
Grundlegende Bedienung ...................................... 21
Aufsuchen eines bestimmten Titels
(Musiksuchlauf) ......................................................... 23
Bandaufnahme ............................................................ 25
Grundlegende Bedienung ...................................... 25
A.S.E.S.-Funktion (Automatisches Synchron-
Editiersystem) .............................................................. 29
Compact Disc
= Cassettenband (dieses Gerät) .... 29
Cassettenband (nur CD-Tuner-Cassettendeck)
= Cassettenband (dieses Gerät) ........................... 31
MiniDisc (nur CD-MD-Tuner)
= Cassettenband (dieses Gerät) ........................... 35
Cassettenband (dieses Gerät)
= Cassettenband
(nur CD-Tuner-Cassettendeck) ............................... 37
Cassettenband (dieses Gerät)
= MiniDisc
(nur CD-MD-Tuner) ................................................. 41
Unbeaufsichtige Aufnahme
(timergesteuerte Aufnahme) ....................................... 45
Weck-Timer .................................................................. 49
Fehlersuche .................................................................. 52
Technische Daten ......................................................... 55
Verifica degli accessori forniti ....................................... 7
Avvertenze per l'uso ...................................................... 7
Collegamenti .................................................................. 8
Comandi e indicazioni del pannello anteriore ............ 11
Indicazioni della modalità di movimento del nastro 13
Telecomando ................................................................ 15
Inserimento delle nastrocassetta ................................ 15
Avvertenze per l'uso delle cassette ............................. 17
Pulizia delle testine ................................................. 19
Smagnetizzazione delle testine .............................. 19
Riproduzione di nastrocassette ................................... 21
Operazioni principali .............................................. 21
Ricerca di un certo brano specifico
(ricerca musicale) .................................................... 23
Registrazione su nastro a cassette .............................. 25
Operazioni principali .............................................. 25
Funzione A.S.E.S. (Auto Synchro Editing System =
Sistema di montaggio a sincronizzazione automatica) 29
CD
= Nastro (questo apparecchio) ....................... 29
Nastro (solo nel caso del CD/Registratore/
Sintonizzatore)
= Nastro (questo apparecchio) ... 31
MD (solo nel caso del CD/MINI DISC/Sintonizzatore)
= Nastro (questo apparecchio) ............................. 35
Nastro (questo apparecchio)
= Nastro (solo nel
caso del CD/Registratore/Sintonizzatore) .............. 37
Nastro (questo apparecchio)
= MD (solo nel caso
del CD/MINI DISC/Sintonizzatore) .......................... 41
Registrazione in assenza
(Registrazione a mezzo timer) ..................................... 45
Timer per l'entrata in funzione ad un'ora determinata . 49
Diagnostica .................................................................. 53
Dati tecnici .................................................................... 55
Thank you for buying this Pioneer product.
Please read through these operating instructions
so you will know how to operate your model prop-
erly. After you have finished reading the instruc-
tions, put them away in a safe place for future ref-
erence.
In some countries or regions, the shape of the
power plug and power outlet may sometimes dif-
fer from that shown in the explanatory drawings.
However, the method of connecting and operat-
ing the unit is the same.
Contents
Confirm Supplied Accessories ...................................... 6
Cautions Regarding Handling ....................................... 6
Connections ................................................................... 8
Front Panel Facilities .................................................... 10
Tape Transportation Mode Indicators .................... 12
Remote Control ............................................................ 14
Loading a Cassette Tape .............................................. 14
How to Handle Cassette Tapes .................................... 16
Cleaning the head section ...................................... 18
Demagnetizing the head ........................................ 18
Playing a Cassette Tape ............................................... 20
Basic operations ..................................................... 20
To search for a particular track (Music Search) ..... 22
Recording on a Cassette Tape ..................................... 24
Basic operations ..................................................... 24
A.S.E.S. (Auto Synchro Editing System) .................... 28
CD
= TAPE (this unit) ............................................. 28
TAPE (CD Tuner Deck only)
= TAPE (this unit) ..... 30
MD (CD MD Tuner only)
= TAPE (this unit) .......... 34
TAPE (this unit)
= TAPE (CD Tuner Deck only) ..... 36
TAPE (this unit)
= MD (CD MD Tuner only) .......... 40
Unaccompanied Recording (Timer Recording) .......... 44
Wake-up Timer ............................................................. 48
Troubleshooting ........................................................... 50
Specifications ............................................................... 54
Nous vous remercions pour cet achat d'un produit
Pioneer.
Nous vous demandons de lire soigneusement ce
mode d'emploi; vous serez ainsi à même de faire
fonctionner l'appareil correctement. Après avoir
bien lu le mode d'emploi, rangez-le dans un endroit
sûr pour pouvoir vous y référer ultérieurement.
Dans certains pays ou certaines régions, la forme
de la fiche d'alimentation et de la prise
d'alimentation peut différer de celle qui figure sur
les schémas, mais les branchements et le fonction-
nement de l'appareil restent les mêmes.
Table des matières
Vérification des accessoires fournis ............................. 6
Précautions relatives au maniement ............................ 6
Les branchements ......................................................... 8
Organes du panneau avant ......................................... 10
Voyants de mode de transport de bande .............. 12
Télécommande ............................................................ 14
Mise en place d'une cassette ...................................... 14
Comment manipuler les cassettes .............................. 16
Nettoyage des têtes ................................................ 18
Démagnétisation des têtes ..................................... 18
Lecture d'une cassette ................................................. 20
Démarches de base ................................................ 20
Recherche d'une plage particulière
(Recherche musicale) .............................................. 22
Enregistrement sur une cassette ................................ 24
Démarches de base ................................................ 24
A.S.E.S. (Système de montage à synchronisation
automatique) ................................................................ 28
CD
= CASSETTE (Cet appareil) ............................. 28
CASSETTE (Combiné radio/cassette/CD seulement)
= CASSETTE (Cet appareil) ................................... 30
MD (Combiné radio/MD/CD seulement)
= CASSETTE (Cet appareil) ................................... 34
CASSETTE (Cet appareil)
= CASSETTE (Combiné
radio/cassette/CD seulement) ................................ 36
CASSETTE (Cet appareil)
= MD (Combiné radio/
MD/CD seulement) .................................................. 40
Enregistrement sans présence
(Enregistrement par minuterie) ................................... 44
Minuterie de réveil ....................................................... 48
Guide de dépannage ................................................... 51
Fiche technique ............................................................ 54
5
Ge/It
4
En/Fr
