En
5.1ch Home Theater Speaker Package
HTP-320
SKS-HT320
SKW-320X
POWERED SUBWOOFER
SKF-320F
FRONT SPEAKER
SKC-320C
CENTER SPEAKER
SKM-320S
SURROUND SPEAKER
Instruction Manual
Thank you for purchasing an Onkyo home theater
speaker package. Please read this manual thoroughly
before using your new speakers. Following the
instructions in this manual will enable you to obtain
optimum performance and listening enjoyment from
your speaker package.
Please retain this manual for future reference.
Contents
Getting Started
Important Safeguards........................ 2
Precautions........................................ 3
Package Contents.............................. 3
Getting to Know Your Speaker
Package ...................................... 4
Installing & Using
About Home Theater ........................ 5
Connecting the Speakers................... 6
Connecting the Power Cord.............. 6
Adjustment........................................ 6
Appendix
Caring for Your Speakers .................. 7
Troubleshooting ................................ 7
Specifications........... Back cover page
2
Important Safeguards
1. Read Instructions All the safety and operating
instructions should be read before the appliance is
operated.
2. Retain Instructions The safety and operating
instructions should be retained for future reference.
3. Heed Warnings All warnings on the appliance and
in the operating instructions should be adhered to.
4. Follow Instructions All operating and use
instructions should be followed.
5. Cleaning Unplug the appliance from the wall out-
let before cleaning. The appliance should be
cleaned only as recommended by the manufacturer.
6. Attachments Do not use attachments not recom-
mended by the appliance manufacturer as they may
cause hazards.
7. Water and Moisture Do not use the appliance near
water for example, near a bath tub, wash bowl,
kitchen sink, or laundry tub; in a wet basement; or
near a swimming pool; and the like.
8. Accessories Do not place the appliance on an
unstable cart, stand, tripod, bracket, or table. The
appliance may fall, causing serious injury to a child
or adult, and serious damage to the appliance. Use
only with a cart, stand, tripod, bracket, or table rec-
ommended by the manufacturer, or sold with the
appliance. Any mounting of the appliance should
follow the manufacturer's instructions, and should
use a mounting accessory recommended by the
manufacturer.
9. An appliance and cart com-
bination should be moved
with
care.
Quick
stops,
excessive force, and uneven
surfaces
may
cause
the
appliance and cart combina-
tion to overturn.
10. Ventilation Slots and openings in the cabinet are
provided for ventilation and to ensure reliable oper-
ation of the appliance and to protect it from over-
heating, and these openings must not be blocked or
covered. The openings should never be blocked by
placing the appliance on a bed, sofa, rug, or other
similar surface. The appliance should not be placed
in a built-in installation such as a bookcase or rack
unless proper ventilation is provided. There should
be free space of at least 20 cm (8 in.) and an open-
ing behind the appliance.
11. Power Sources The appliance should be operated
only from the type of power source indicated on the
marking label. If you are not sure of the type of
power supply to your home, consult your appliance
dealer or local power company.
12. Grounding or Polarization The appliance may
be equipped with a polarized alternating current line
plug (a plug having one blade wider than the other).
This plug will fit into the power outlet only one way.
This is a safety feature. If you are unable to insert
the plug fully into the outlet, try reversing the plug.
If the plug should still fail to fit, contact your elec-
trician to replace your obsolete outlet. Do not defeat
the safety purpose of the polarized plug.
13. Power-Cord Protection Power-supply cords
should be routed so that they are not likely to be
walked on or pinched by items placed upon or
against them, paying particular attention to cords at
plugs, convenience receptacles, and the point where
they exit from the appliance.
14. Lightning For added protection for the appliance
during a lightning storm, or when it is left unat-
tended and unused for long periods of time, unplug
it from the wall outlet and disconnect the antenna or
cable system. This will prevent damage to the appli-
ance due to lightning and power-line surges.
15. Overloading Do not overload wall outlets, exten-
sion cords, or integral convenience receptacles as
this can result in a risk of fire or electric shock.
16. Object and Liquid Entry Never push objects of
any kind into the appliance through openings as
they may touch dangerous voltage points or short-
out parts that could result in a fire or electric shock.
Never spill liquid of any kind on the appliance.
17. Servicing Do not attempt to service the appliance
yourself as opening or removing covers may expose
you to dangerous voltage or other hazards. Refer all
servicing to qualified service personnel.
WARNING:
TO REDUCE THE RISK OF FIRE OR ELECTRIC
SHOCK, DO NOT EXPOSE THIS APPLIANCE TO
RAIN OR MOISTURE.
CAUTION:
TO REDUCE THE RISK OF ELECTRIC SHOCK, DO
NOT REMOVE COVER (OR BACK). NO USER-
SERVICEABLE PARTS INSIDE. REFER SERVICING
TO QUALIFIED SERVICE PERSONNEL.
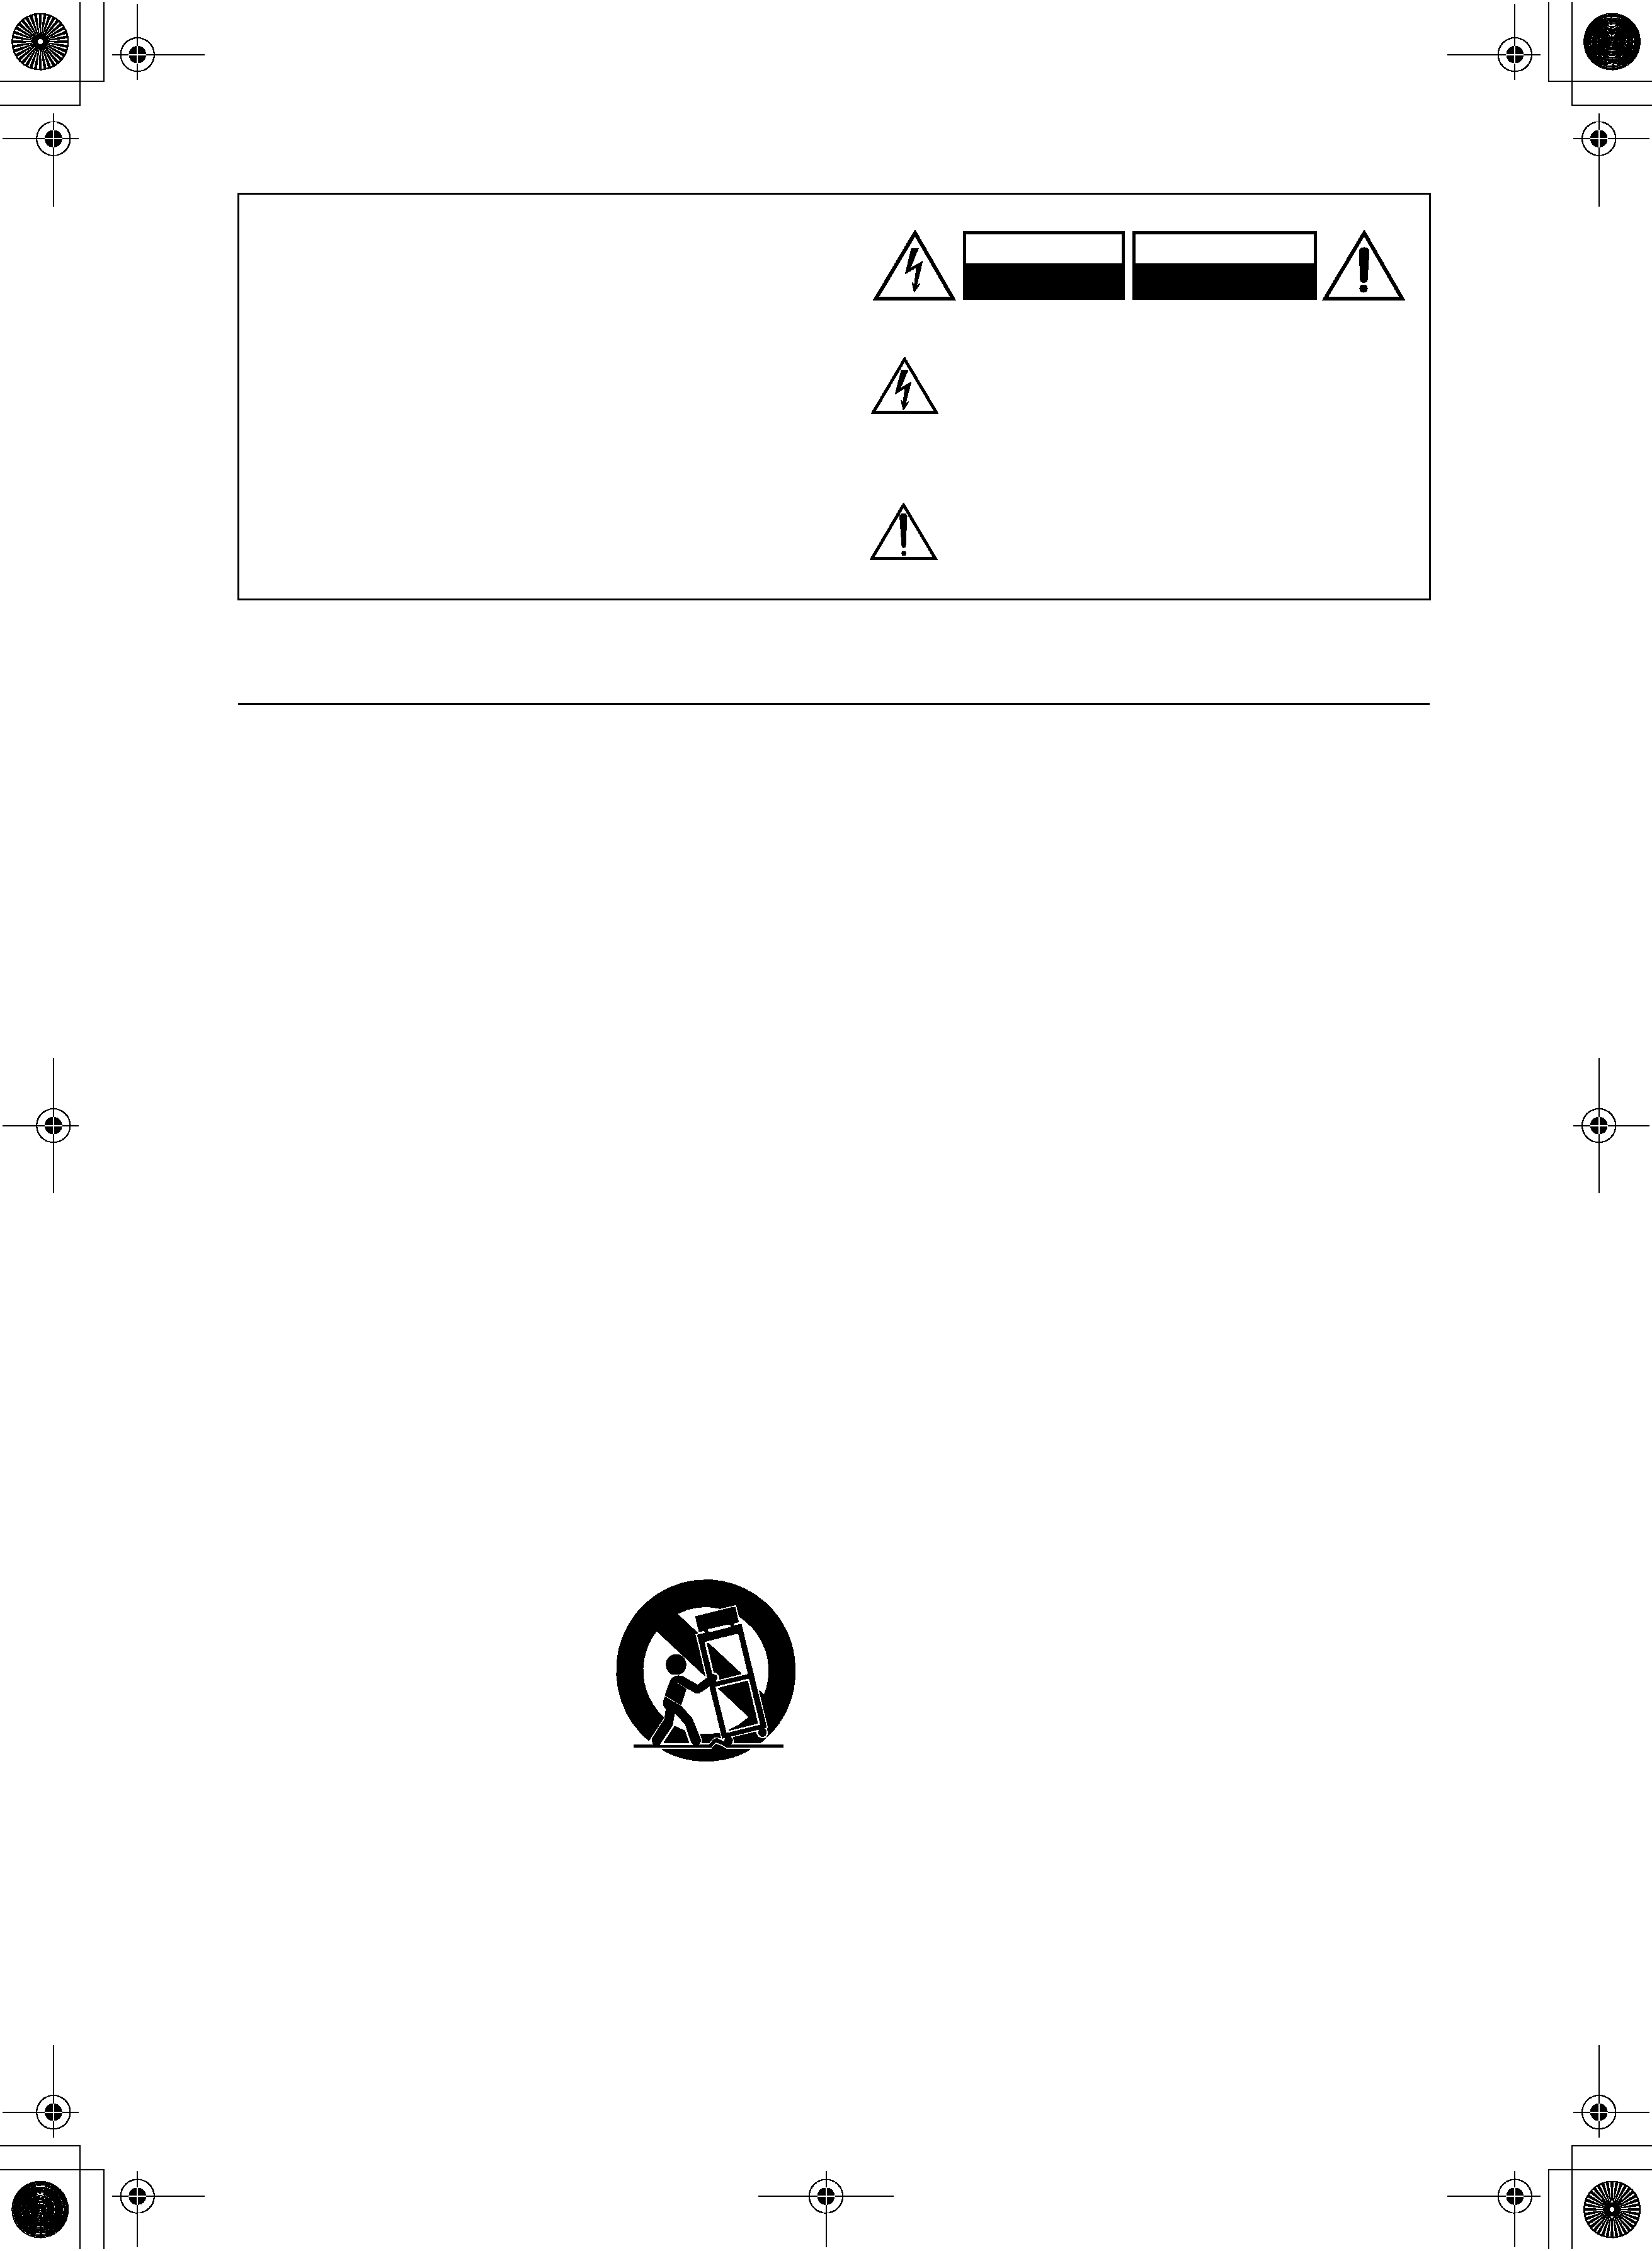
The lightning flash with arrowhead symbol, within an
equilateral triangle, is intended to alert the user to the
presence of uninsulated "dangerous voltage" within
the product's enclosure that may be of sufficient
magnitude to constitute a risk of electric shock to
persons.
The exclamation point within an equilateral triangle is
intended to alert the user to the presence of important
operating and maintenance (servicing) instructions in
the literature accompanying the appliance.
WARNING
RISK OF ELECTRIC SHOCK
DO NOT OPEN
RISQUE DE CHOC ELECTRIQUE
NE PAS
OUVRIR
AVIS
PORTABLE CART WARNING
S3125A
3
Important Safeguards--Continued
18. Damage Requiring Service Unplug the appli-
ance from the wall outlet and refer servicing to
qualified service personnel under the following con-
ditions:
A. When the power-supply cord or plug is dam-
aged,
B. If liquid has been spilled, or objects have fallen
into the appliance,
C. If the appliance has been exposed to rain or
water,
D. If the appliance does not operate normally by
following the operating instructions. Adjust only
those controls that are covered by the operating
instructions as an improper adjustment of other
controls may result in damage and will often
require extensive work by a qualified technician
to restore the appliance to its normal operation,
E. If the appliance has been dropped or damaged in
any way, and
F. When the appliance exhibits a distinct change in
performance this indicates a need for service.
19. Replacement Parts When replacement parts are
required, be sure the service technician has used
replacement parts specified by the manufacturer or
have the same characteristics as the original part.
Unauthorized substitutions may result in fire, elec-
tric shock, or other hazards.
20. Safety Check Upon completion of any service or
repairs to the appliance, ask the service technician
to perform safety checks to determine that the appli-
ance is in proper operation condition.
21. Wall or Ceiling Mounting The appliance should
be mounted to a wall or ceiling only as recom-
mended by the manufacturer.
22. Heat The appliance should be situated away from
heat sources such as radiators, heat registers, stoves,
or other appliances (including amplifiers) that pro-
duce heat.
23. Liquid Hazards The appliance should not be
exposed to dripping or splashing and no objects
filled with liquids, such as vases should be placed
on the appliance.
Precautions
1. AC Fuse
The fuse is located inside the chassis and is not userser-
viceable. If power does not come on, contact your Onkyo
authorized service station.
2. Care
From time to time you should wipe off the front and rear
panels and the cabinet with a soft cloth. For heavier dirt,
dampen a soft cloth in a weak solution of mild detergent
and water, wring it out dry, and wipe off the dirt. Follow-
ing this, dry immediately with a clean cloth. Do not use
rough material, thinners, alcohol or other chemical sol-
vents or cloths since these may damage the finish or
remove the panel lettering.
Use a vacuum cleaner to remove dust from hard-to-reach
grilles.
3. Power
WARNING
BEFORE PLUGGING IN THE UNIT FOR THE
FIRST TIME, READ THE FOLLOWING SECTION
CAREFULLY.
The voltage of the available power supply differs
according to country or region. Be sure that the power
supply voltage of the area where this unit will be used
meets the required voltage (e.g., AC 120 V, 60 Hz) writ-
ten on the rear panel.
Package Contents
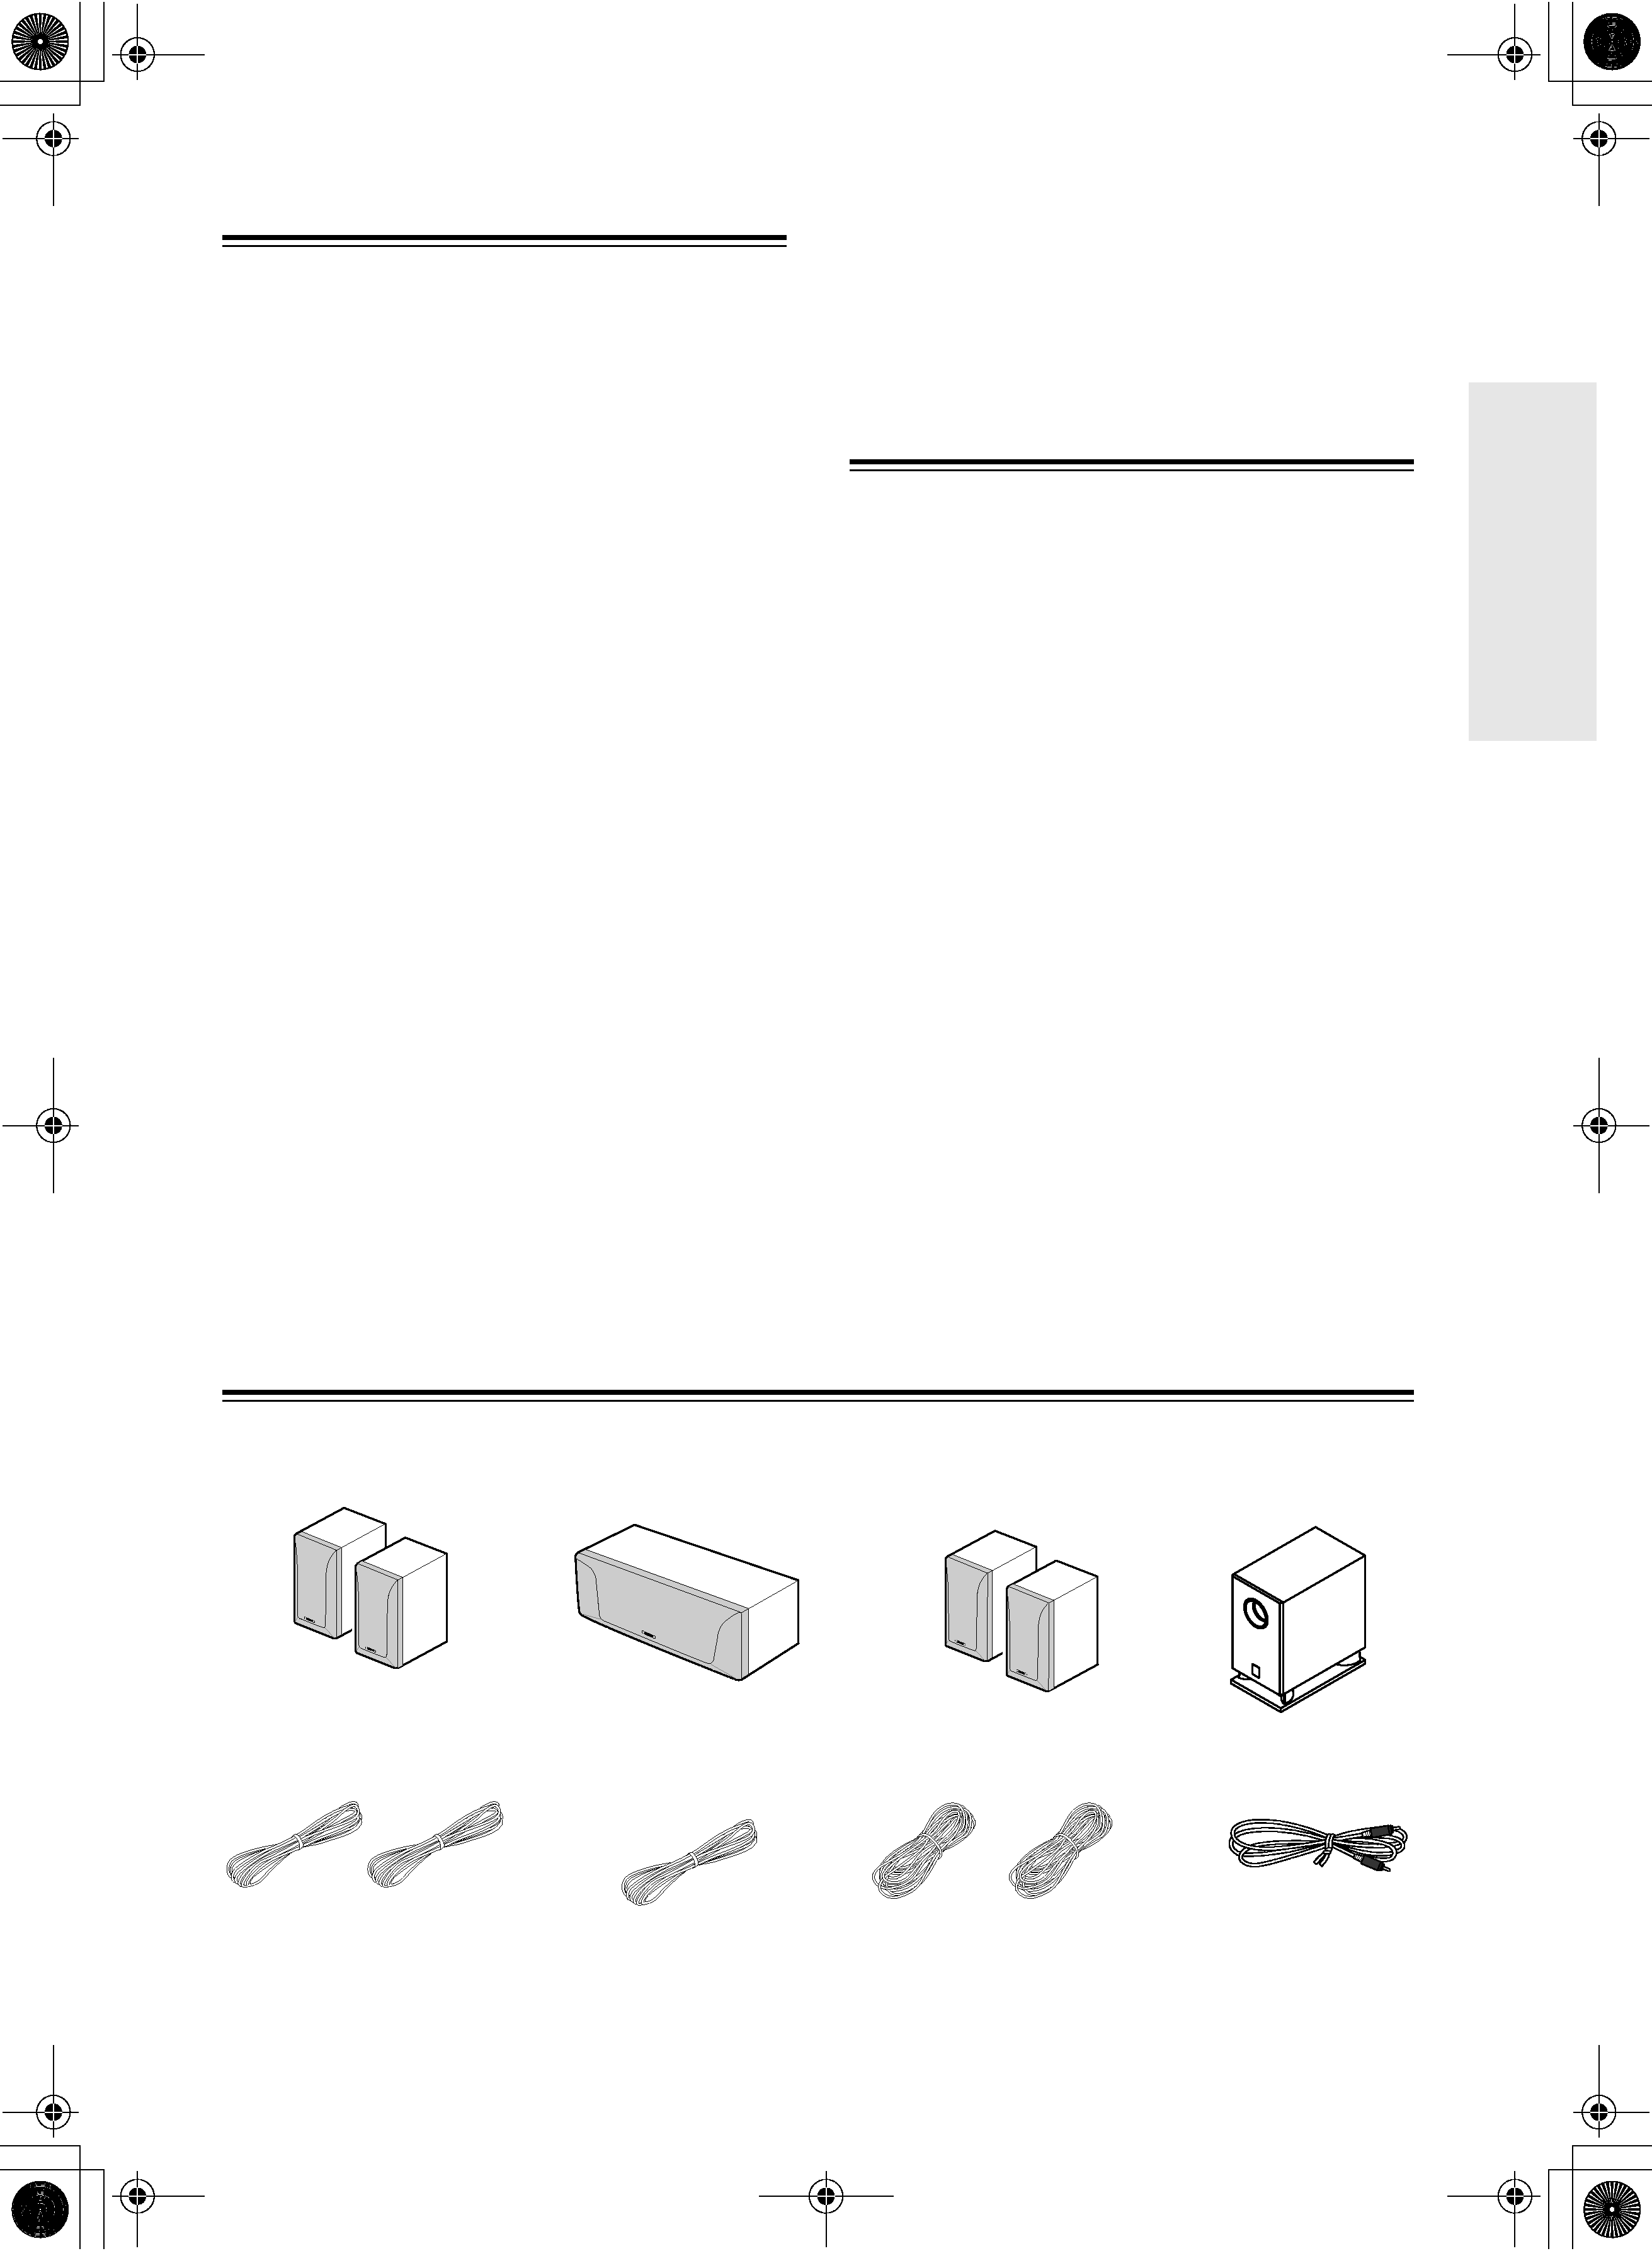
Make sure your box contains all of the items below. If anything is missing, contact the nearest Onkyo dealer.
The alphabet displayed at the end of the product name found in catalogs and on package represents the color of
HTP-320. Though the color varies, the specifications and operations are the same.
· Front speakers (SKF-320F)
· Speaker cable for front
speakers 15 ft. (4.5 m)
(Red)
(White)
· Center speaker
(SKC-320C)
· Speaker cable for
center speaker 10 ft.
(3 m)
(Green)
· Surround speakers
(SKM-320S)
· Speaker cables for sur-
round speakers 30 ft. (9 m)
(Blue)
(Gray)
· Subwoofer
(SKW-320X)
· RCA cable for sub-
woofer connection
4
Getting to Know Your Speaker Package
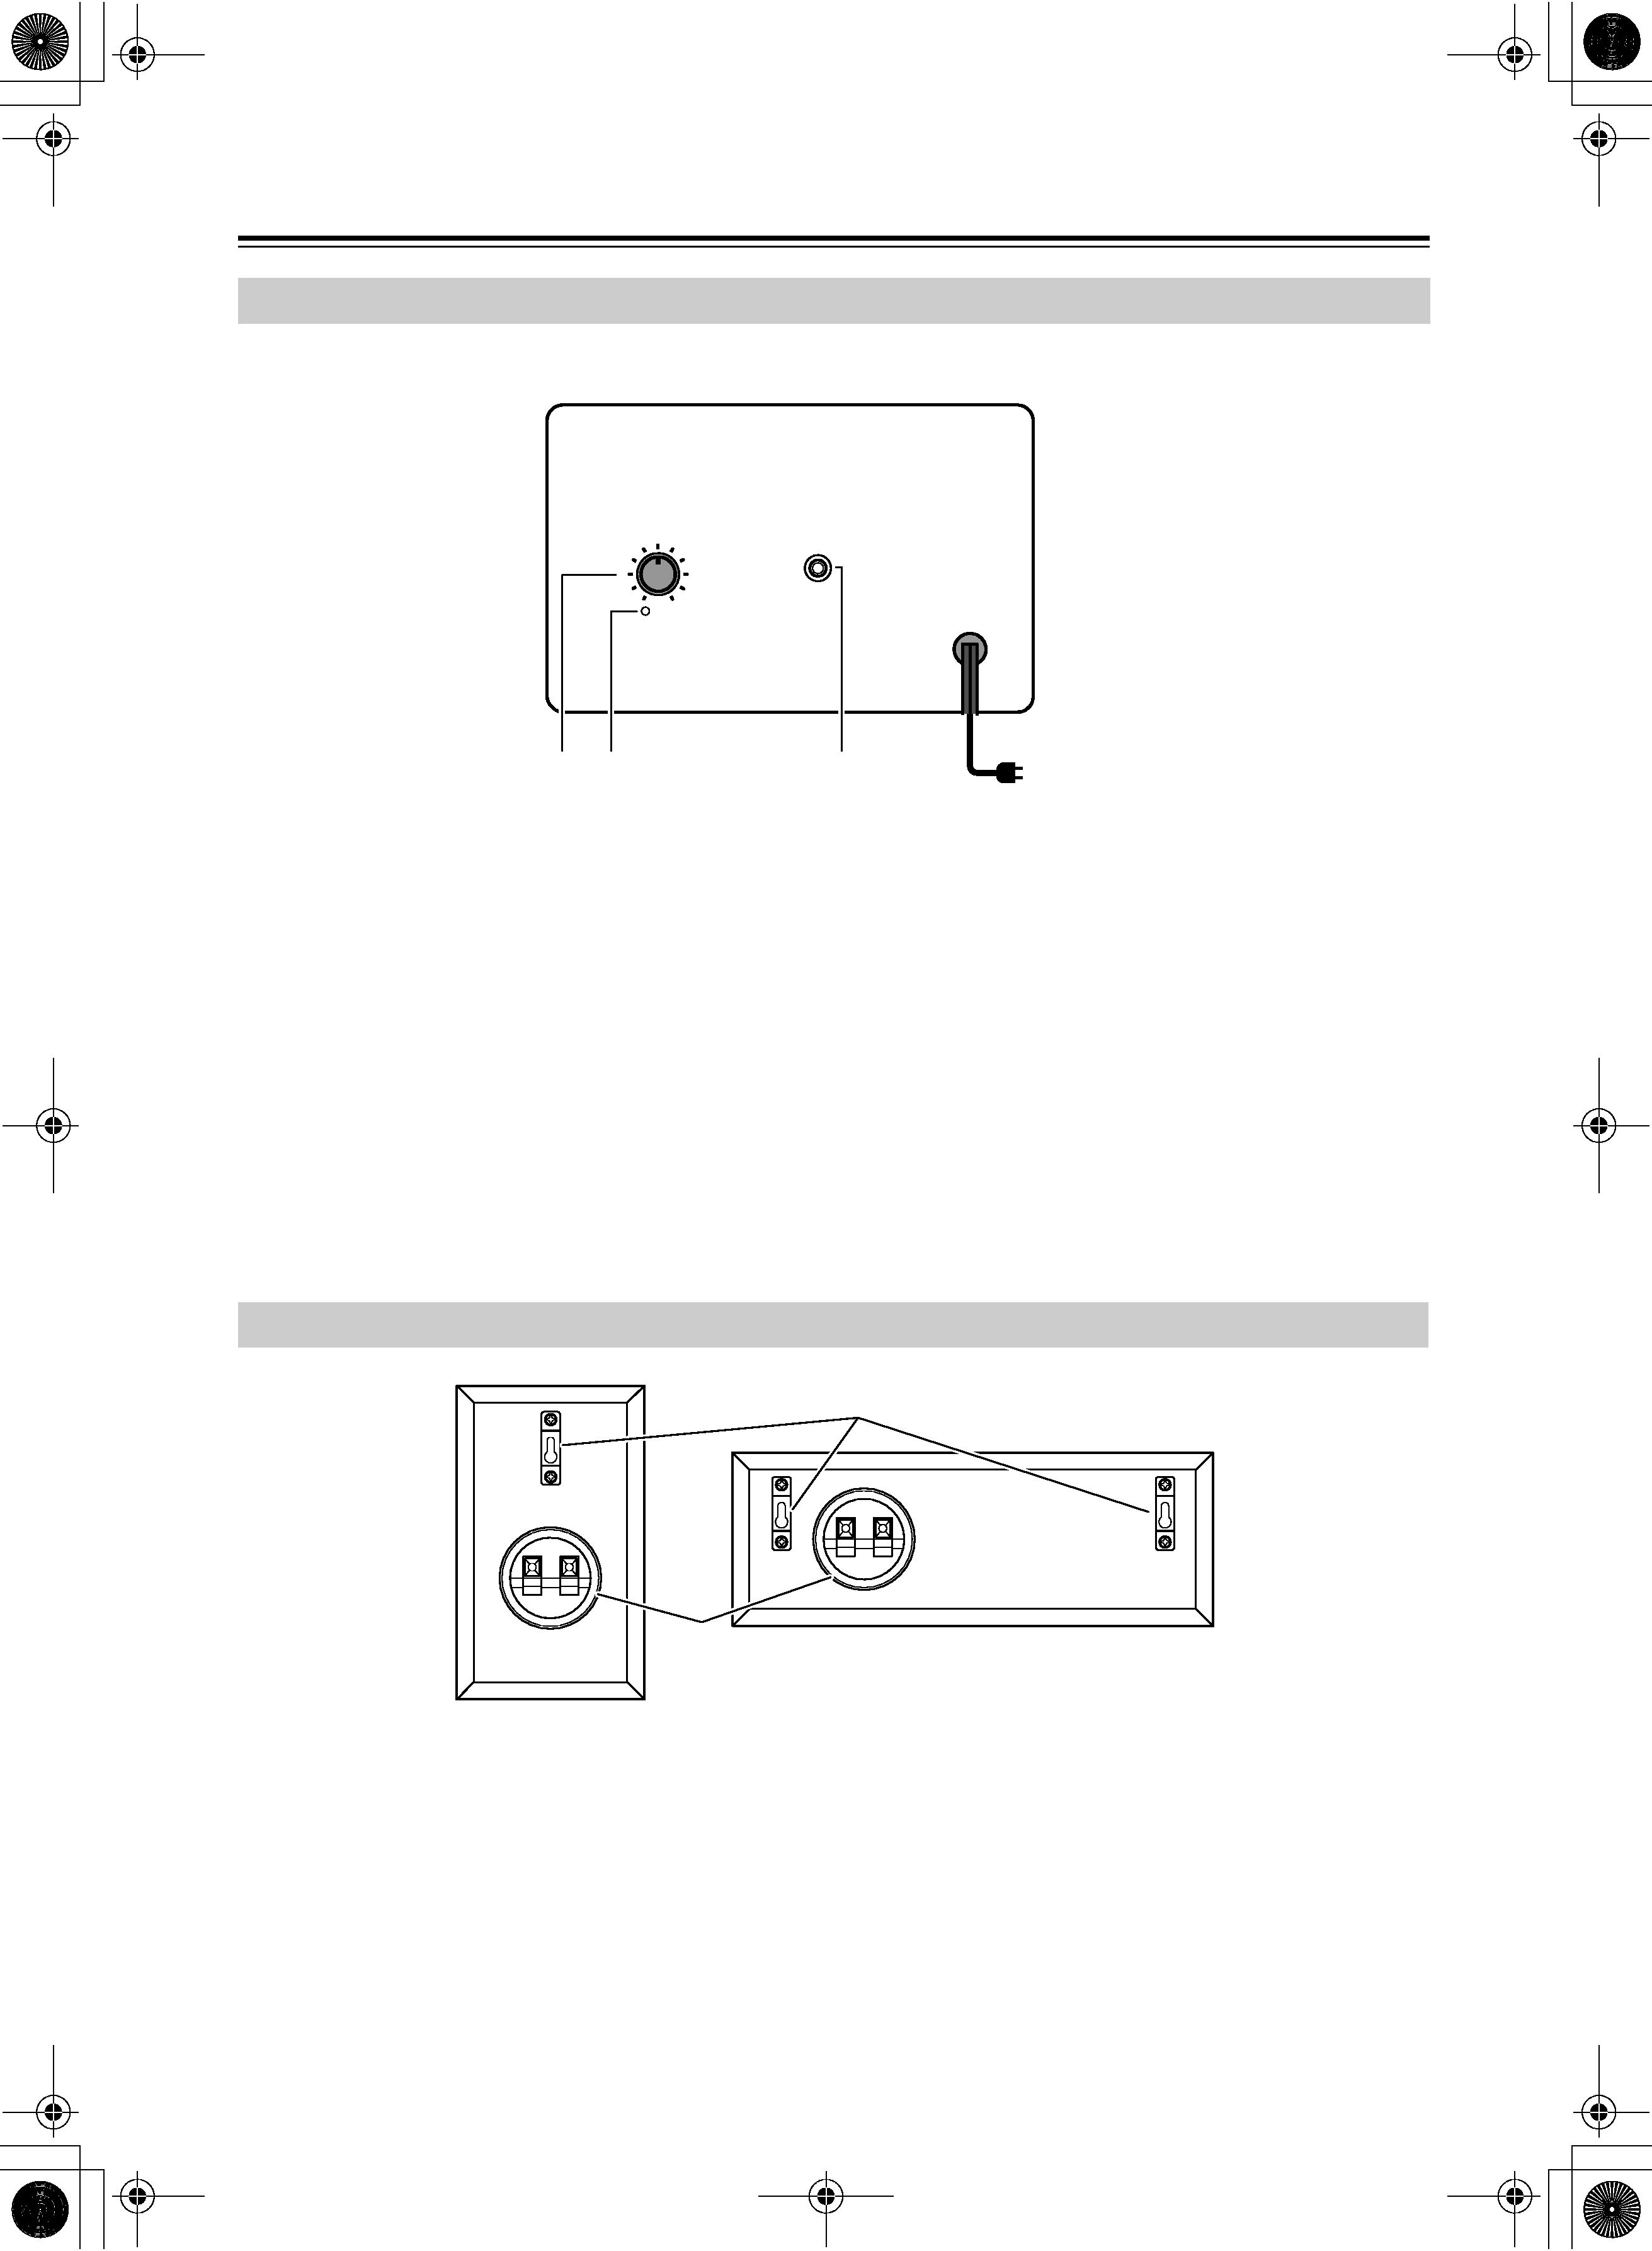
1 STANDBY/ON indicator
Red:
Subwoofer in standby mode
Green: Subwoofer on
With the Auto Standby function, the SKW-320X automatically turns on when an input signal is detected in
Standby mode. When there's no input signal for a while, the SKW-320X automatically enters Standby mode.
2 OUTPUT LEVEL control
This control is used to adjust the volume of the subwoofer.
3 LINE INPUT
This RCA input should be connected to the subwoofer preout on your AV receiver, or other receiver with supplied
RCA cable.
Note:
The Auto Standby function turns the subwoofer on when the input signal exceeds a certain level. If the Auto Standby
function does not work reliably, try slightly increasing or decreasing the subwoofer output level on your receiver or amp.
1 Speaker terminals
These push terminals are for connecting the speaker to your HT-R320, or other receiver with the supplied speaker
cables. The supplied speaker cables are color-coded for easy identification. Simply connect each cable to the same
colored positive speaker terminal.
2 Keyhole slot
These keyhole slots can be used to wall-mount the speaker.
Subwoofer (SKW-320X)
OUTPUT
LEVEL
LINE
INPUT
MIN
MAX
RED : STANDBY
GREEN : ON
2 13
I Rear
To AC outlet
Front, Center & Surround Speakers (SKF-320F, SKC-320C, SKM-320S)
2
1
I Rear
5
About Home Theater
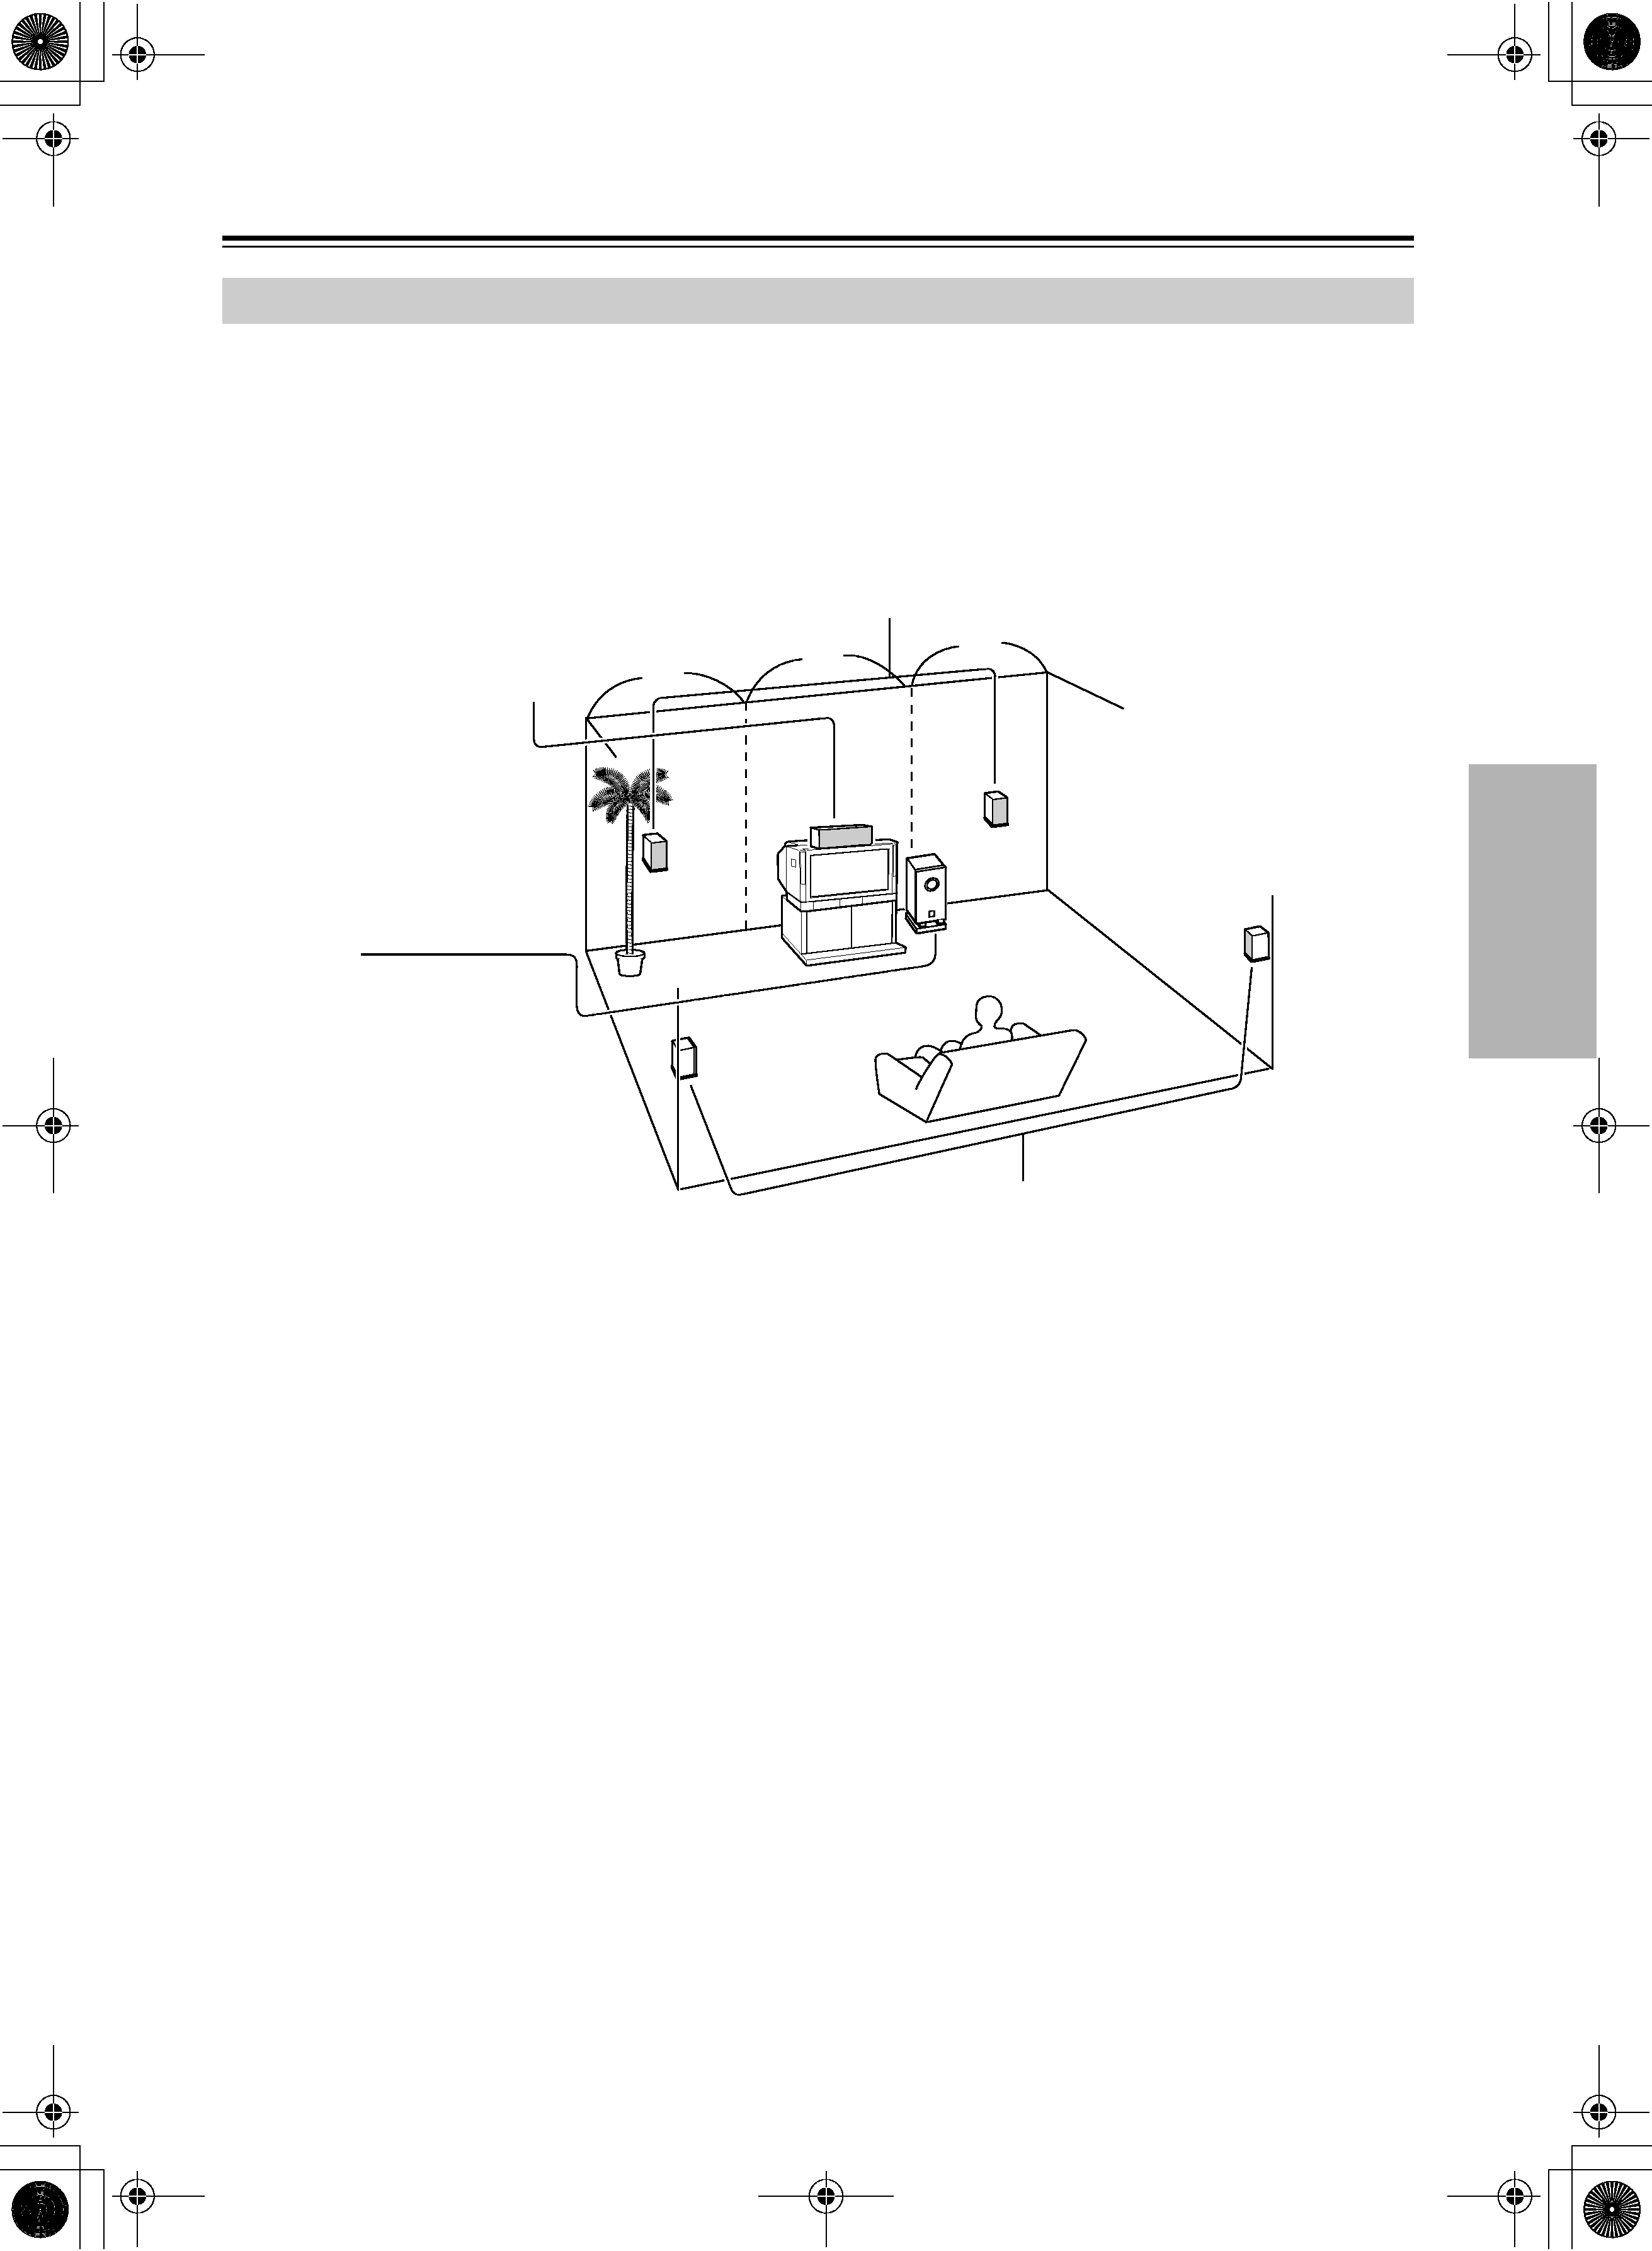
The HTP-320's great sound means that you can enjoy surround sound with a real sense of movement in your own
home--just like being in a movie theater or concert hall.
Enjoying Home Theater
1/3
1/3
1/3
Front left and right speakers
These output the overall sound. Their role in a home theater
is to provide a solid anchor for the sound image. They should
be positioned facing the listener at about ear level, and equi-
distant from the TV. Angle them inward so as to create a
triangle, with the listener at the apex.
Center speaker
This speaker enhances the front left and right
speakers, making sound movements distinct
and providing a full sound image. In movies it's
used mainly for dialog.
Position it close to your TV facing forward at
about ear level, or at the same height
as the front left and right speakers.
Put it somewhere where
it won't slide around or fall.
Subwoofer
The subwoofer handles the bass
sounds of the LFE (Low-Fre-
quency Effects) channel. The vol-
ume and quality of the bass output
from your subwoofer will depend
on its position, the shape of your
listening room, and your listening
position. In general, a good bass
sound can be obtained by install-
ing the subwoofer in a front cor-
ner, or at one-third the width of the
wall, as shown.
Surround left and right speakers
These speakers are used for precise sound positioning and to
add realistic ambience. Position them at the sides of the lis-
tener, or slightly behind, about 23 feet (60100 cm) above
ear level. Ideally they should be equidistant from the listener.
Right
Left
Wall-mounting the surround speakers
If the surround speakers are to be wall-mounted, make sure
that the walls are strong enough to support the speaker's
weight. The weight that mounting screws can support varies
greatly depending on the wall material and the position of the
reinforcing ribs embedded in the wall.
Use long screws with a head diameter of 1/4 inch (6.3 mm) or
less and a shank diameter of 1/8 inch (3.5 mm) or less. (We
recommend that you consult a home installation profes-
sional.)
(SKM-320S)
(SKM-320S)
