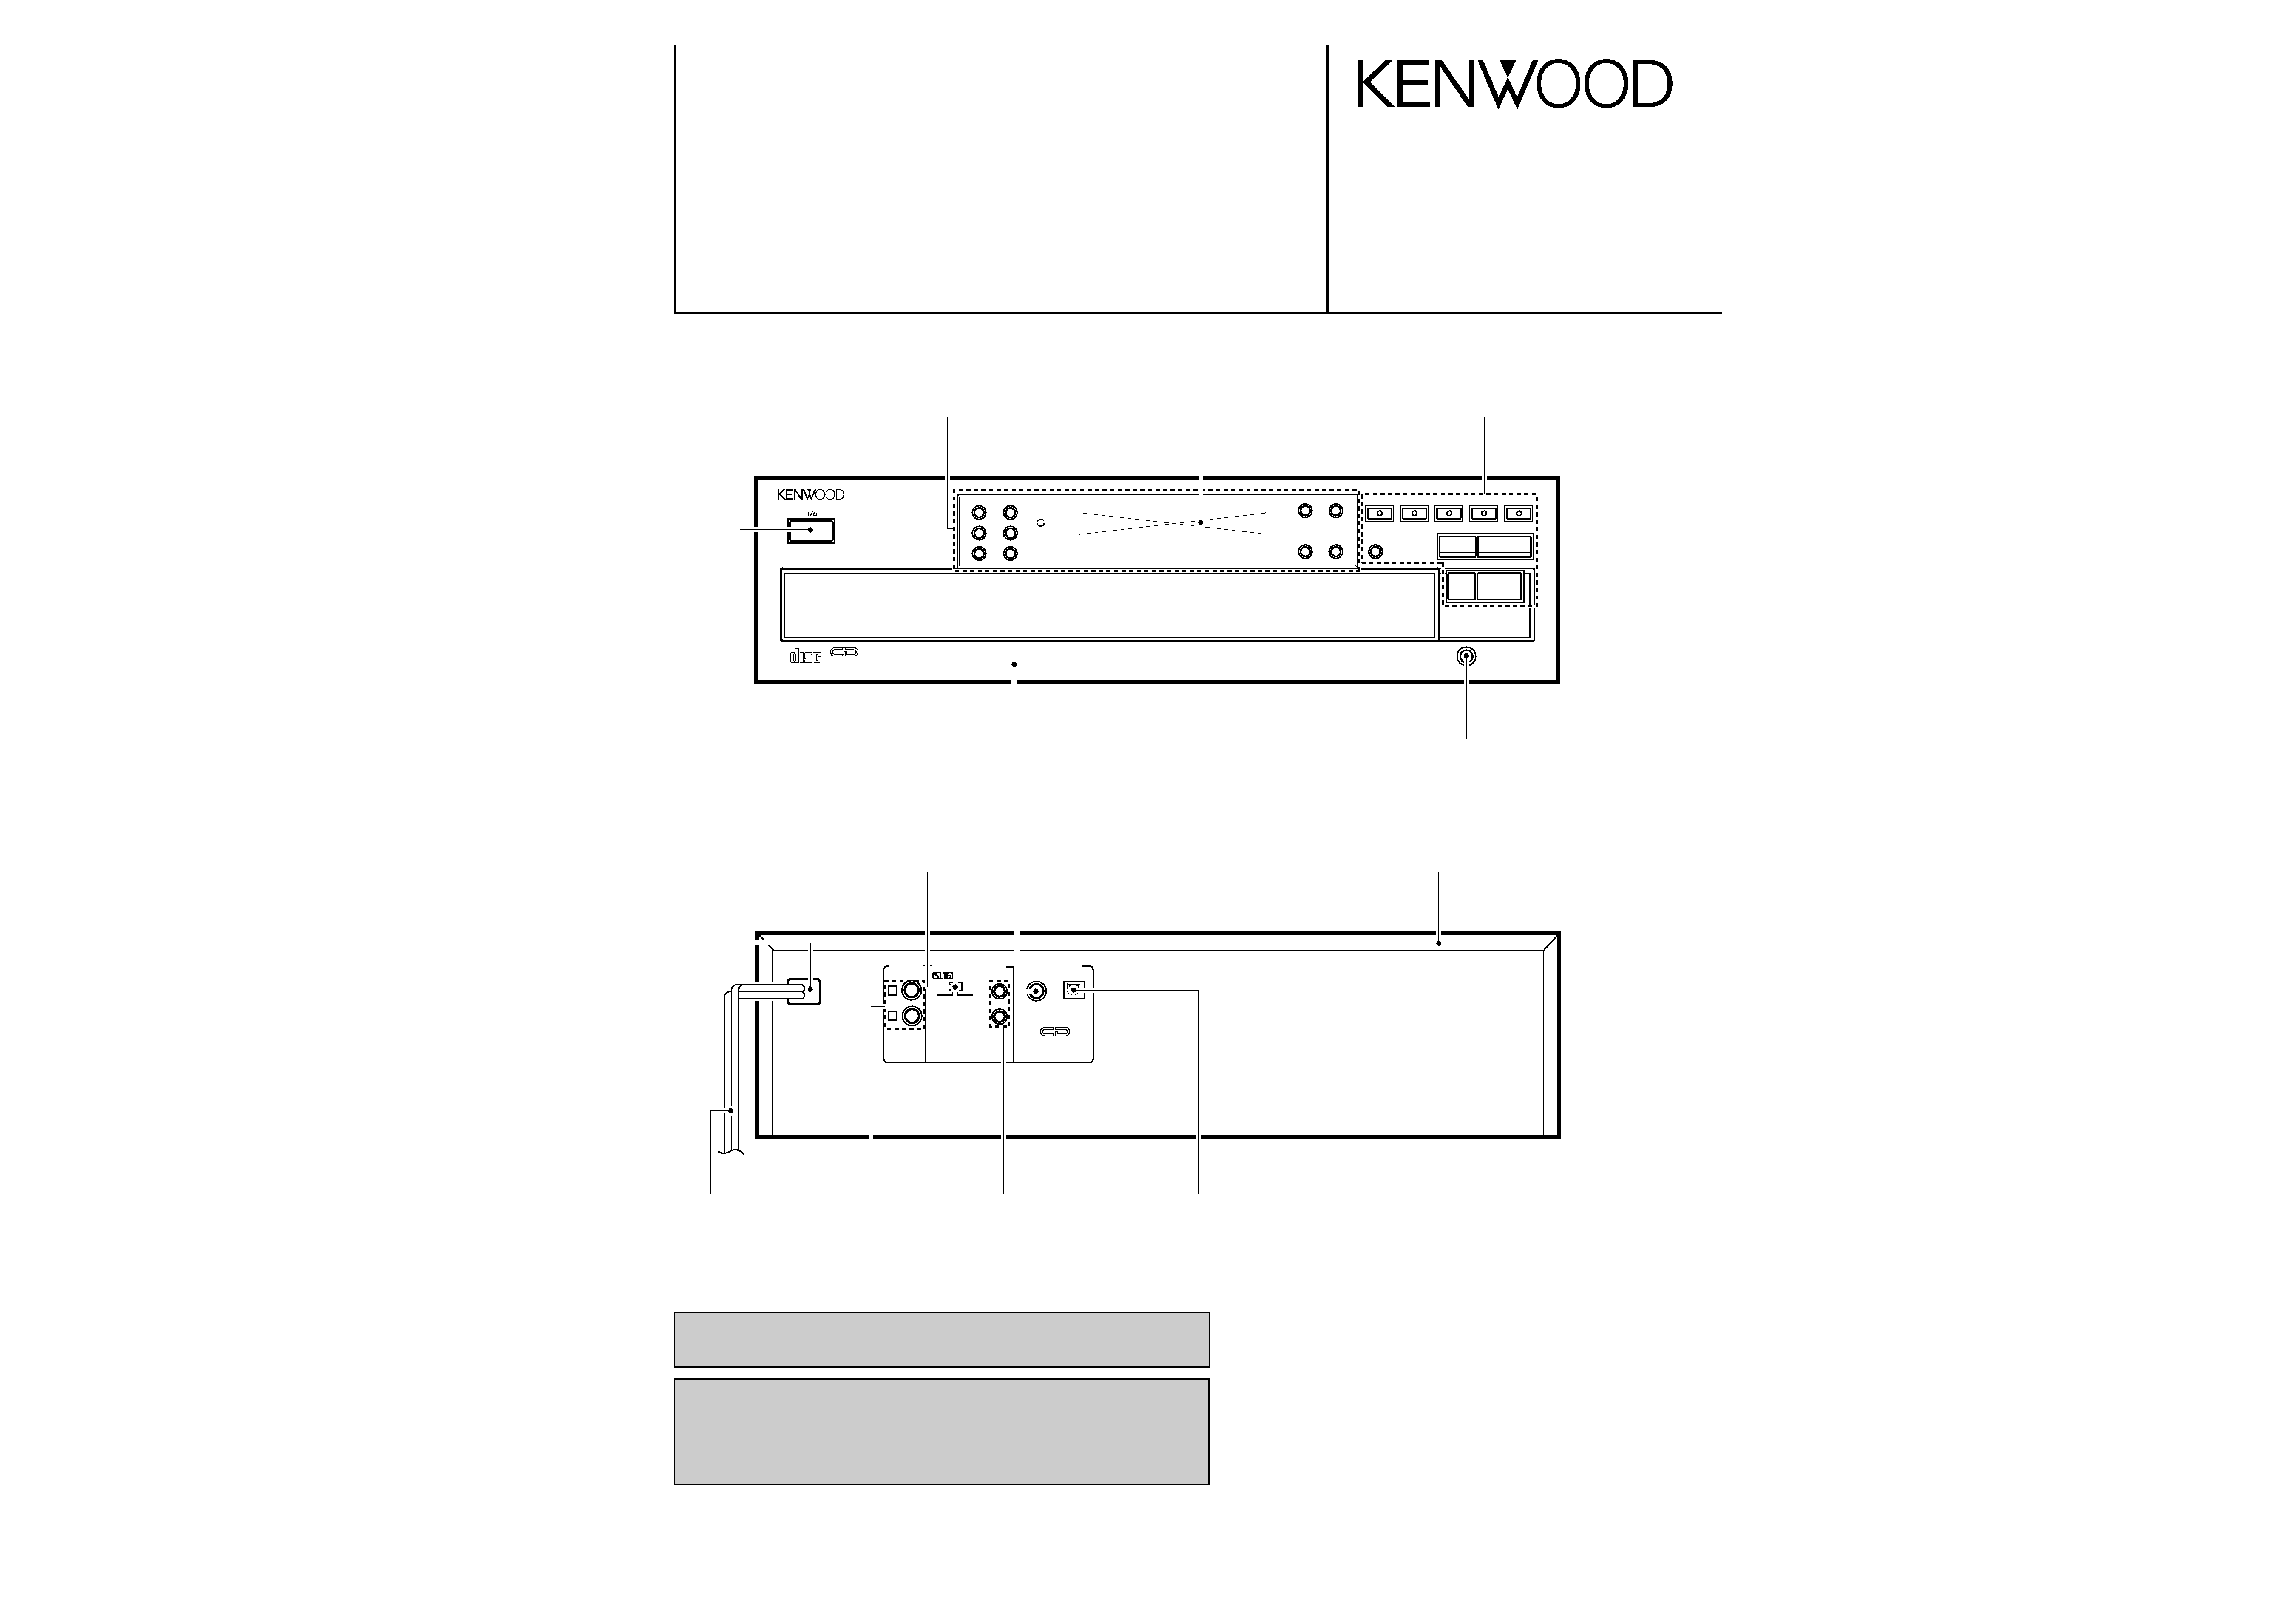
DISC SKIP
TEXT DISP. ALL INFO.
TIME DISP.
REPEAT
RANDOM
P.MODE
4
¢
1
¡
DISC 1
DISC 2
DISC 3
DISC 4
DISC 5
0
6
7
EDIT
PHONES
-ON STANDBY
DIGITAL AUDIO
DIGITAL AUDIO
COMPACT
COMPACT
TEXT
MULTIPLE CD PLAYER
1060CD/1070CD
DP-R6090/R7090
D-R350
SERVICE MANUAL
© 1997-7 /B51-5326-00 (K/K) 3654
Knob (BUTTON)
(K27-2178-04)
L
R
VARIABLE
LINE OUTPUT
DIGITAL OUTPUT
SYSTEM CONTROL
OPTICAL
COAXIAL
SL16 XS 8
TEXT
Panel *
(A60-)
Phone jack
(E11-0127-05)
AC power cord *
(E30-)
Phono jack
(E63-1009-05)
Miniature phone jack
(E11-0293-05)
Oscillating module
(W02-1114-05)
Escutcheon
(B07-2294-22)
Front glass
(B10-2364-03)
Knob assy
(K29-6681-24)
Power cord bushing
(J42-0083-05)
Slide switch
(S31-2132-05)
Phono jack
(E63-0199-05)
Metallic cabinet
(A01-3289-01)
In compliance with Federal Regulations, following are reproductions of
labels on, or inside the product relating to laser product safety.
KENWOOD-Corp. certifies this equipment conforms to DHHS Regulations
No. 21 CFR 1040. 10, Chapter 1, Subchapter J.
DANGER : Laser radiation when open and interlock defeated.
AVOID DIRECT EXPOSURE TO BEAM.
Illust is DP-R6090.
* Refer to parts list on page 21.
1060CD/1070CD(k) COVER( 98.4.24 0:29 PM y[W 2
1060CD/1070CD/DP-R6090/R7090/D-R350
2
CONTENTS / ACCESSORIES / CAUTION
CONTENTS / ACCESSORIES / CAUTION ................ 2
EXTERNAL VIEW ........................................................3
ADJUSTMENT ............................................................ 4
PC BOARD ................................................................. 5
SCHEMATIC DIAGRAM ............................................. 9
EXPLODED VIEW .................................................... 18
PARTS LIST.............................................................. 21
SPECIFICATIONS .....................................................27
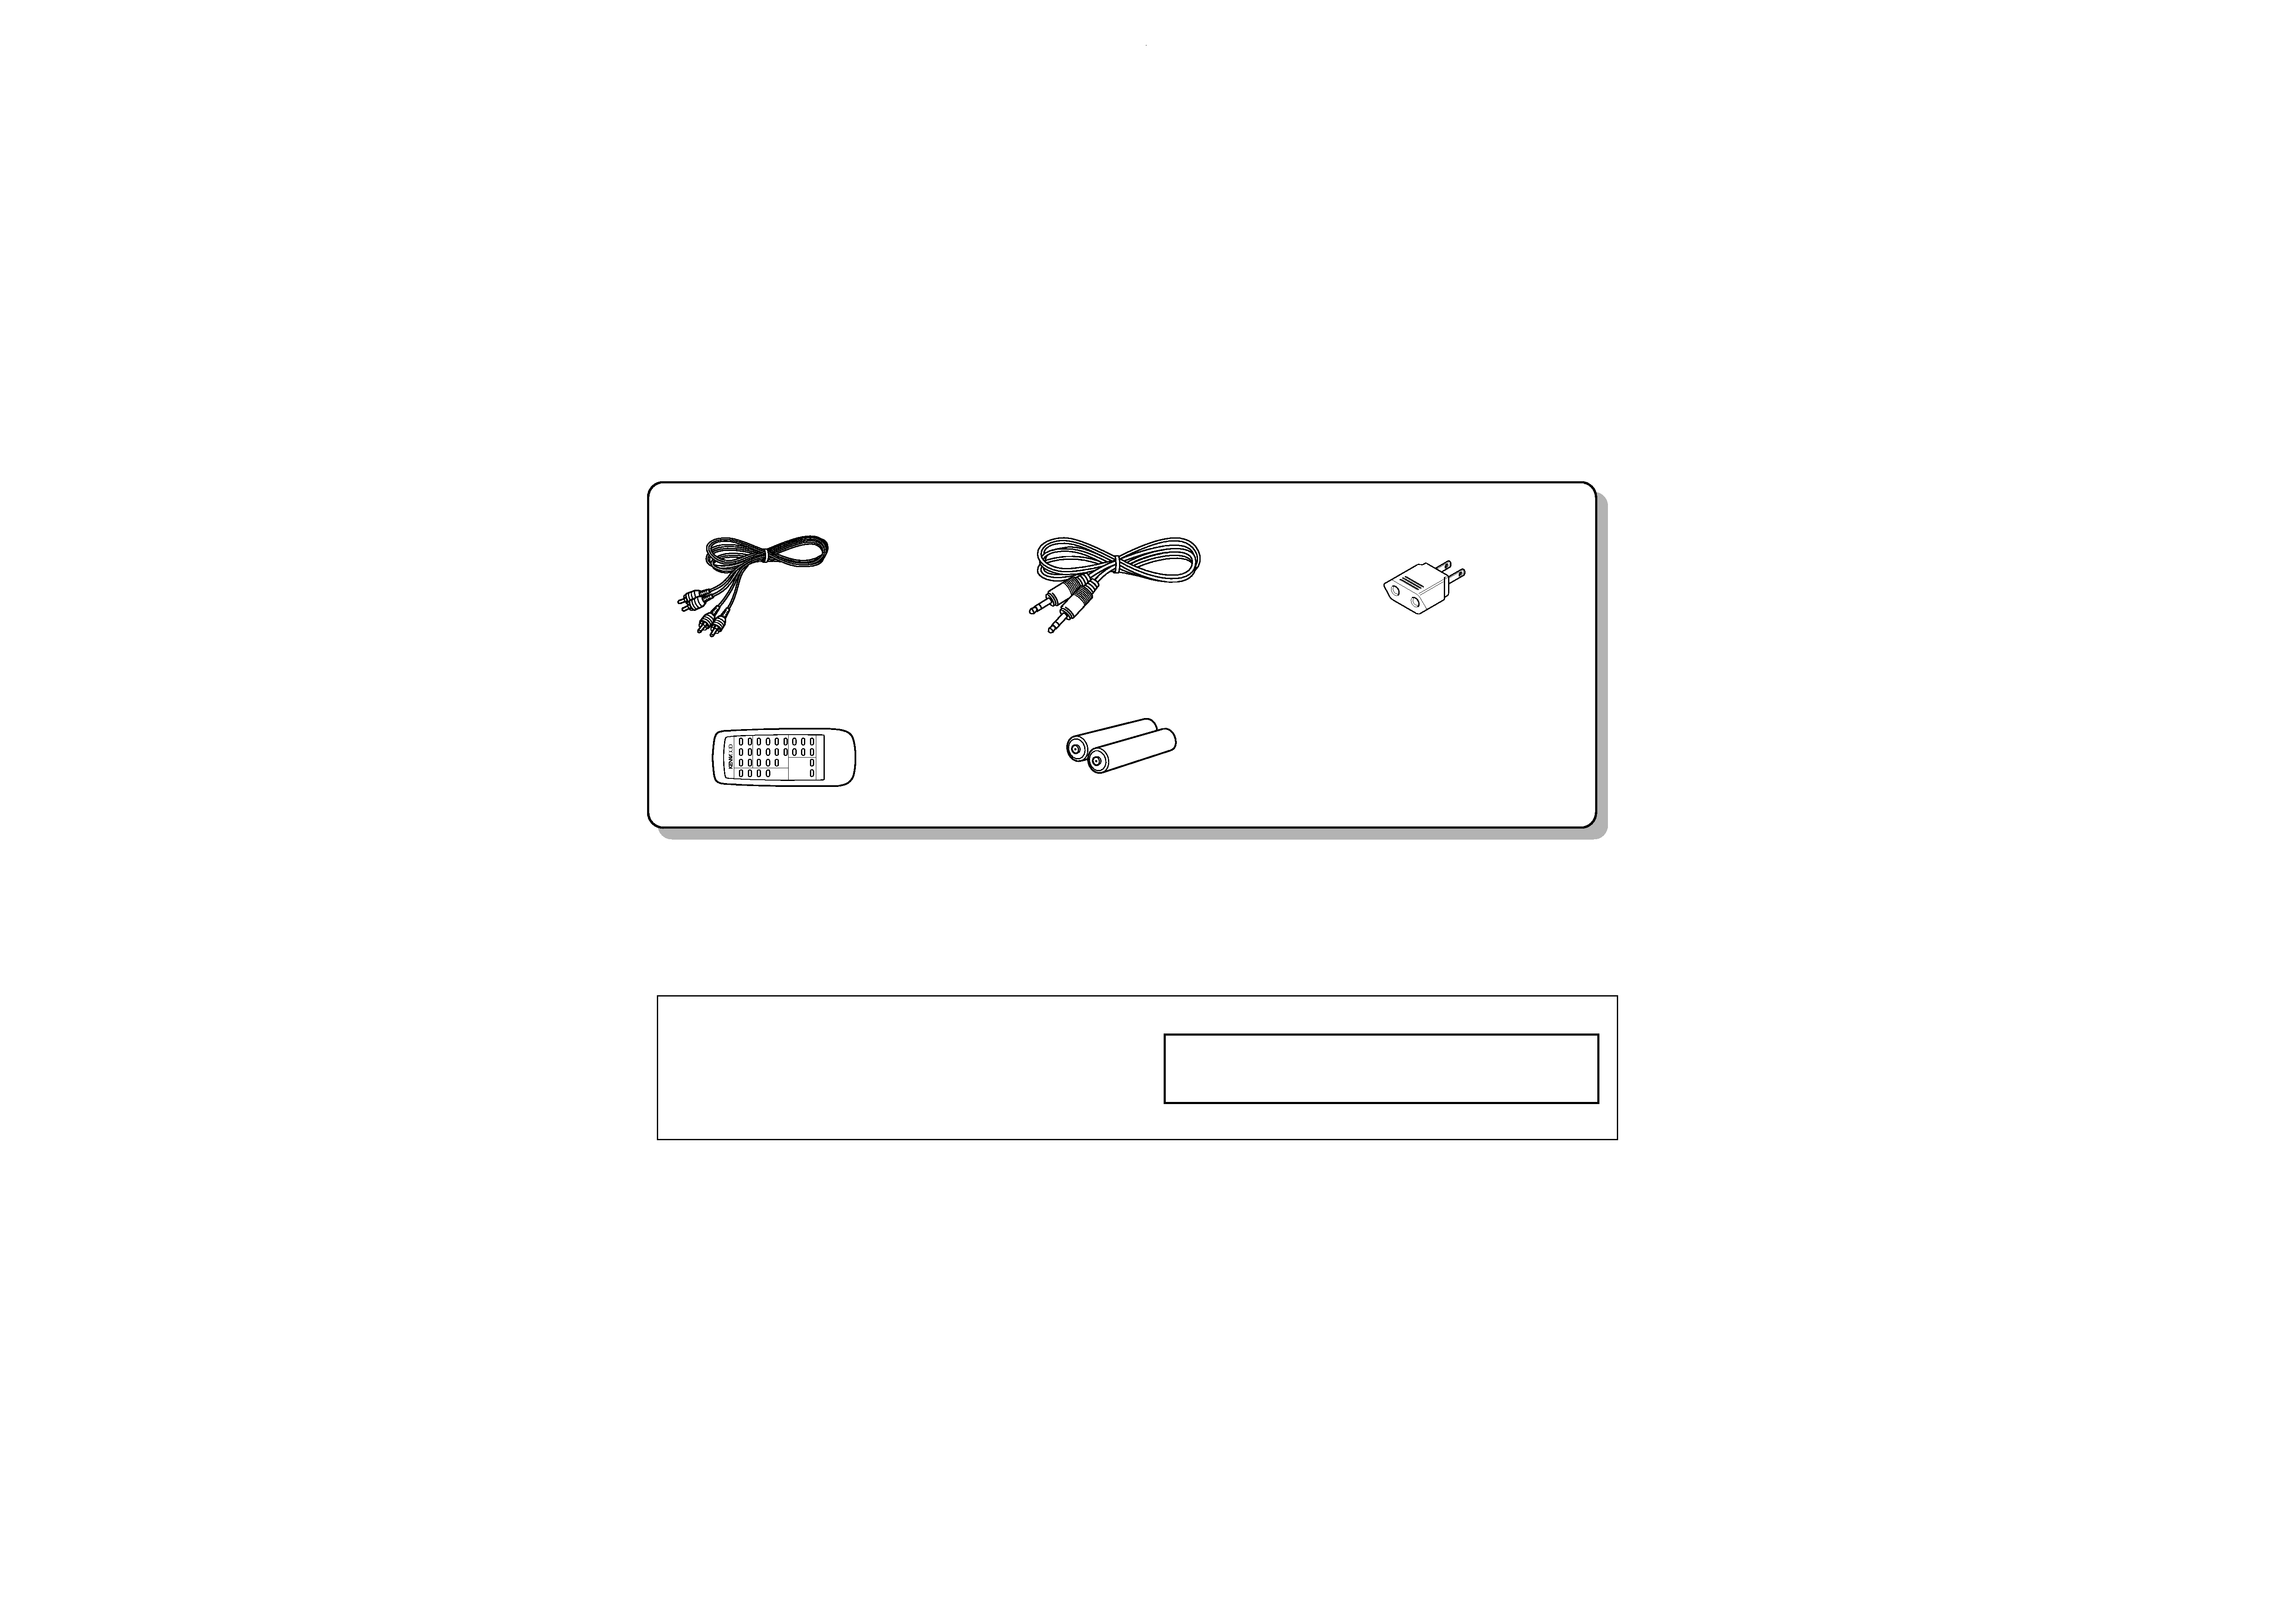
Accessories
Contents
Note related to transportation and movement
Before transporting or moving this unit, carry out the following
operations.
1. Turn the power ON but do not load a disc.
2. Wait a few seconds and verify that the display shown appears.
Wait further a few seconds.
3. Turn the power OFF.
Caution
1
2
3
4
5
1
2
3
4
5
6
7
8
9
10
11
12
13
14
15
16
17
18
19
20
no d SC
I
Audio cord (1)
(E30-0505-05)
System control cord (1)
(E30-2733-05)
AC plug adapter (1)
(E03-0115-05)
DP-R6090/R7090/D-R300 : M type only
Remote control unit (1)
(A70-1134-05) : RC-P0601
1060CD/1070CD/DP-R6090/R7090
Batteries (R6/AA) (2)
DP-R4090 only
Battery cover: (A09-0356-08)
1060CD/1070CD(k) COVER( 98.4.24 0:29 PM y[W 3
3
1060CD/1070CD/DP-R6090/R7090/D-R350
EXTERNAL VIEW
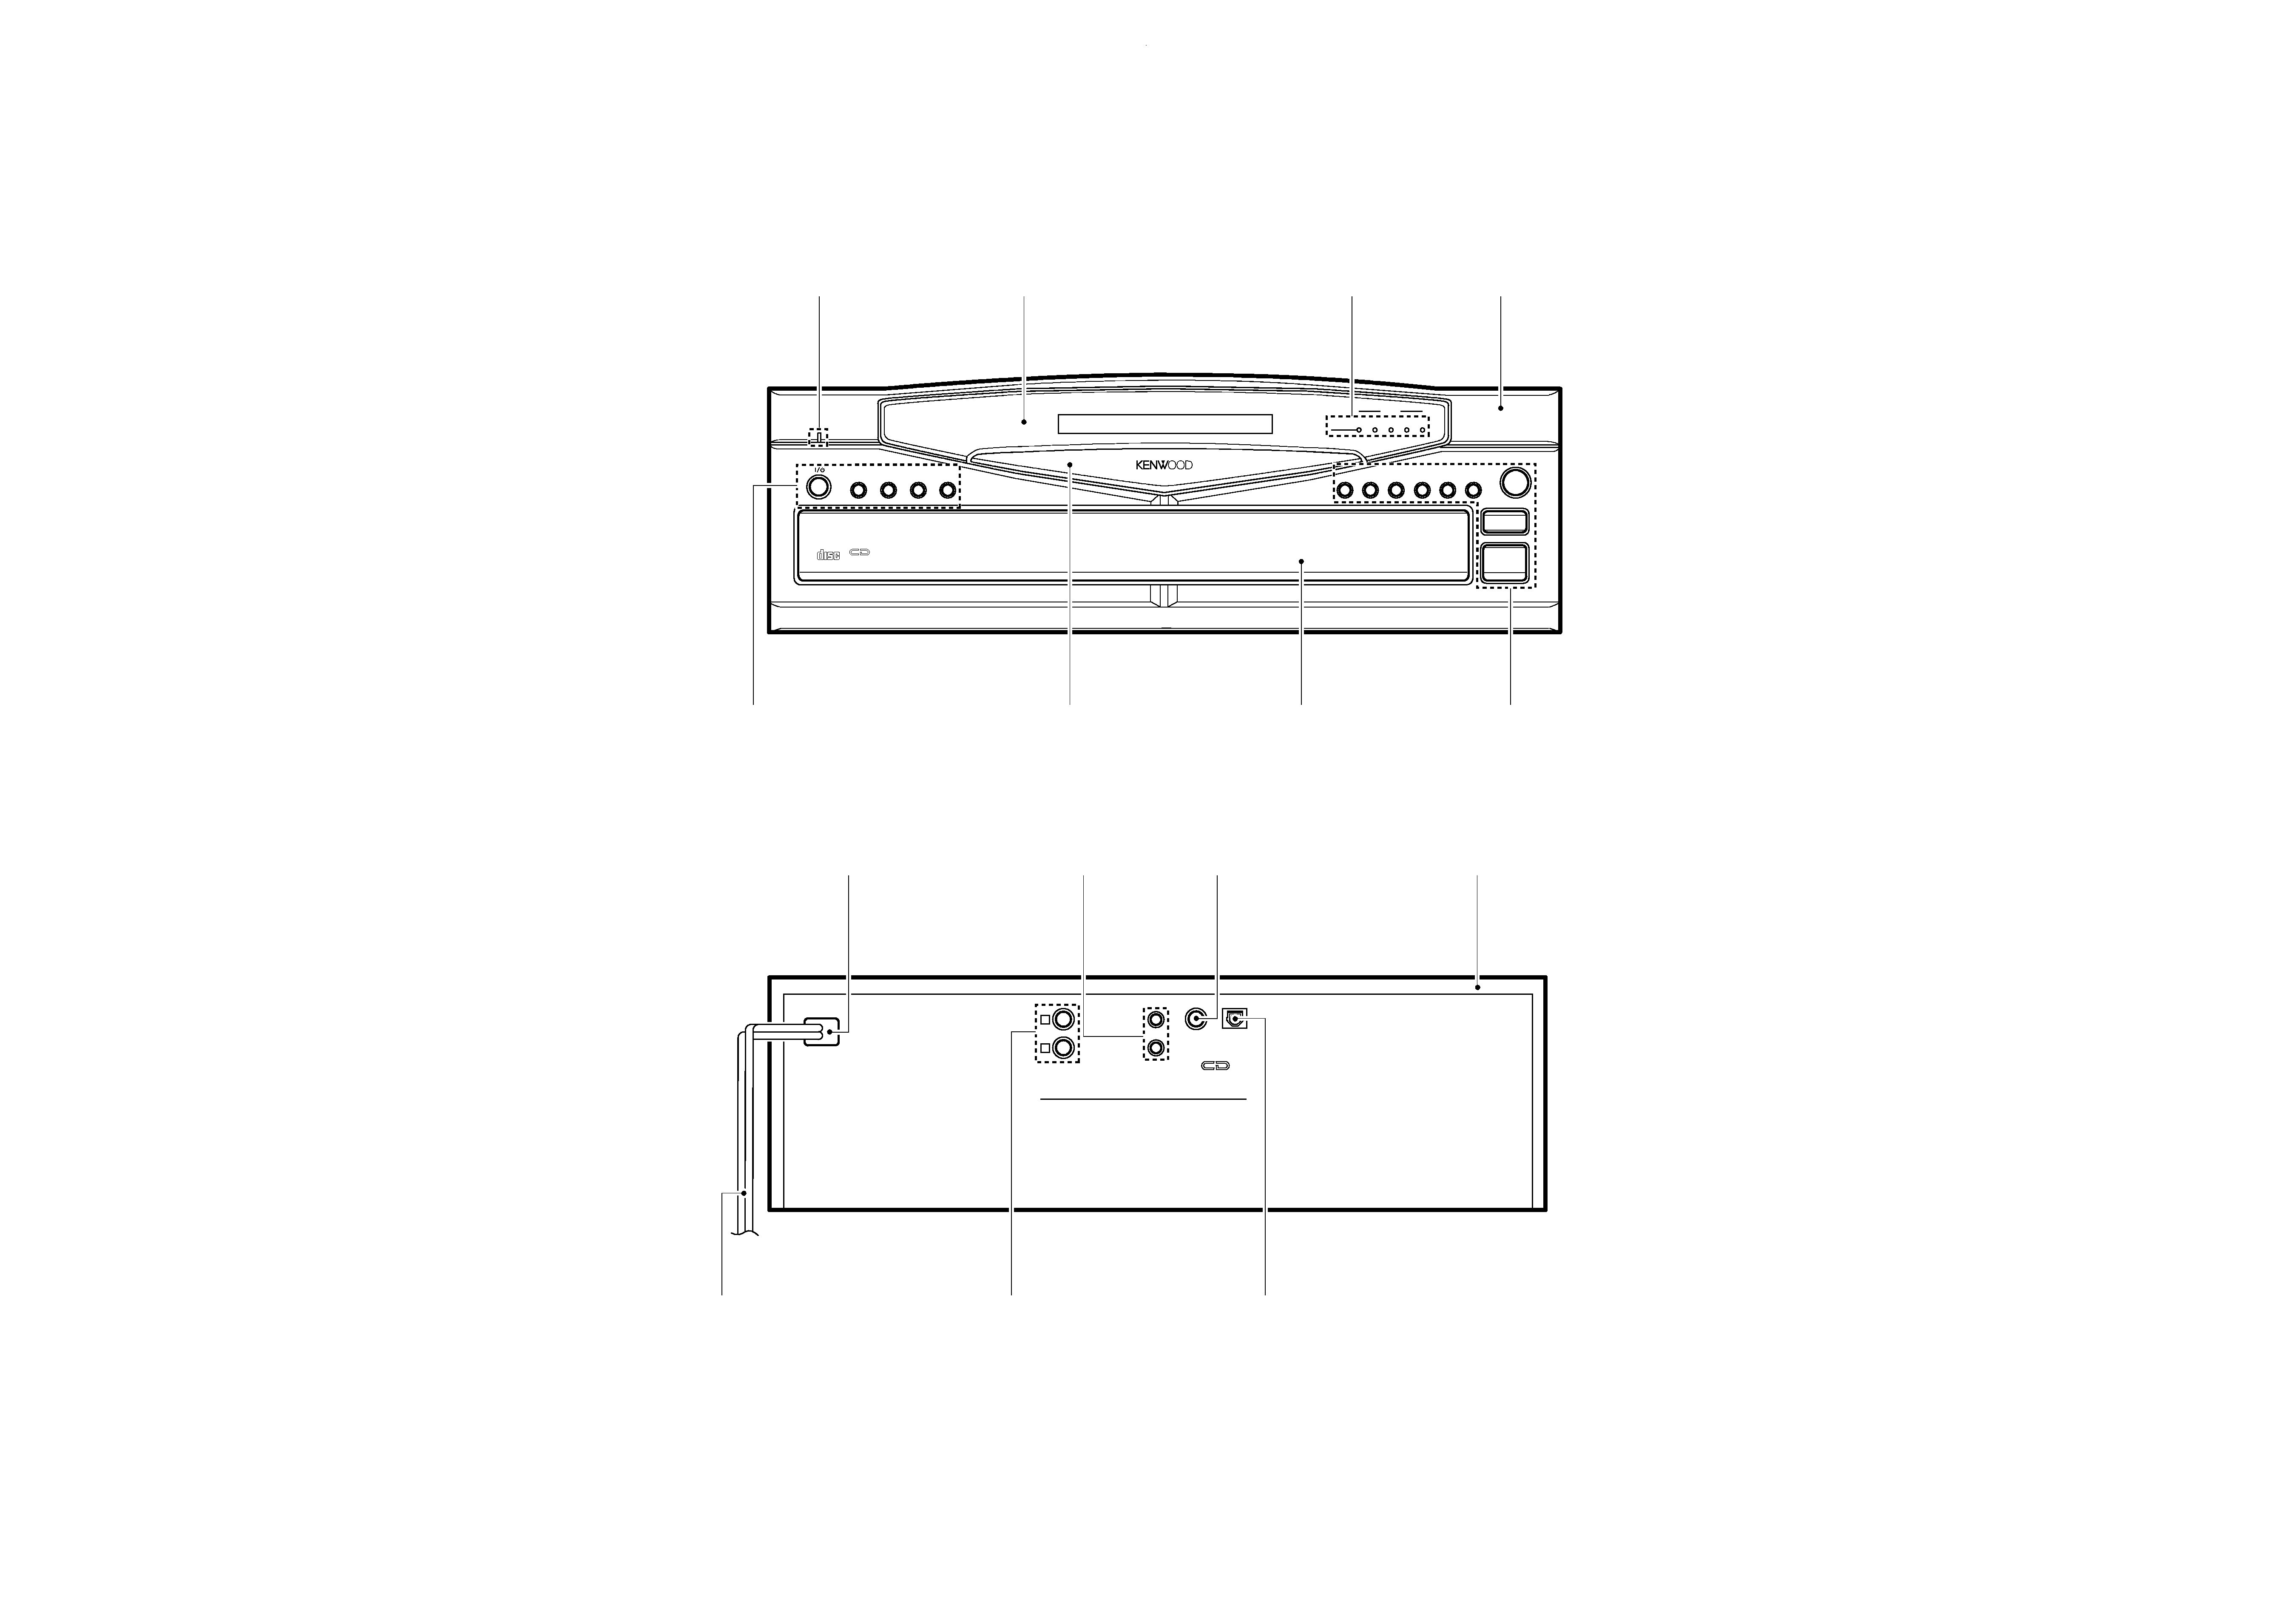
DISC SELECTOR
DISC
1
1
2
¢
4
3
MULTIPLE CD PLAYER D-R350
REPEAT
ON/STANDBY
D.R.I.V.E.
RANDOM
4
5
0
7
6
DISC SKIP
2
3
4
5
TEXT
DIGITAL AUDIO
DIGITAL AUDIO
COMPACT
COMPACT
L
R
LINE OUTPUT
DIGITAL OUTPUT
OPTICAL
COAXIAL
SISTEM
CONTROL
TEXT
Front glass
(B10-2353-22)
Dressing panel
(A21-1964-03)
Indicator
(B12-0312-04)
Indicator
(B12-0313-14)
Panel *
(A60-)
Power cord bushing
(J42-0083-05)
Miniature phone jack
(E11-0293-05)
Phono jack
(E63-0199-05)
Metallic cabinet
(A01-3440-01)
Knob
(K29-6649-02)
Panel
(A29-0858-12)
Knob
(K29-6648-12)
Oscillating module
(W02-1114-05)
AC power cord *
(E30-)
Phono jack
(E63-1009-05)
Illust is D-R350.
* Refer to parts list on page 21.
1060CD/1070CD(k) COVER( 98.4.24 0:29 PM y[W 5
4
1060CD/1070CD/DP-R6090/R7090/D-R350
ADJUSTMENT
FIG.
GND
+
_
L.P.F.
+
+
L.P.F.
VTVM
VTVM
1
2
3
4
5
6
7
1.2 kHz
50 mVrms
(a)
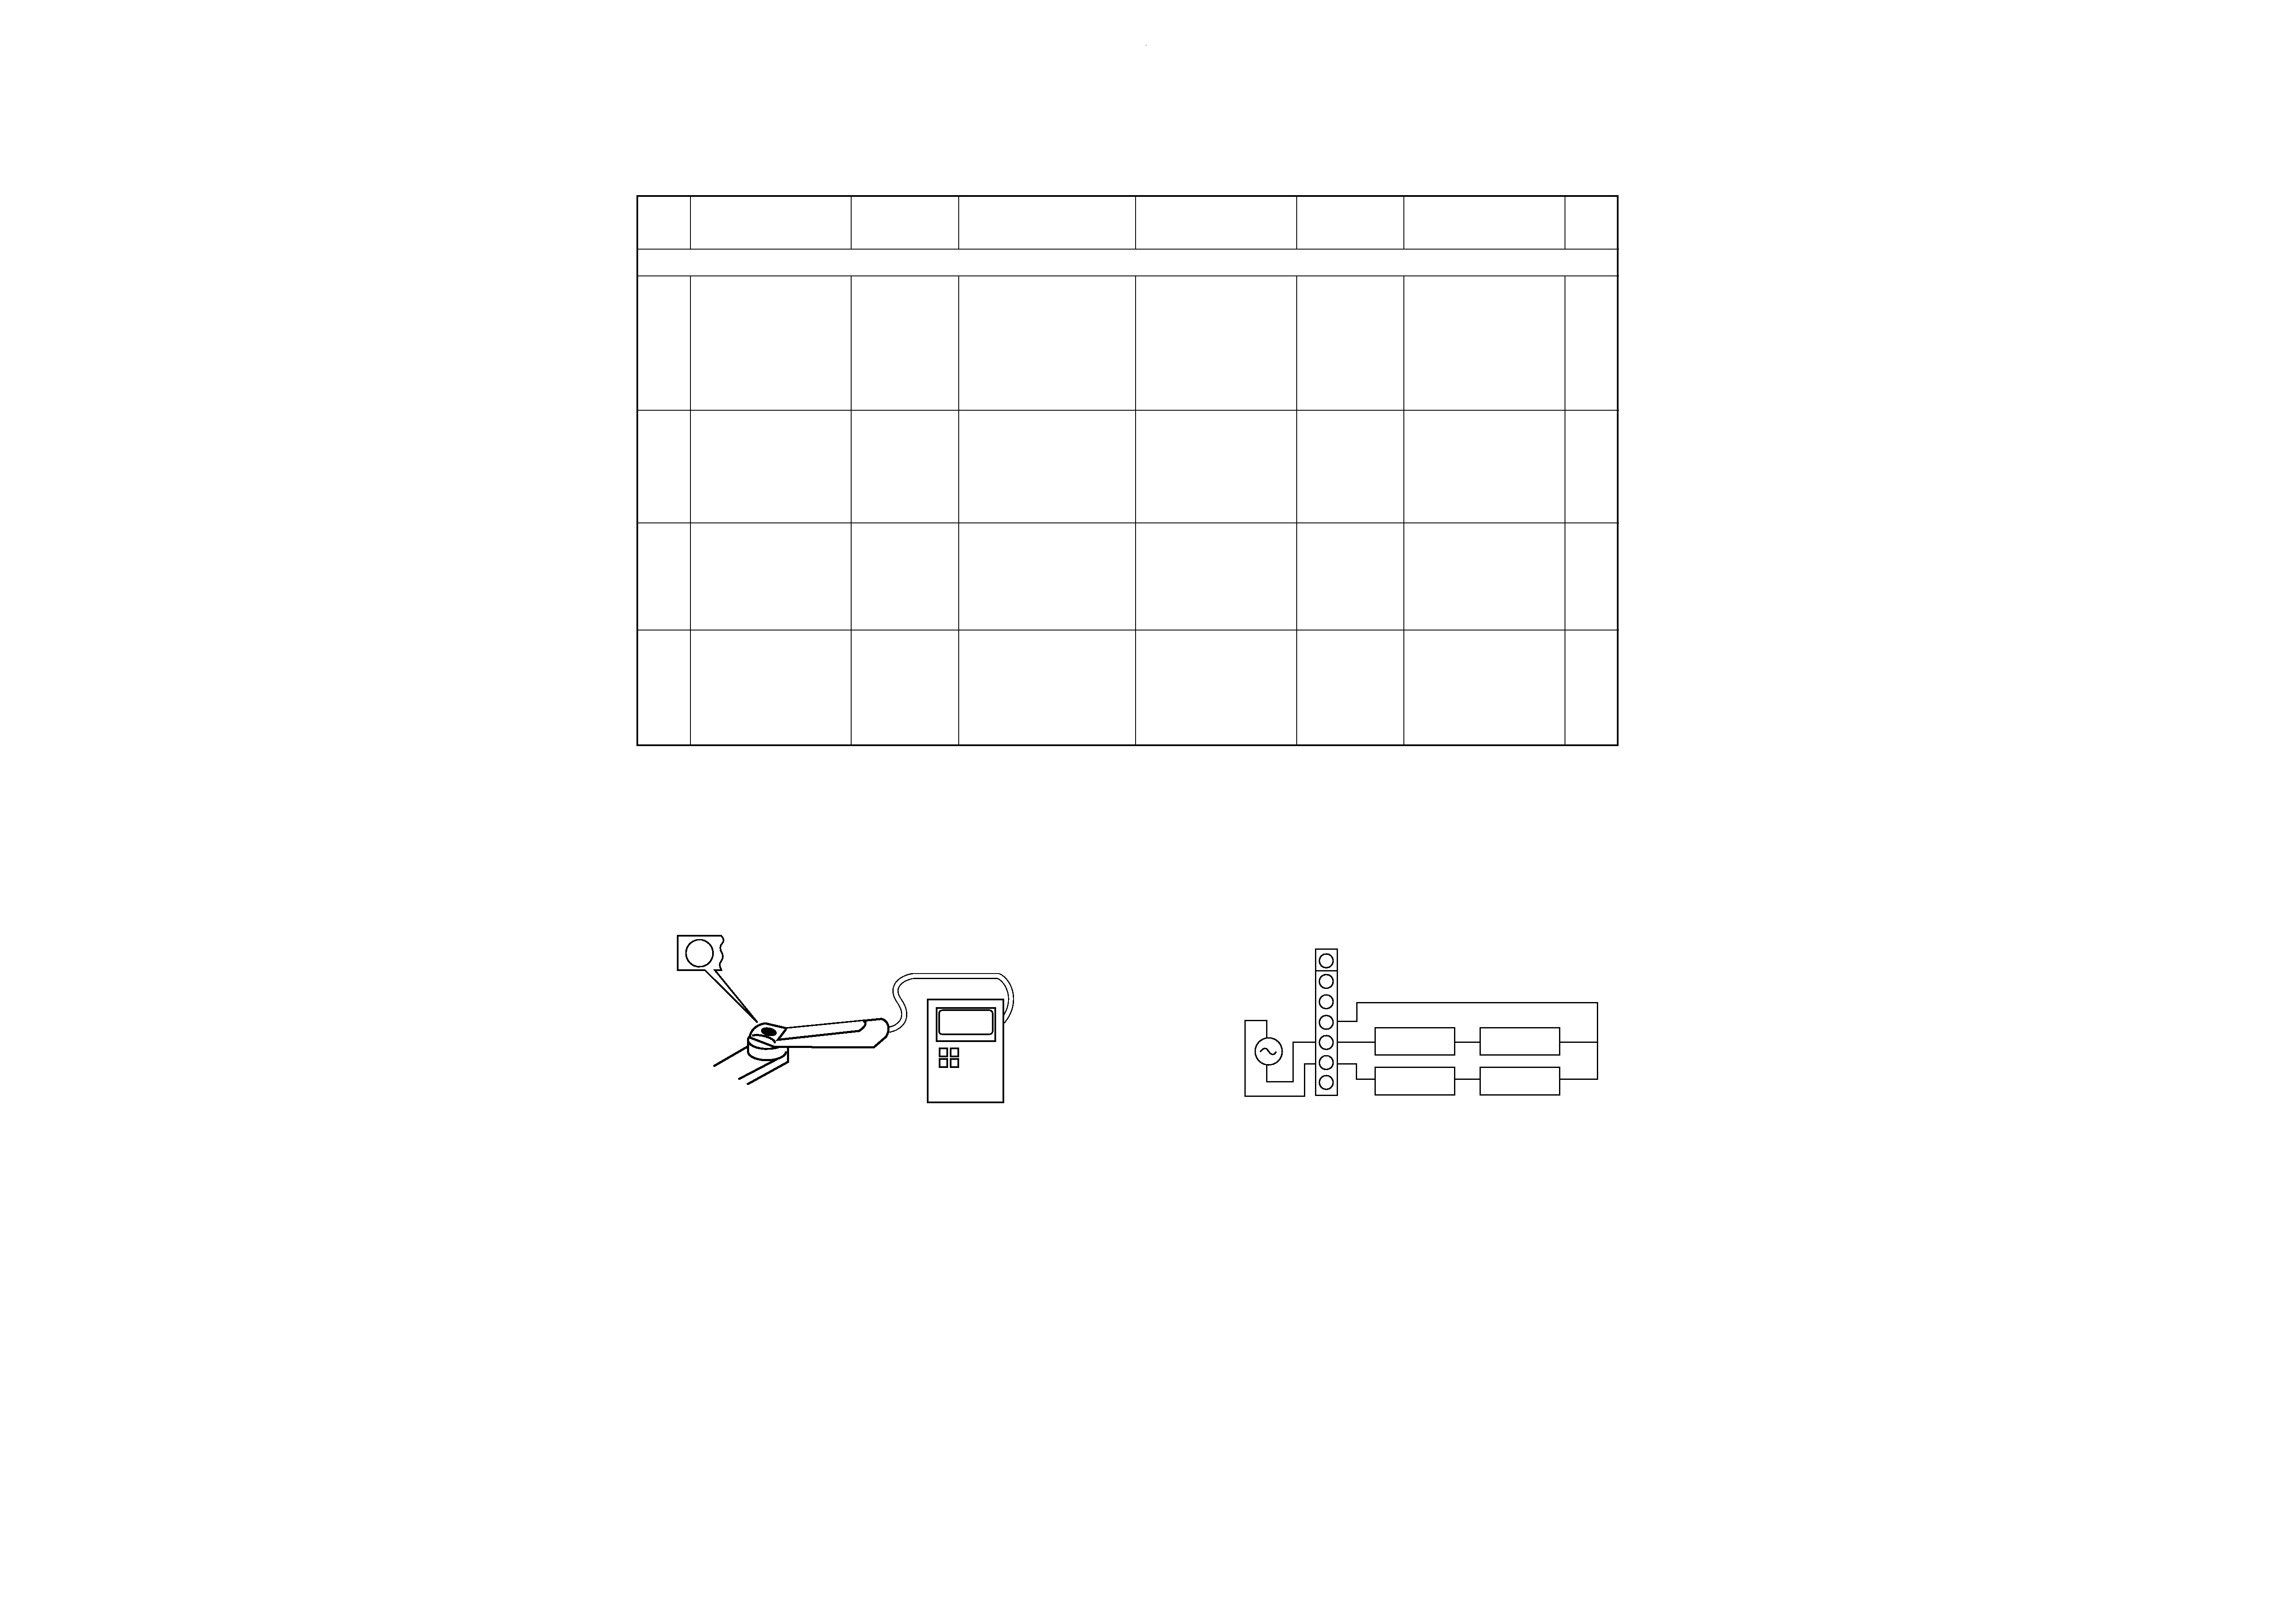
No.
ITEM
INPUT
SETTINGS
OUTPUT
SETTINGS
ALIGNMENT
POINTS
ALIGN
FOR
PLAYER
SETTINGS
1
LASER POWER
-
Apply the sensor section
of optical power meter
on the pickup lens.
-
On the power from
0.08 to 0.15 mW,
when the diffraction
grating is correctly
aligned with the RF
level of 1.0 Vp-p or
more.
While pressing the
RANDOM key, turn
the AC ON. (Test
mode) Press the
PLAY/PAUSE key,
then confirm that the
display is "03".
(a) Laser power
Pickup
3
FOCUS ERROR
BALANCE
Test disc
Type 4
Connect an oscilloscope
as follows.
CH1 : RF (CN2 pin 1)
CH2 : FE (CN2 pin 2)
FE BALANCE
VR1
Optimum eye pattern
Press the
PLAY/PAUSE key,
then confirm that the
display is "05".
Note:
Type 4 disc : SONY YEDS-18 Test Disc or equivalent.
LPF: Around 47 k
+ 390 pF or so.
0.08~0.15 mW
Optical power meter
2
TRACKING ERROR
BALANCE
Test disc
Type 4
Connect an oscilloscope
as follows.
CH1 : RF (CN2 pin 1)
CH2 : TE (CN2 pin 6)
TE BALANCE
VR2
Symmetry between
upper and lower pat-
terns
Press the
PLAY/PAUSE key,
then confirm that the
display is "03".
CN2
(e) Tracking gain
(e)
4
TRACKING GAIN
Test disc
Type 4
Apply signal of
1.2 kHz,
50mVrms to
CN2 pin 5-6.
Connect a LPF to CN2
pin 5-6 to which you
connect an oscilloscope
or AC voltmeters.
TRACKING
GAIN
VR3
Two VTVMs should
read the same value.
Press the
PLAY/PAUSE key,
then confirm that the
display is "05".
Step 1~4 are in TEST MODE
1060CD/1070CD(k) COVER( 98.4.24 0:29 PM y[W 6
ACE
G
I
BD
F
H
J
2
1
3
5
7
4
6
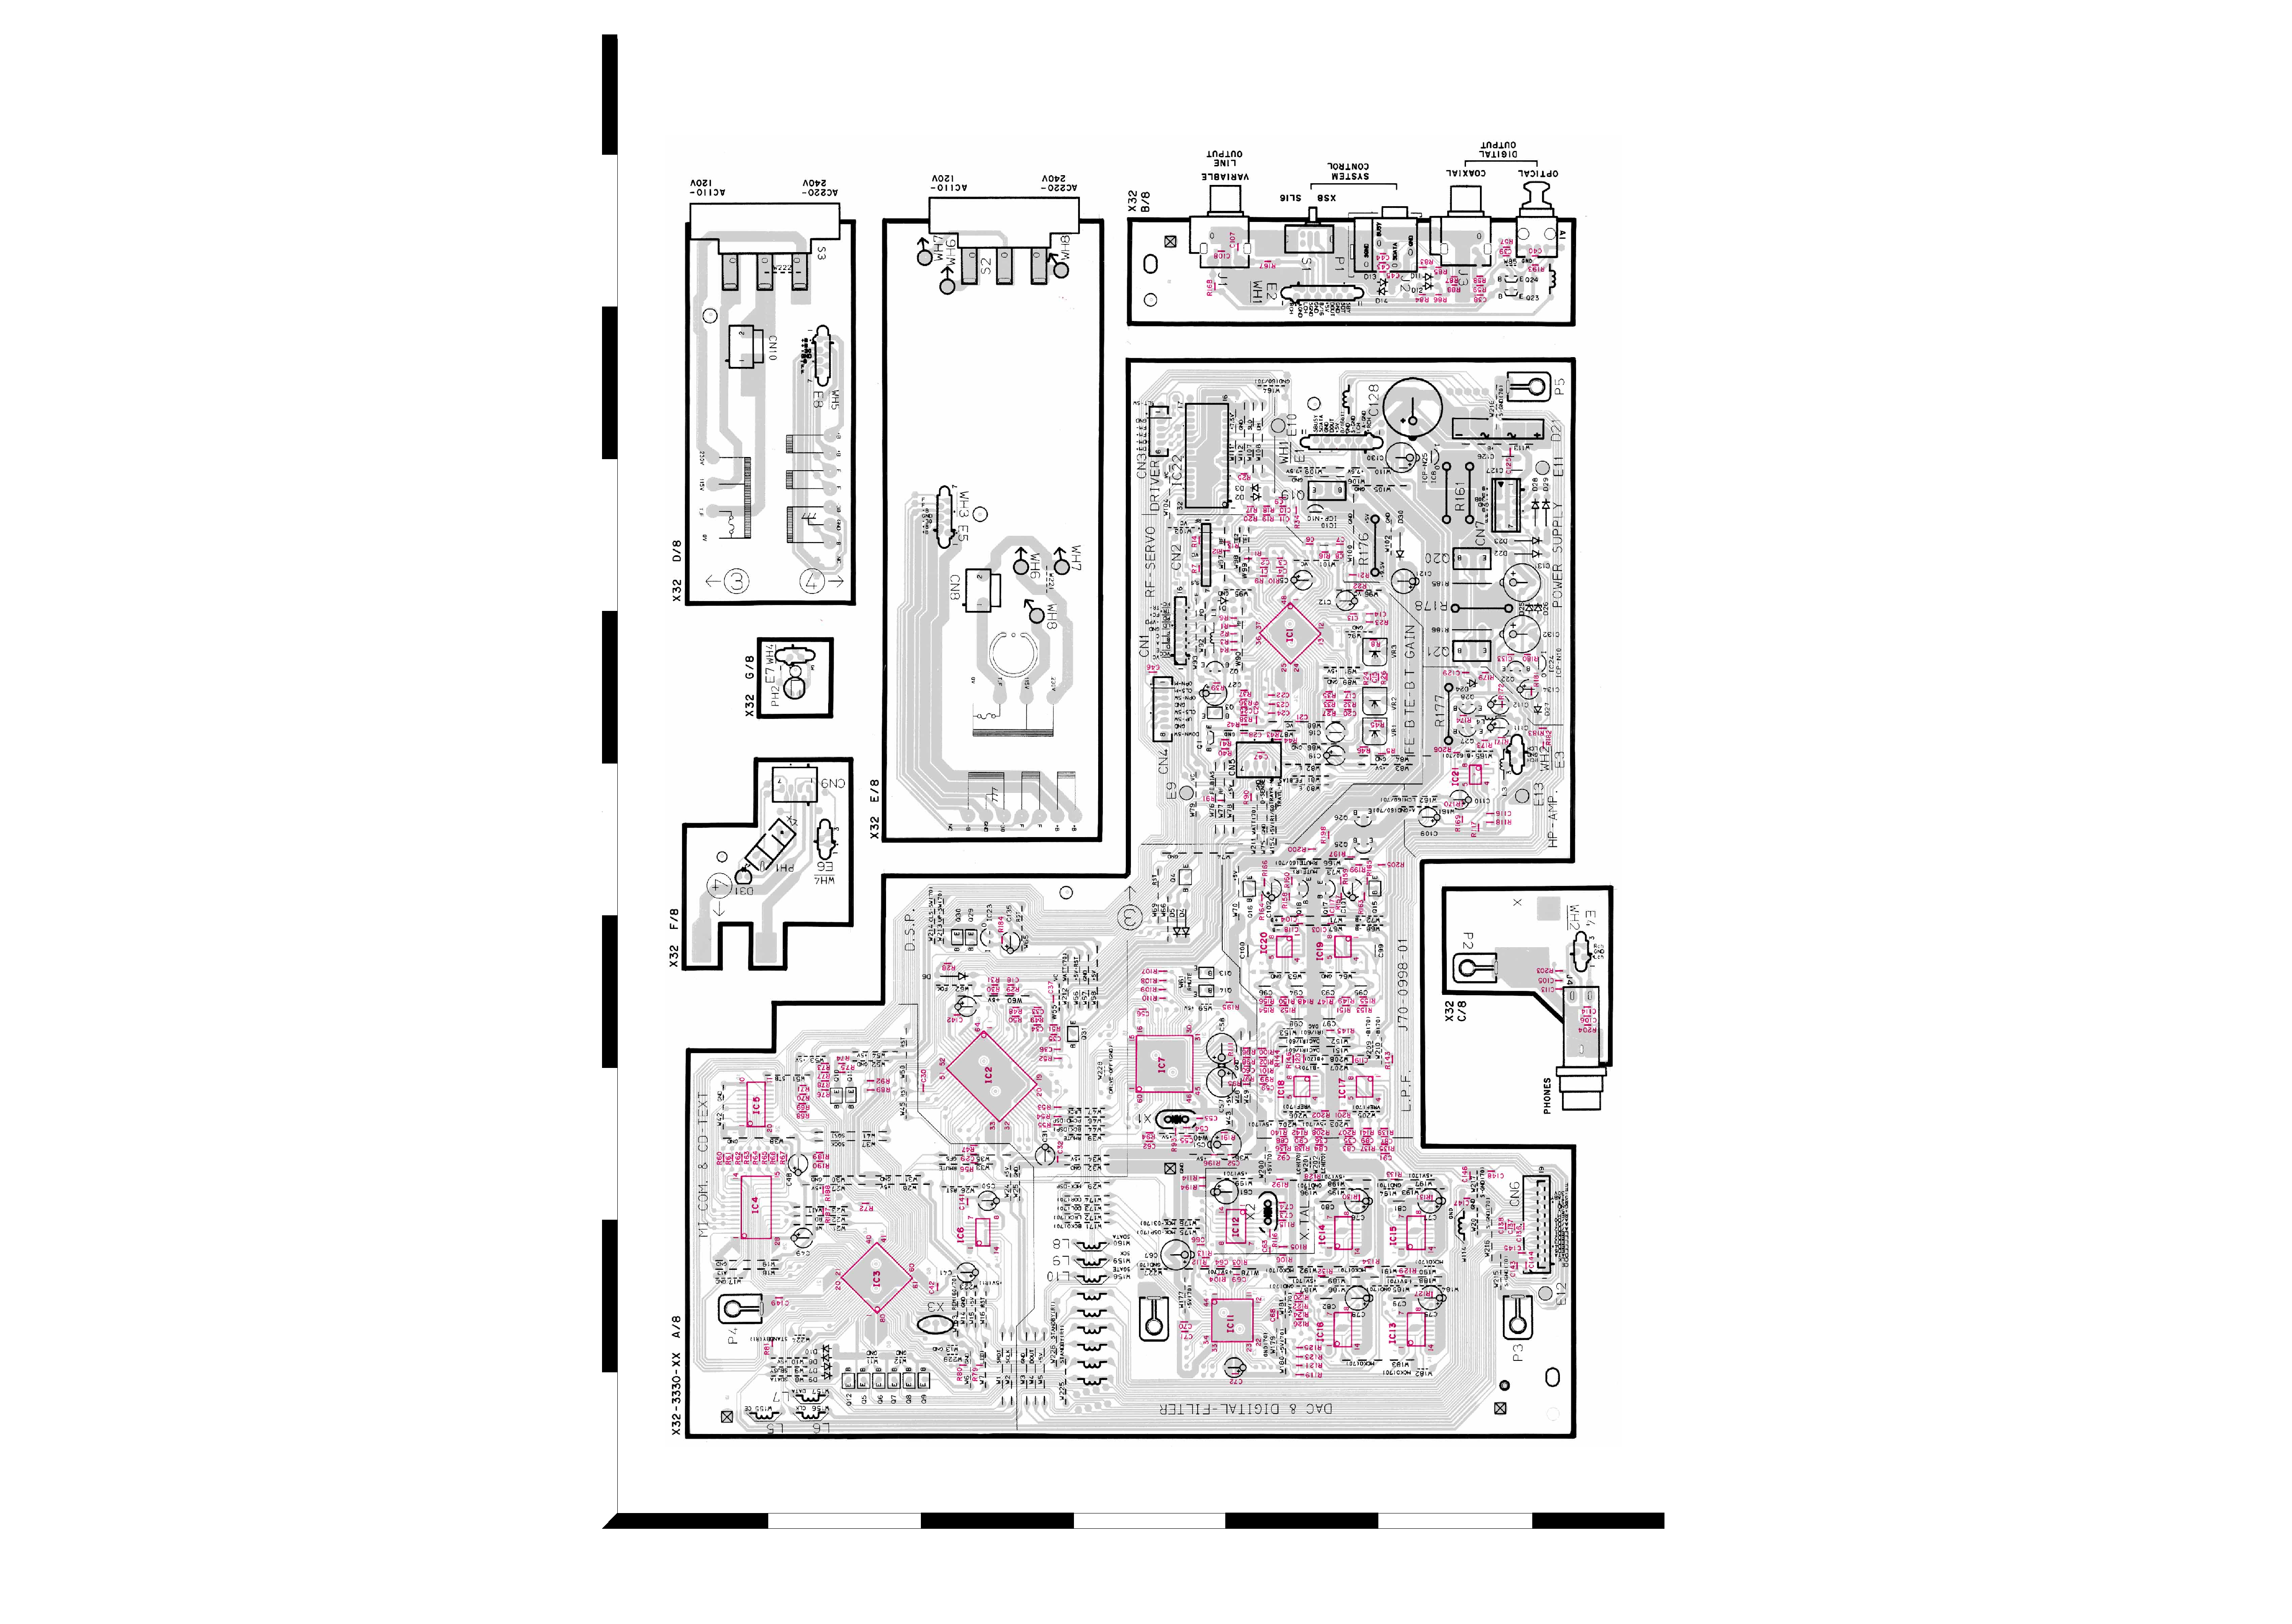
Refer to the schematic diagram for the value of resistors and capacitors.
PC BOARD(Component side view)
5
6
CD player unit (X32-333x-xx)
0-10 : D-R350
KP
0-11 : 1060CD
KP
DP-R6090
TE
0-12: 1070CD
KP
0-21 : D-R350
YMI
0-22 : 1060CD
Y
DP-R6090
M
0-23 : 1070CD
Y
1060CD(K) 2P PCB 98.4.24 0:16 PM y[W 1
