For Customer Use:
Enter below the Model No. and Serial No.
which are located either on the rear, bot-
tom or side of the cabinet. Retain this
information for future reference.
Model No.
Serial No.
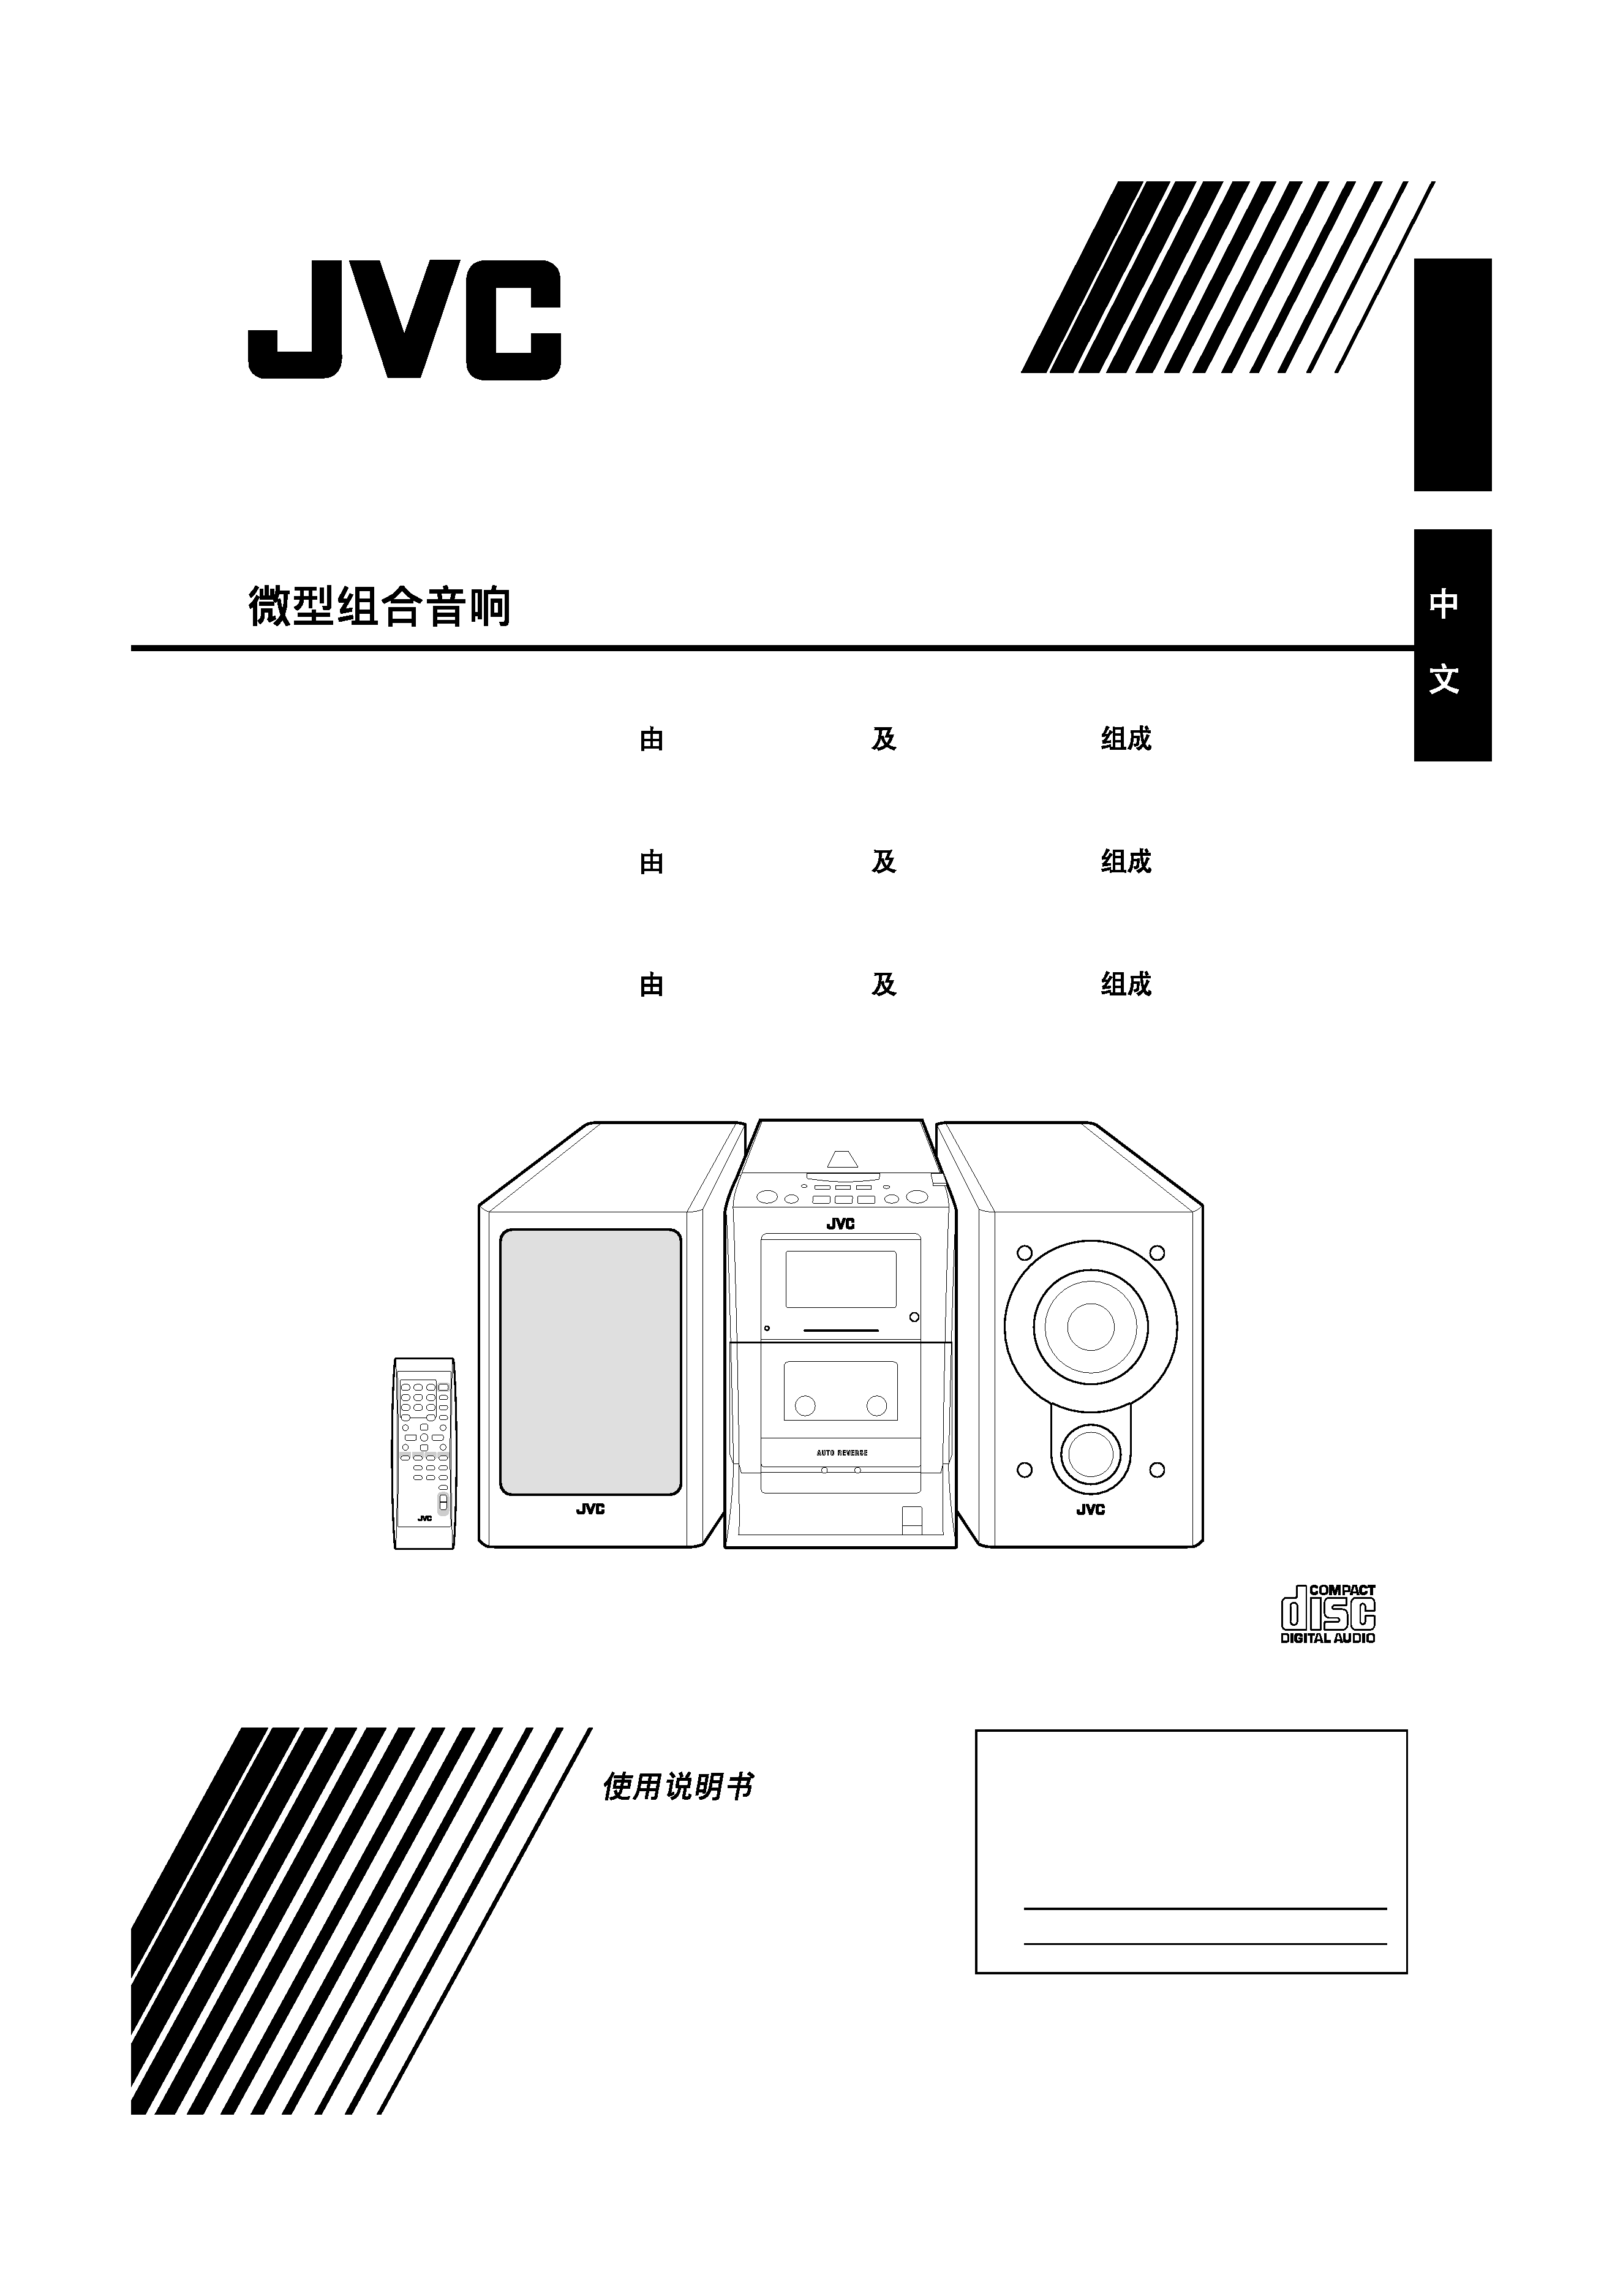
UX-H35-- Consists of CA-UXH35 and SP-UXH35
--
CA-UXH35
SP-UXH35
UX-H33-- Consists of CA-UXH33 and SP-UXH33
--
CA-UXH33
SP-UXH33
UX-H30-- Consists of CA-UXH30 and SP-UXH30
--
CA-UXH30
SP-UXH30
MICRO COMPONENT SYSTEM
INSTRUCTIONS
GVT0101-003A
[U, UJ]
MICRO COMPONENT SYSTEM
English
COVER_UX-H30[U]f.pm6
03.4.7, 11:41 AM
1

G-1
Warnings, Cautions and Others
CAUTION--
(standby/on) button!
Disconnect the mains plug to shut the power off completely (all
lamps and indications go off). The
(standby/on) button in
any position does not disconnect the mains line.
· When the unit is on standby, the STANDBY lamp lights red.
· When the unit is turned on, the STANDBY lamp goes off.
The power can be remote controlled.
CAUTION
To reduce the risk of electrical shocks, fire, etc.:
1. Do not remove screws, covers or cabinet.
2. Do not expose this appliance to rain or moisture.
CAUTION
· Do not block the ventilation openings or holes.
(If the ventilation openings or holes are blocked by a
newspaper or cloth, etc., the heat may not be able
to get out.)
· Do not place any naked flame sources, such as
lighted candles, on the apparatus.
· When discarding batteries, environmental problems
must be considered and local rules or laws
governing the disposal of these batteries must be
followed strictly.
· Do not expose this apparatus to rain, moisture,
dripping or splashing and that no objects filled with
liquids, such as vases, shall be placed on the
apparatus.
SAFETY_UX-H30[U]f.pm6
03.4.7, 6:05 PM
1

G-2
1.
CLASS 1 LASER PRODUCT
2.
CAUTION: Invisible laser radiation when open and interlock
failed or defeated. Avoid direct exposure to beam.
3.
CAUTION: Do not open the top cover. There are no user
serviceable parts inside the unit; leave all servicing to
qualified service personnel.
ADVARSEL: Usynlig laser-
stråling ved åbning, når
sikkerhedsafbrydere er ude
af funktion. Undgå udsæt-
telse for stråling
(d)
VARNING: Osynlig laser-
strålning när denna del är
öppnad och spärren är
urkopplad.
Betrakta
ej
strålen.
(s)
CAUTION: Invisible laser
radiation when open and
interlock failed or defeated.
AVOID DIRECT EXPOSURE
TO BEAM.
(e)
VARO: Avattaessa ja suo-
jalukitus ohitettaessa olet
alttiina
näkymättömälle
lasersäteilylle. Älä katso
säteeseen.
(f)
1 CLASSIFICATION LABEL ON EXTERIOR SURFACE
2 WARNING LABEL INSIDE THE UNIT
IMPORTANT FOR LASER PRODUCTS
REPRODUCTION OF LABELS
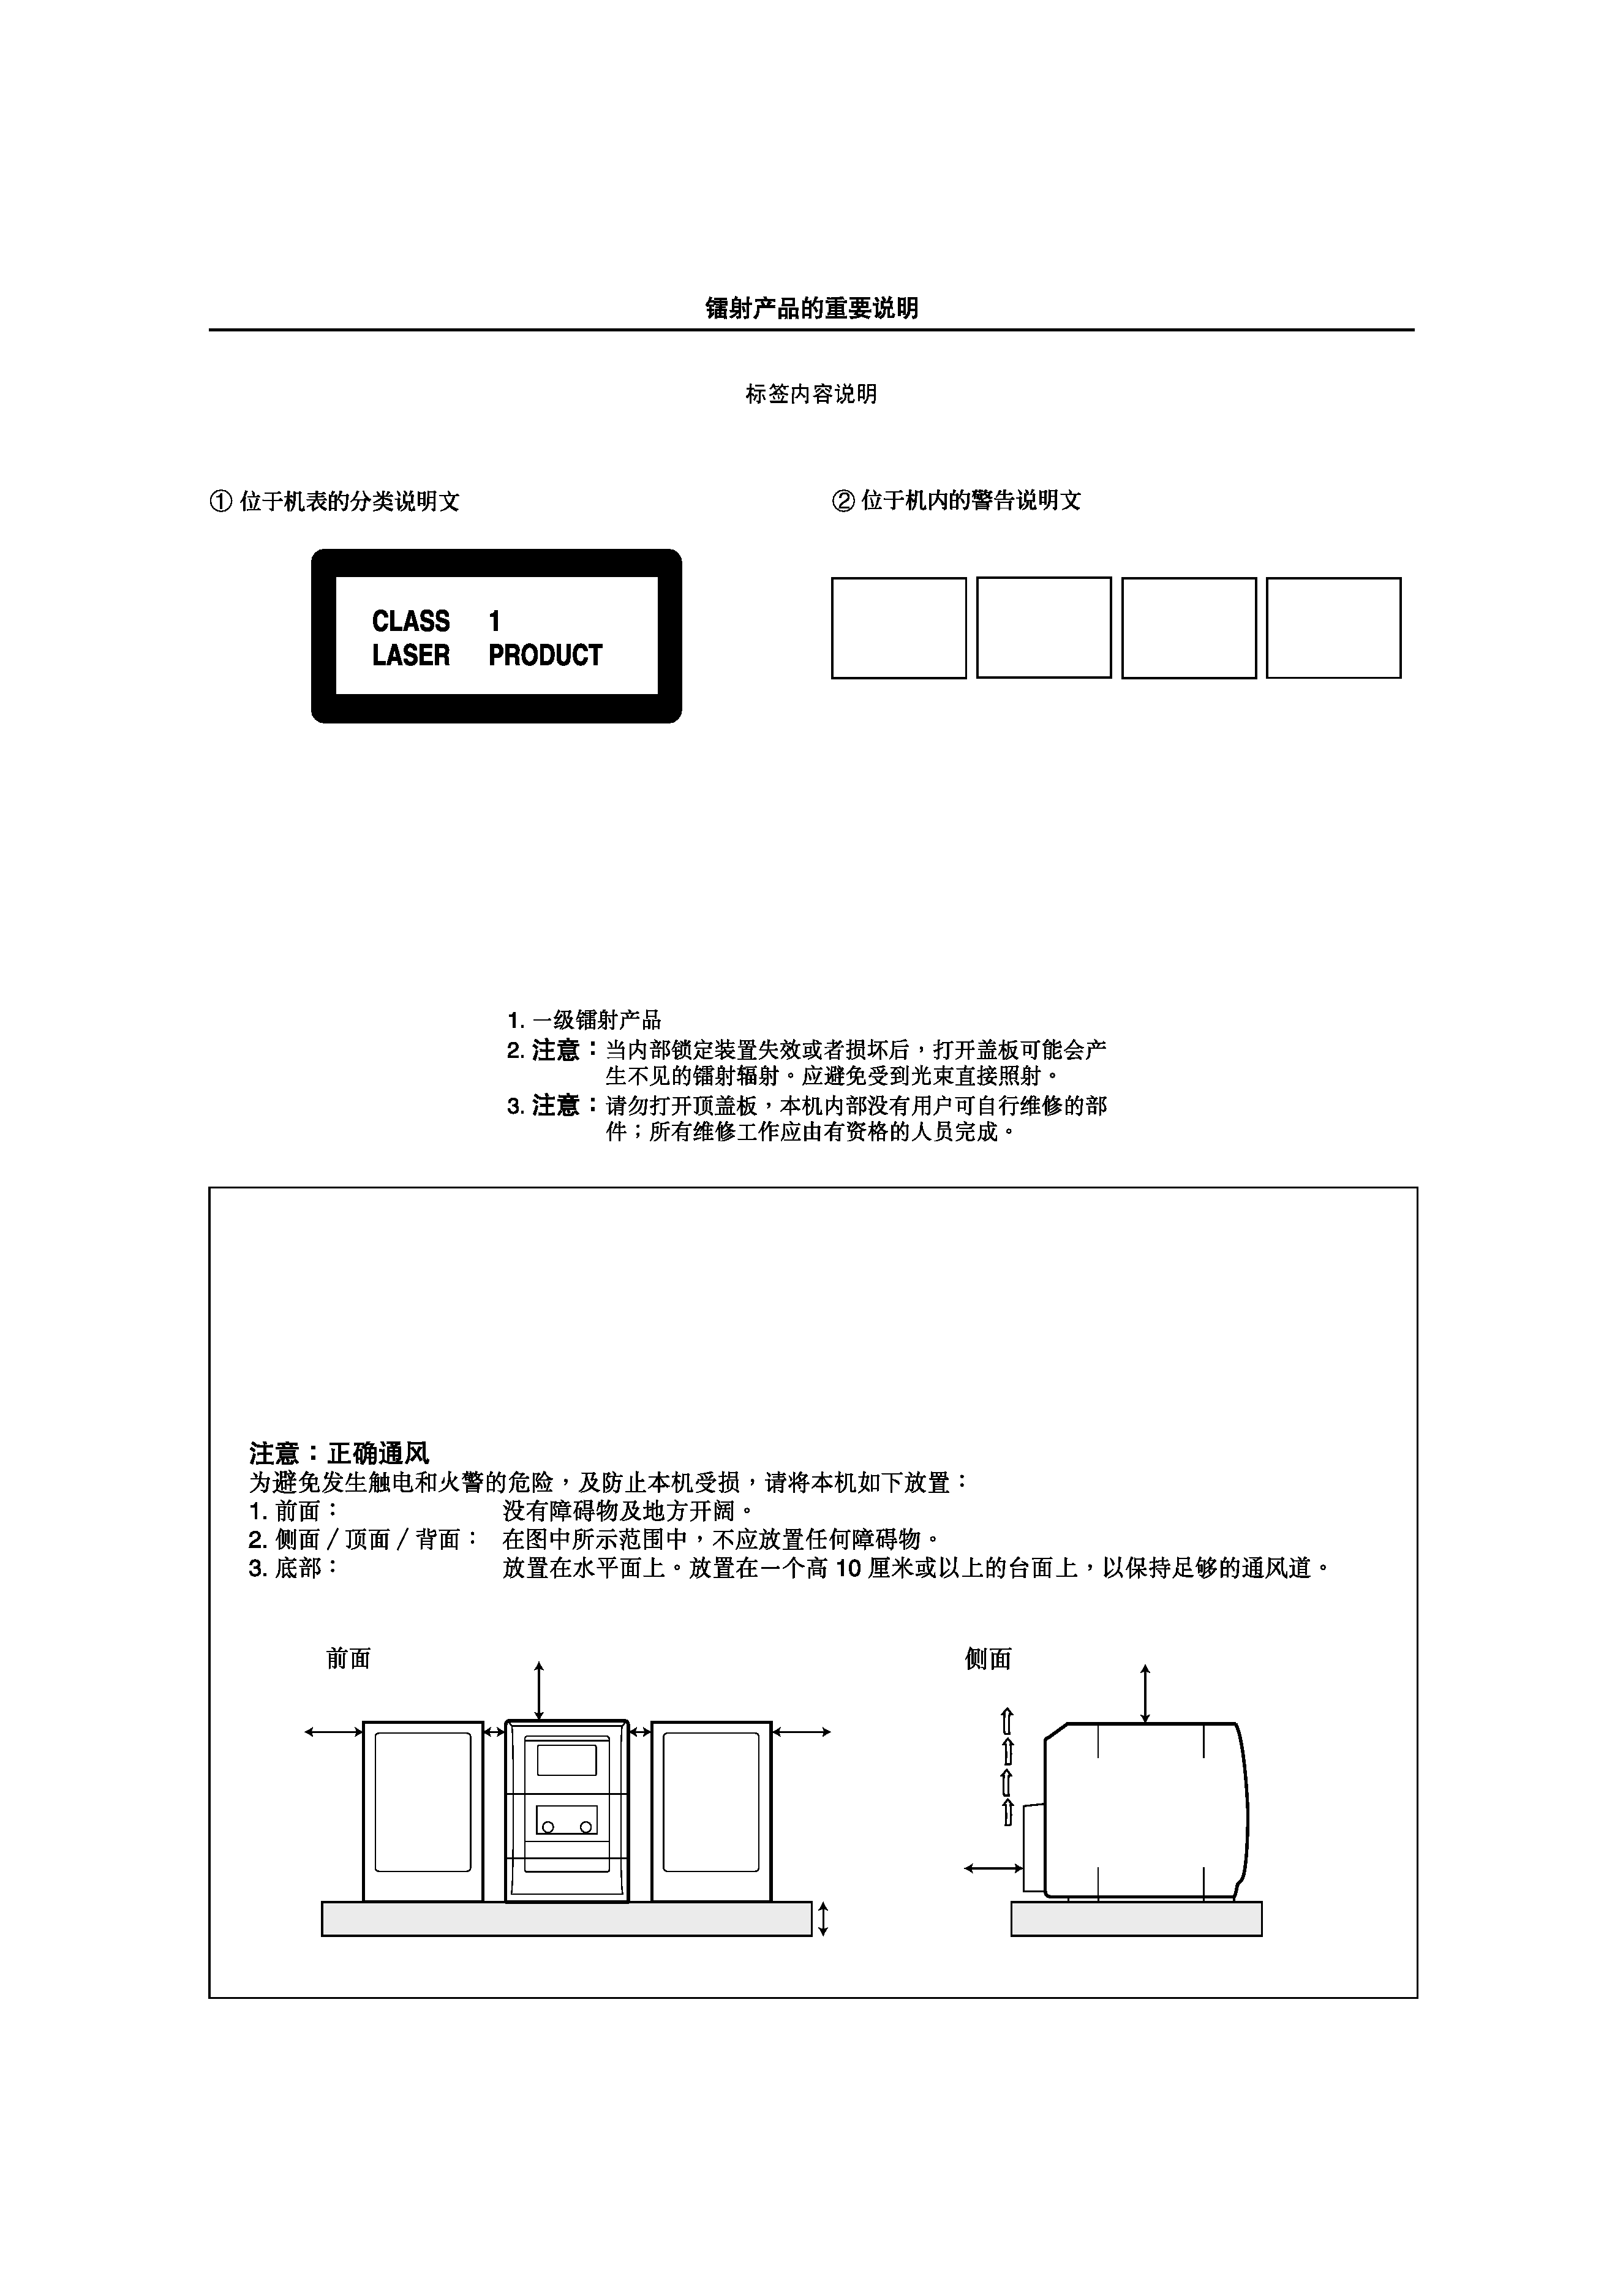
CAUTION: Proper Ventilation
To avoid risk of electric shock and fire, and to prevent damage, locate the apparatus as follows:
1
Front:
No obstructions and open spacing.
2
Sides/ Top/ Back:
No obstructions should be placed in the areas shown by the dimensions below.
3
Bottom:
Place on a level surface. Maintain an adequate air path for ventilation by placing on a stand
with a height of 10 cm or more.
Side view
10 cm
15 cm
1 cm
15 cm
15 cm
1 cm
15 cm
15 cm
UX-H35
UX-H33
UX-H30
UX-H35/UX-H33/UX-H30
Front view
SAFETY_UX-H30[U]f.pm6
03.4.7, 6:06 PM
2

1
English
Introduction
About This Manual
This manual is organized as follows:
· The manual mainly explains operations using the
buttons on the remote control.
You can use the buttons both on the remote
control and on the main unit for the same
operations if they have the same or similar names
(or marks), unless mentioned otherwise.
· Basic and common information that is the same for
many functions is grouped in one place, and is not
repeated for each procedure. For instance, we do not
repeat the information about turning on/off the unit,
setting the volume, changing the sound effects, and
others, which are explained in the section "Common
Operations" on pages 10 and 11.
· The following symbols are used in this manual:
Gives you warning and caution to
prevent damage or risk of fire/electric
shock.
Furthermore, it gives you information
about what is not good for obtaining
the best possible performance from the
unit.
Gives you information and hints you
should know.
Precautions
Installation
· Install in a place which is level, dry and neither too
hot nor too cold--between 5°C and 35°C.
· Install the unit in a location with adequate
ventilation to prevent internal heat buildup in the
unit.
· Leave sufficient distance between the unit and the
TV.
· Keep the speakers away from the TV to avoid
interference with TV.
DO NOT install the unit in a location near
heat sources, or in a place subject to direct
sunlight, excessive dust or vibration.
We would like to thank you for purchasing one of our JVC products.
Before operating this unit, read this manual carefully and thoroughly to obtain
the best possible performance from your unit, and retain this manual for future
reference.
Power sources
· When unplugging the unit from the wall outlet,
always pull on the plug, not the AC power cord.
DO NOT handle the AC power cord with
wet hands.
Moisture condensation
Moisture may condense on the lens inside the unit in
the following cases:
· After starting heating in the room
· In a damp room
· If the unit is brought directly from a cold to a warm
place
Should condensation occur, the unit may malfunction.
In this case, leave the unit turned on for a few hours
until the moisture evaporates, unplug the AC power
cord, then plug it in again.
Others
· Should any metallic object or liquid fall into the unit,
unplug the power cord and consult your dealer
before operating any further.
· If you are not going to operate the unit for an
extended period of time, unplug the power cord.
DO NOT disassemble the unit since there
are no user serviceable parts inside.
If anything goes wrong, unplug the power cord and
consult your dealer.
EN01-13_UX-H30[U]f.pm6
03.4.7, 11:45 AM
1

2
English
Contents
Location of the Buttons ............................................... 3
Main Unit .......................................................................... 3
Remote Control ................................................................. 5
Getting Started ............................................................. 6
Supplied Accessories ......................................................... 6
Connecting Antennas ........................................................ 6
Connecting Speakers ......................................................... 7
Connecting Other Equipment ............................................ 8
Adjusting the Voltage Selector .......................................... 8
Putting the Batteries into the Remote Control .................. 9
Common Operations ................................................. 10
Setting the Clock ............................................................. 10
Setting the AM Tuner Interval Spacing ........................... 10
Turning On the Power ..................................................... 11
Adjusting the Volume ...................................................... 11
Adjusting the Tone (Bass/Treble) .................................... 11
Reinforcing the Bass Sound ............................................ 11
Listening to FM and AM Broadcasts ....................... 12
Tuning in to a Station ...................................................... 12
Presetting Stations ........................................................... 12
Tuning in to a Preset Station ........................................... 13
Playing Back Discs ..................................................... 14
Playing Back the Entire Disc--Normal Play .................. 14
Basic Disc Operations ..................................................... 15
Programming the Playing Order of the Tracks
--Program Play ......................................................... 15
Playing at Random--Random Play ................................ 16
Repeating Tracks--Repeat Play ...................................... 16
Playing Back Tapes .................................................... 17
Playing Back a Tape ........................................................ 17
Recording ................................................................... 18
Recording on a Tape ........................................................ 18
Disc Direct Recording ..................................................... 19
One Track Recording ...................................................... 19
Using the Timers ........................................................ 20
Using Daily Timer and Recording Timer ........................ 20
Using Snooze Timer ........................................................ 22
Using Sleep Timer ........................................................... 22
Maintenance ............................................................... 23
Troubleshooting ......................................................... 24
Specifications .............................................................. 24
EN01-13_UX-H30[U]f.pm6
03.4.7, 11:45 AM
2
