STANDBY/ ON
VHS/HDD/DVD
S-VIDEO
VIDEO (MONO)LAUDIOR
VRS
HDD
DVD
DV IN
DISPLAY
SELECT
VHS TIMER
REC MODE
CH
F1
HDD/DVD
VHS
HDD
DVD
DVD
CABLE/SAT
TV
DVD
PR
NEXT
PREVIOUS
PAUSE
REC
REC MODE
REMAIN
DISPLAY ON SCREEN
SLOW
SLOW
PLAY/SELECT
STOP/ CLEAR
NAVIGATION
TOP MENU
RETURN
ENTER
MENU
TV/CBL/SAT
STANDBY/ON
TV
TV AV
VIDEO
TV
AUX
CANCEL
MEMO/MARK
PROGRAMME
EDIT
DUBBING
LIVE
JUMP
SET UP
SAT
AUDIO
SUBTITLE
VHS
VPS/PDC
ANGLE
LIVE CHECK
PROGRESSIVE
SCAN
RAM/RW
LPT0976-001B
EN
17
DVD / HDD VIDEO RECORDER &
VIDEO CASSETTE RECORDER
INSTRUCTIONS
DR-MX1S
MX1SEU_00.book Page 1 Monday, December 6, 2004 2:01 PM

Filename [MX1SEU_02Safety.fm]
Masterpage:Left0
2 EN
Page 2Monday, 6 December 2004 14:00
SAFETY FIRST
The rating plate and the safety caution are on the rear of the unit.
WARNING: DANGEROUS VOLTAGE INSIDE
WARNING: TO PREVENT FIRE OR SHOCK HAZARD,
DO NOT EXPOSE THIS UNIT TO RAIN OR
MOISTURE.
CLASS 1 LASER PRODUCT
REPRODUCTION OF LABELS
WARNING LABEL INSIDE OF THE UNIT
Manufactured under licence from Dolby Laboratories. ADolbyB and double-D symbol are trademarks of Dolby Laboratories.
ADTSB and ADTS DIGITAL OUTB are trademarks of Digital Theater Systems, Inc.
a is a trademark of Gemstar Development Corporation. The a system is manufactured under license from Gemstar
Development Corporation.
This product incorporates copyright protection technology that is protected by method claims of certain U.S. patents and other intellectual
property rights owned by Macrovision Corporation and other rights owners. Use of this copyright protection technology must be
authorized by Macrovision Corporation, and is intended for home and other limited viewing users only unless otherwise authorized by
Macrovision Corporation. Reverse engineering or disassembly is prohibited.
Safety Precautions
CAUTION:
A UNIT IS A CLASS 1 LASER PRODUCT. HOWEVER THIS
UNIT USES A VISIBLE LASER BEAM WHICH COULD CAUSE
HAZARDOUS RADIATION EXPOSURE IF DIRECTED. BE
SURE TO OPERATE THE UNIT CORRECTLY AS
INSTRUCTED.
WHEN THIS UNIT IS PLUGGED INTO THE WALL OUTLET,
DO NOT PLACE YOUR EYES CLOSE TO THE OPENING OF
THE DISC TRAY AND OTHER OPENINGS TO LOOK INTO
THE INSIDE OF THIS UNIT.
USE OF CONTROLS OR ADJUSTMENTS OR
PERFORMANCE OF PROCEDURES OTHER THAN THOSE
SPECIFIED HEREIN MAY RESULT IN HAZARDOUS
RADIATION EXPOSURE.
DO NOT OPEN COVERS AND DO NOT REPAIR YOURSELF.
REFER SERVICING TO QUALIFIED PERSONNEL.
IMPORTANT:
8
Please read the various precautions on page 2 and 3 before
installing or operating the unit.
8
It should be noted that it may be unlawful to re-record pre-
recorded tapes, DVDs, or discs without the consent of the
owner of copyright in the sound or video recording,
broadcast or cable programme and in any literary, dramatic,
musical, or artistic work embodied therein.
CAUTION:
8
When you are not using the unit for a long period of time, it is
recommended that you disconnect the power cord from the
mains outlet.
8
Dangerous voltage inside. Refer internal servicing to
qualified service personnel. To prevent electric shock or fire
hazard, remove the power cord from the mains outlet prior to
connecting or disconnecting any signal lead or aerial.
MX1SEU_00.book Page 2 Monday, December 6, 2004 2:01 PM

Masterpage:Right+
EN
3
Filename [MX1SEU_02Safety.fm]
Page 3Monday, 6 December 2004 14:00
SAFETY FIRST
When the equipment is installed in a cabinet or a shelf, make sure
that it has sufficient space on all sides to allow for ventilation
(10 cm or more on both sides, on top and at the rear).
When discarding batteries, environmental problems must be
considered and the local rules or laws governing the disposal of
these batteries must be followed strictly.
Failure to heed the following precautions may result in
damage to the unit, remote control or disc.
1. DO NOT place the unit ^
^ in an environment prone to extreme temperatures or
humidity.
^ in direct sunlight.
^ in a dusty environment.
^ in an environment where strong magnetic fields are
generated.
^ on a surface that is unstable or subject to vibration.
2. DO NOT block the unit's ventilation openings or holes.
(If the ventilation openings or holes are blocked by a
newspaper or cloth, etc., the heat may not be able to get out.)
3. DO NOT place heavy objects on the unit or remote control.
4. DO NOT place anything which might spill on top of the unit
or remote control.
(If water or liquid is allowed to enter this equipment, fire or
electric shock may be caused.)
5. DO NOT expose the apparatus to dripping or splashing.
6. DO NOT use this equipment in a bathroom or places with
water. Also DO NOT place any containers filled with water or
liquids (such as cosmetics or medicines, flower vases, potted
plants, cups, etc.) on top of this unit.
7. DO NOT place any naked flame sources, such as lighted
candles, on the apparatus.
8. AVOID violent shocks to the unit during transport.
MOISTURE CONDENSATION
Moisture in the air will condense on the unit when you move it from
a cold place to a warm place, or under extremely humid
conditions^just as water droplets form on the surface of a glass
filled with cold liquid. In conditions where condensation may occur,
disconnect the unit's power plug from the wall and keep it
disconnected for a few hours to let the moisture dry, then turn on
the unit.
HOW TO USE THIS INSTRUCTION MANUAL
All major sections and subsections are listed in the Table Of
Contents on page 4. Use this when searching for information on
a specific procedure or feature.
The Index on pages 10 13 illustrates the controls and
connections on the front and rear panel, the front display panel
and the remote control.
The list of terms on page 99 lists frequently-used terms, and the
number of the page on which they are used or explained in the
manual.
The A mark signals a reference to another page for instructions
or related information.
Operation buttons necessary for the various procedures are
clearly indicated through the use of illustrations at the beginning
of each major section.
For Italy:
AIt is declared that this product, brand JVC, conforms to the
Ministry Decree n. 548 of 28 Aug.'95 published in the Official
Gazette of the Italian Republic n. 301 of 28 Dec.'95
B
The STANDBY/ON
A button does not completely shut off
mains power from the unit, but switches operating current on
and off.
ABB shows electrical power standby and ACB shows ON.
ATTENTION:
To mobile phone users:
Using a mobile phone in the vicinity of the unit may cause picture
vibration on the TV screen or change the screen to a blue back
display.
On placing the unit:
Some TVs or other appliances generate strong magnetic fields.
Do not place such appliances on top of the unit as it may cause
picture disturbance.
When moving the product:
Press
A to turn off the power, and wait at least 30 seconds
before unplugging the power cord. Then, wait at least 2 minutes
before moving the product.
MX1SEU_00.book Page 3 Monday, December 6, 2004 2:01 PM

Filename [MX1SEU_03TOC.fm]
Masterpage:Left0
4 EN
Page 4
December 6, 2004 2:00 pm
CONTENTS
SAFETY FIRST
2
Safety Precautions .........................................................................2
DISC INFORMATION
5
About Discs ....................................................................................5
INDEX
10
INSTALLING YOUR NEW UNIT
16
Basic Connections .......................................................................16
INITIAL SETTINGS
17
Auto Set Up..................................................................................17
Preset Download..........................................................................18
Language .....................................................................................20
Monitor Set...................................................................................21
SAT CONTROL SET
22
Satellite Receiver Control Setting
(HDD & DVD Deck Only)...........................................................22
BASIC OPERATIONS ON DVD DECK
24
Basic Playback.............................................................................24
Playback Features .......................................................................25
Using The On-screen Bar ............................................................29
Parental Lock ...............................................................................33
Basic Recording ...........................................................................34
Recording Features......................................................................35
BASIC OPERATIONS ON HDD DECK
37
Basic Recording ...........................................................................37
Recording Features......................................................................38
Basic Playback.............................................................................39
Playback Features .......................................................................39
BASIC OPERATIONS ON VHS DECK
41
Basic Playback.............................................................................41
Playback Features .......................................................................42
Basic Recording ...........................................................................44
Recording Features......................................................................44
LIVE MEMORY PLAYBACK ON HDD/DVD DECK
46
Live Memory Playback .................................................................46
TIMER RECORDING ON HDD/DVD DECK
49
c Timer Programming ....................................................49
Manual Timer Programming.........................................................51
Automatic Satellite Programme Recording
(HDD Deck Only).......................................................................53
TIMER RECORDING ON VHS DECK
54
b Timer Programming.................................................... 54
Manual Timer Programming ........................................................ 55
NAVIGATION ON HDD/DVD DECK
57
Library Database Navigation ....................................................... 57
Edit Original Information .............................................................. 58
Edit Play List Information ............................................................. 60
Edit Library Information ............................................................... 62
Playback With MP3/WMA/JPEG Navigation ............................... 63
EDITING
64
Dubbing ....................................................................................... 64
DV Dubbing (HDD & DVD Deck Only) ........................................ 68
Edit From A Camcorder ............................................................... 70
Edit To Or From Another Recorder ............................................. 71
Output/Input Set .......................................................................... 72
Digital Audio Dubbing .................................................................. 73
REMOTE CONTROL
74
Remote Control Functions ........................................................... 74
SYSTEM CONNECTIONS
76
Connecting To A Satellite Receiver ............................................. 76
Connecting To A Dolby Digital Decoder Or
An Amplifier With Built-in DTS .................................................. 77
Connecting/Using A Decoder
(HDD & DVD Deck Only) .......................................................... 77
SUBSIDIARY SETTINGS
78
Mode Set (HDD & DVD Deck Only) ............................................ 78
Mode Set (VHS Deck Only) ......................................................... 81
Tray Lock (DVD Deck Only) ........................................................ 82
c System Setup ............................................................. 83
Tuner Set ..................................................................................... 83
Clock Set ..................................................................................... 86
Format A Disc (DVD Deck Only) ................................................. 87
Finalise A Disc (DVD Deck Only) ................................................ 88
Scan Mode Set ............................................................................ 89
TROUBLESHOOTING
90
SPECIFICATIONS
94
APPENDIX
95
LIST OF TERMS
99
MX1SEU_00.book Page 4 Monday, December 6, 2004 2:01 PM

Masterpage:Right0
EN
5
Filename [MX1SEU_04DiscInfo.fm]
Page 5Monday, 6 December 2004 14:00
DISC INFORMATION
Recordable/Playable Discs
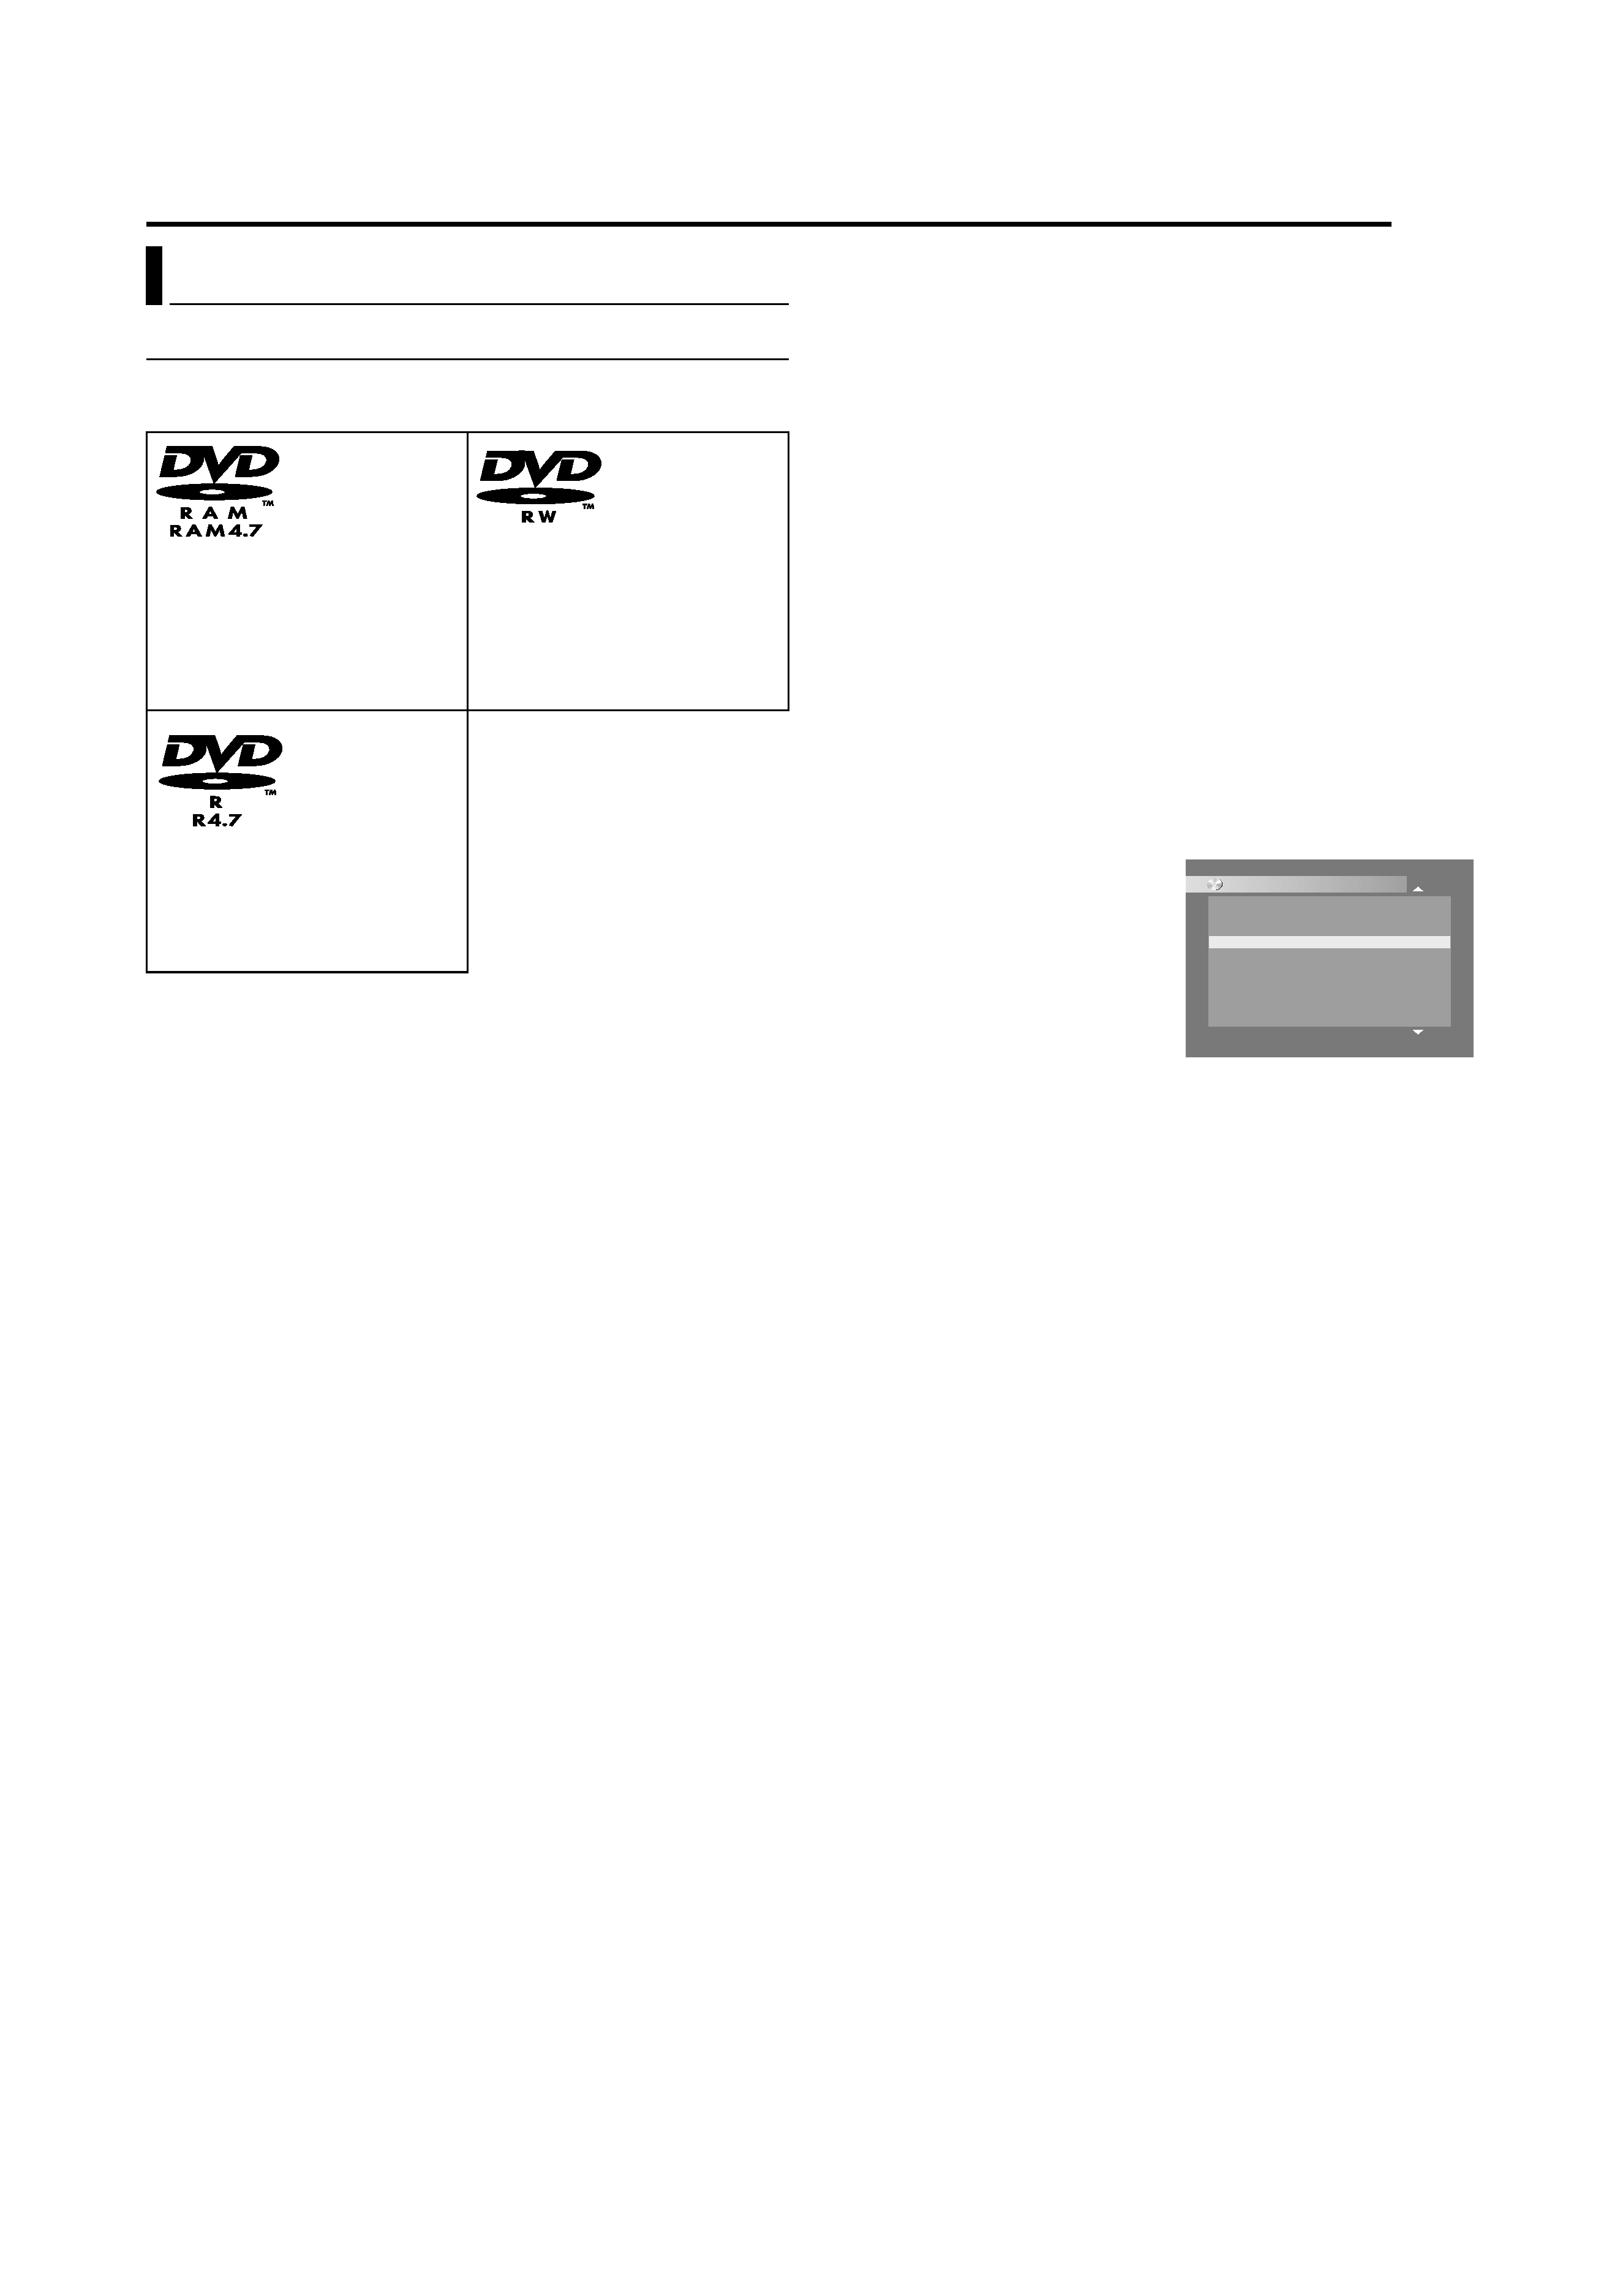
You can use discs with the following logos for recording and
playback.
The above table is based on the information as of October 2004.
Recording and playback may not be performed depending on the
characteristics and condition of the disc used, leading to
unsatisfactory results. Using discs manufactured by JVC is
recommended since they have been tested to be compatible with
this unit.
DVD-RAM Discs
It is only possible to use discs which conform with DVD-RAM
standard Version 2.0 or 2.1.
It is impossible to record on DVD-RAM discs which do not
conform to this standard. If you use a disc formatted under a
different standard version, format it on this unit before use.
It may not be possible to record, play back, edit or dub a
DVD-RAM disc even if it conforms to the standard if it was
recorded or edited on the devices from other manufacturers or on
a PC, or if it has far too many titles, or if there is very little
available capacity remaining on the disc.
DVD-RAM discs recorded on this unit cannot be played back on
an incompatible DVD player.
It is possible to record copy-once programmes of digital
broadcasts only onto 4.7/9.4 GB DVD-RAM discs (2.8 GB
DVD-RAM discs are not compatible).
Although this unit supports 3x speed DVD-RAM discs, dubbing
cannot be achieved at 3x speed.
DVD-R/RW Discs
It is only possible to use DVD-R discs which conform with DVD-R
standard Version 2.0.
Although this unit supports 8x speed DVD-R and 4x speed
DVD-RW discs, dubbing cannot be achieved at 8x speed and 4x
speed respectively.
When a DVD-R/RW disc (Video mode) is finalised (A pg. 88), it
can be played back on a standard DVD player as a DVD VIDEO
disc.
When a DVD-RW disc (VR mode) is finalised (A pg. 88), it can be
played back on a standard DVD player compatible with the VR
mode of DVD-RW discs.
Before finalising ^
^ it is possible to record on unrecorded areas of the disc, edit the
disc title and programme titles, and delete programmes.
It is impossible to record or edit DVD-R/RW discs recorded on
other devices even if they have not been finalised.
It is impossible to overwrite recorded areas of DVD-R discs.
Available recording capacity does not increase even if a recorded
programme is deleted from a DVD-R disc.
After finalising ^
After a DVD-R/RW disc (Video mode) has been finalised, it is
possible to play back the recorded programmes (video and/or
audio) on a standard DVD video player as a DVD VIDEO disc.
Edited titles are displayed as the
ADVD menuB in video mode.
It is impossible to record, edit or
delete the data either in video
mode or in VR mode.
Either in video mode or in VR
mode, although the disc can be
played back on DVD players from
other manufacturers, sometimes it
may not be possible to play back depending on the disc and
recording conditions.
It is impossible to record on CD-R/RW or DVD-R discs used for
authoring.
It is impossible to record onto DVD-R/RW (Video mode) discs
broadcasts that allow you to copy once. The copy once
programmes can only be recorded onto DVD-RW discs formatted
in VR mode.
NOTE:
The following may result if you play back a DVD-R disc recorded
on another unit.
The disc does not play.
A mosaic pattern (block noise) appears on the screen.
Video or audio may be dropped out.
The unit stops during playback.
About Discs
DVD-RAM
12 cm: 4.7 GB/9.4 GB
8 cm: 1.4 GB/2.8 GB
Ver. 2.0/2x speed
Ver. 2.1/1x 3x speed
DVD-RW
12 cm: 4.7 GB/9.4 GB
Ver. 1.1/1x 2x speed
(Video mode/VR mode)
Ver. 1.2/4x speed
(Video mode/VR mode)
DVD-R
12 cm: 4.7 GB
8 cm: 1.4 GB
Ver. 2.0/1x 4x/8x speed
(Video mode)
CONTENTS MENU
81 Sister Princess ED2 14/11 0:55 PR12<HDD MN26
82 GALAXY ANGLE A#04 OP 06/10 9:30 PR12<HDD
83 GALAXY ANGLE A#04 ED 06/10 9:30 PR12<HDD
84 FISHING WORLD OP 22/12 20:00 PR3
85 FISHING WORLD ED 22/12 20:00 PR3
86 RALLY CAR OP 10/04 0:30 PR3
87 RALLY CAR ED 10/04 0:30 PR3
88 Chobits #04 OP 02/05 PR10
89 Chobits #04 ED 02/05 PR10
90 Chobits #25 ED 26/09 PR10 MN32 LPCM
16.11.2002
07.10.2002
07.10.2002
22.12.2002
22.12.2002
04.10.2002
04.10.2002
02.05.2002
02.05.2002
26.09.2002
PREV
NEXT
MX1SEU_00.book Page 5 Monday, December 6, 2004 2:01 PM
