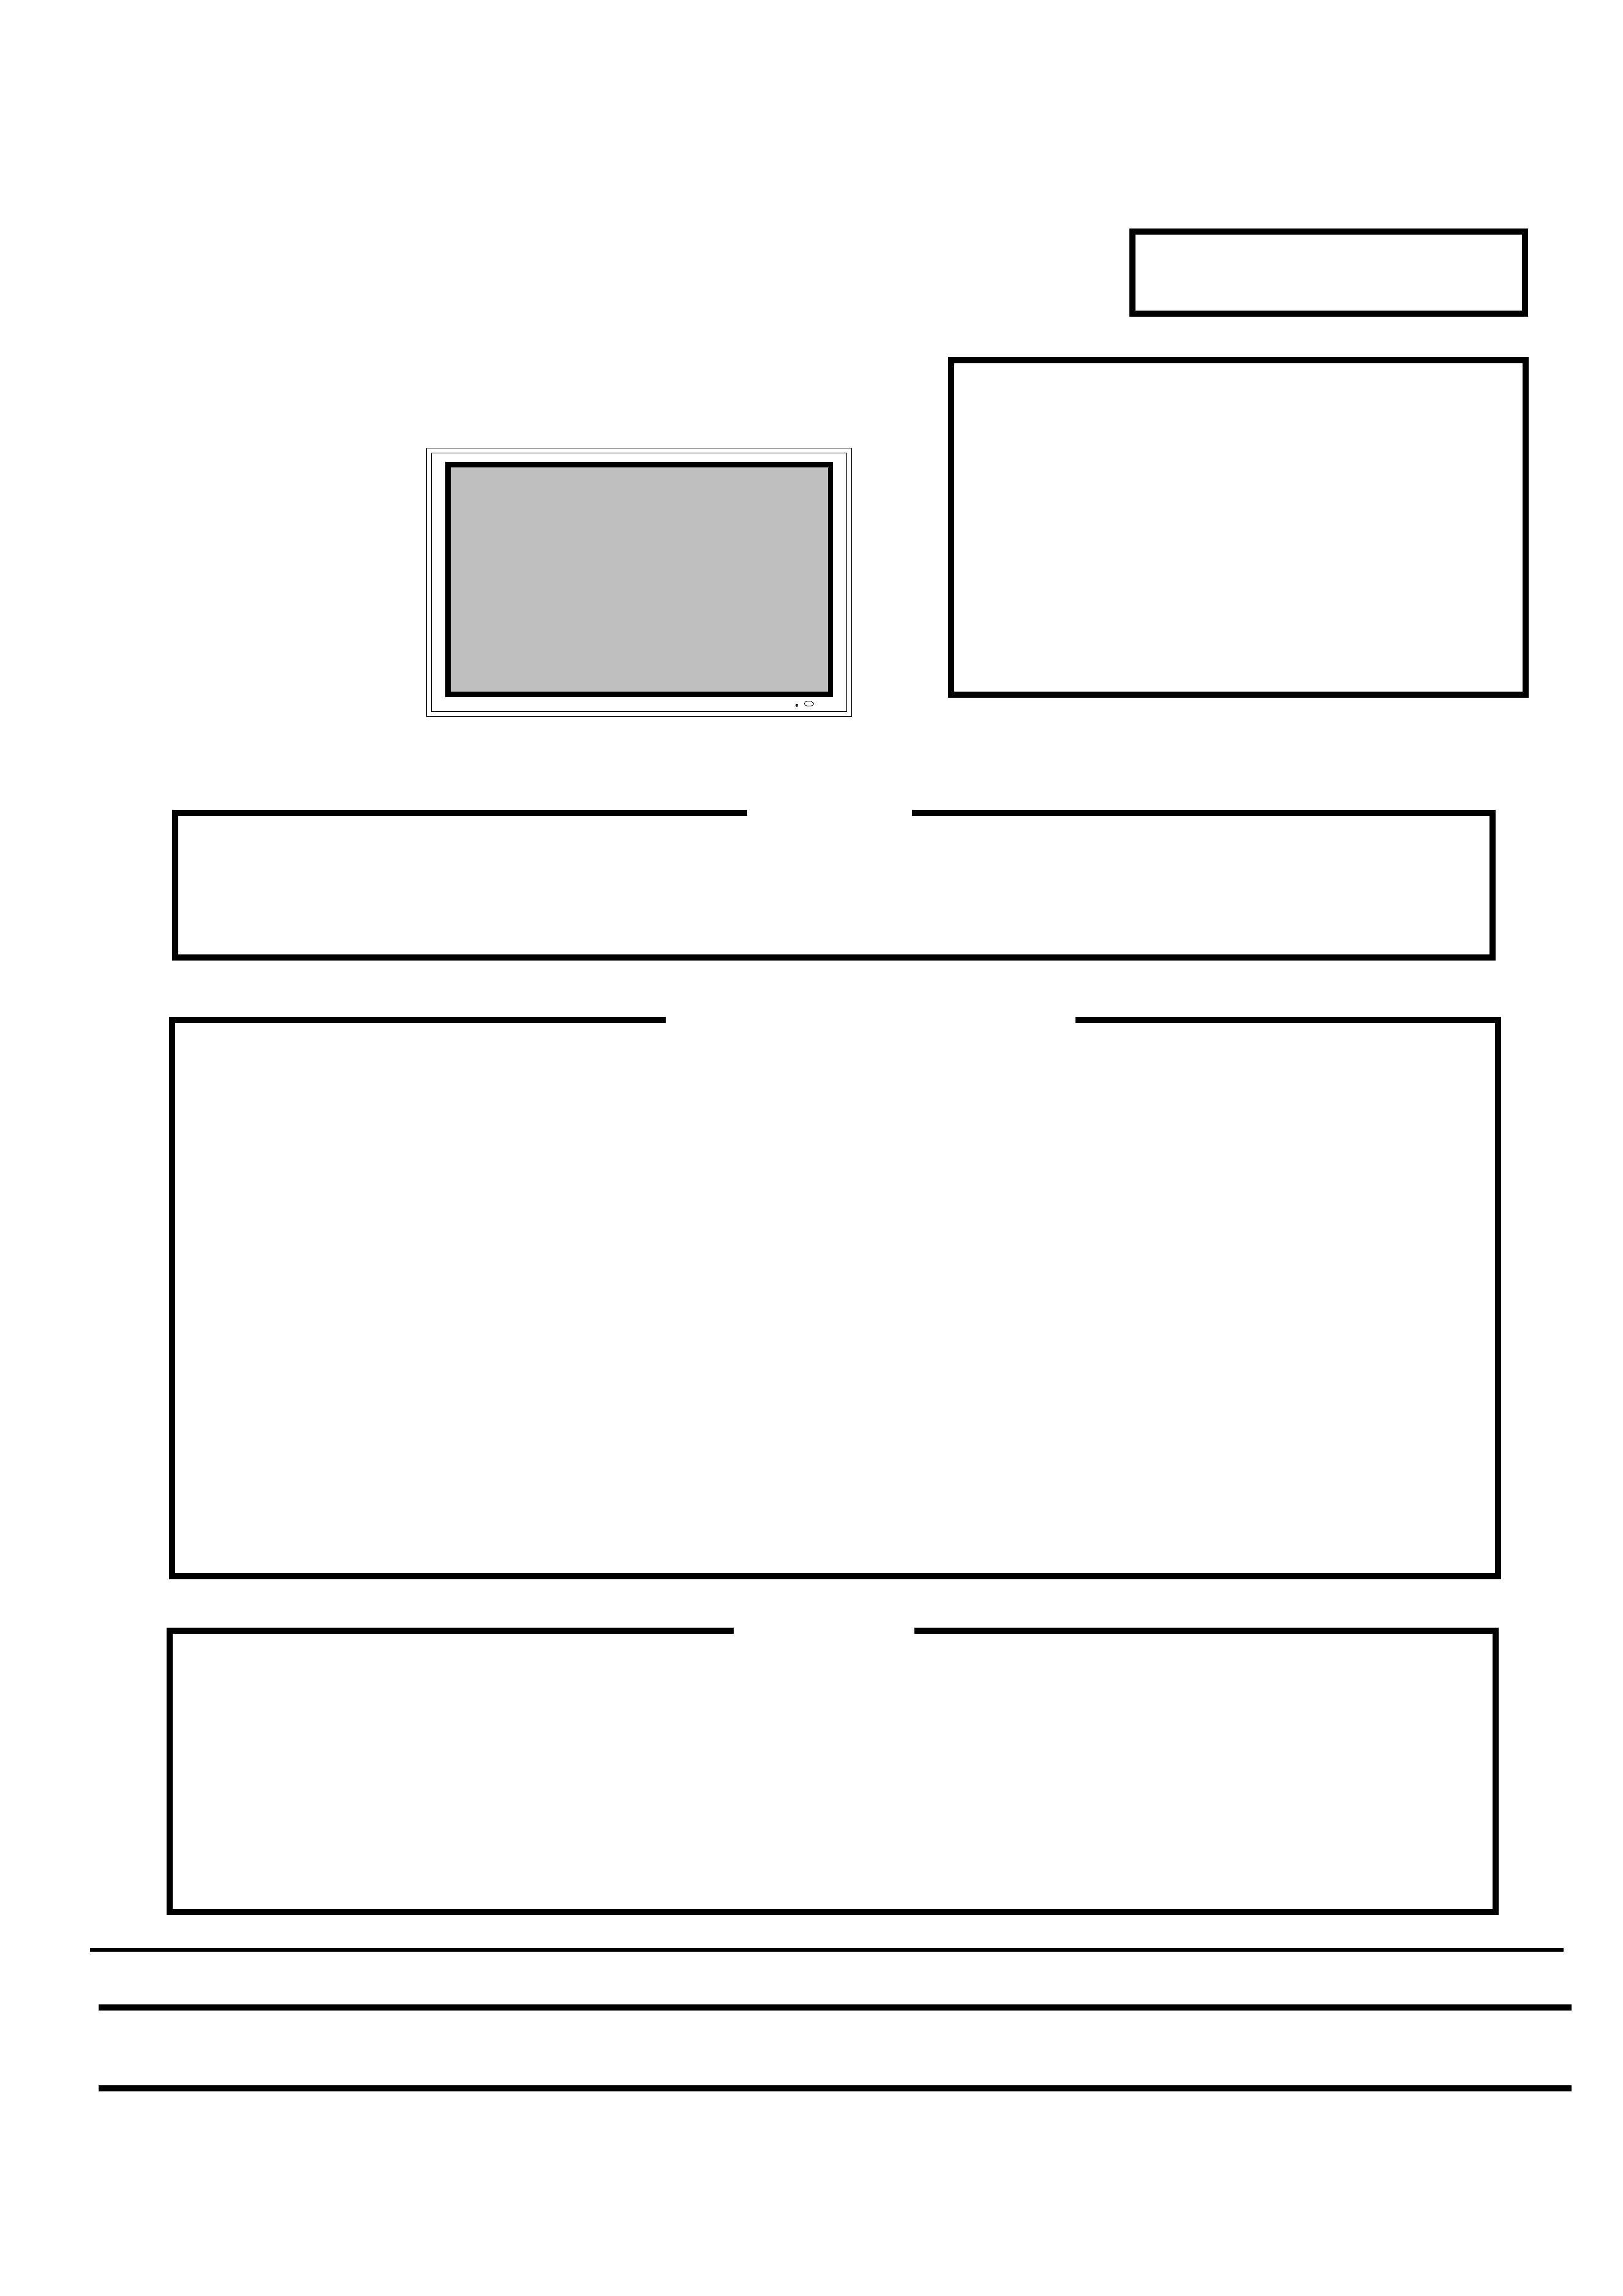
Plasma Display
October 2002
SERVICE MANUAL
Be sure to read this manual before servicing. To assure safety from fire, electric shock, injury,
harmful radiation and materials, various measures are provided in this Plasma display.
Be sure to read cautionary items described in the manual to maintain safety before servicing.
1. Since Panel Module and Front Filter are made of glass, handling of the broken Module and
Filter shall be handled carefully in order not to be injured.
2. Replacment work shall be started after the Panel Module and the AC/DC Power supply become
sufficiently cool.
3. Special care shall be taken to the display area in order not to damage its surface.
4. The Panel Module shall not to be touched with bare hand to protect its surface from stains.
5. It is recommended using clean soft gloves during the replacment work in order to protect not
only
the display area of the Panel Module but also the serviceman himself.
6. The Chip Tube of Panel Module (located upper left of the back) and flexible cables connecting
Panel glasses to drive circuit PWBs are very weak, so sufficient care should be taken so as
not to break them. If you break the Chip Tube, the Panel will not display any more.
1. Features2
2. Specifications2
3. Lead free solder3
4. Names of each part4
5. Trouble shooting5
6. Block diagram14
7. Disassembly Diagram15
8. Re-Adjustment 18
9. Wiring Drawing22
10. Replacement Parts list24
SPECIFICATIONS AND PARTS ARE SUBJECT TO CHANGE FOR IMPROVEMENT.
SM 0064
Caution
Contents
Serviceman Warning
Mod. PD1 A
CMP4121HDE
CMP4202E
42PMA400E
1. Features
42 inches Hi-Vision compatible high-definition color plasma display panel.
Newly developed Multi-scanning converter provides a multi-scan coverage of TV signals
through to PC analog signals (15 kHz to UXGA(107 kHz)).
Large high-quality display images free from color miss-convergence and display distortion, as
well as from geomagnetic effect and the magnetic effect of ambient power lines.
Multimedia input support
Two minis D-sub terminal have been provided for RGB input. It is possible to switch between
RGB signals and component signals* from the Menu screen or the remote controller,
therefore use is possible with equipment ranging from personal computer to imaging device.
*It is possible when the VIDEO unit is inserted.
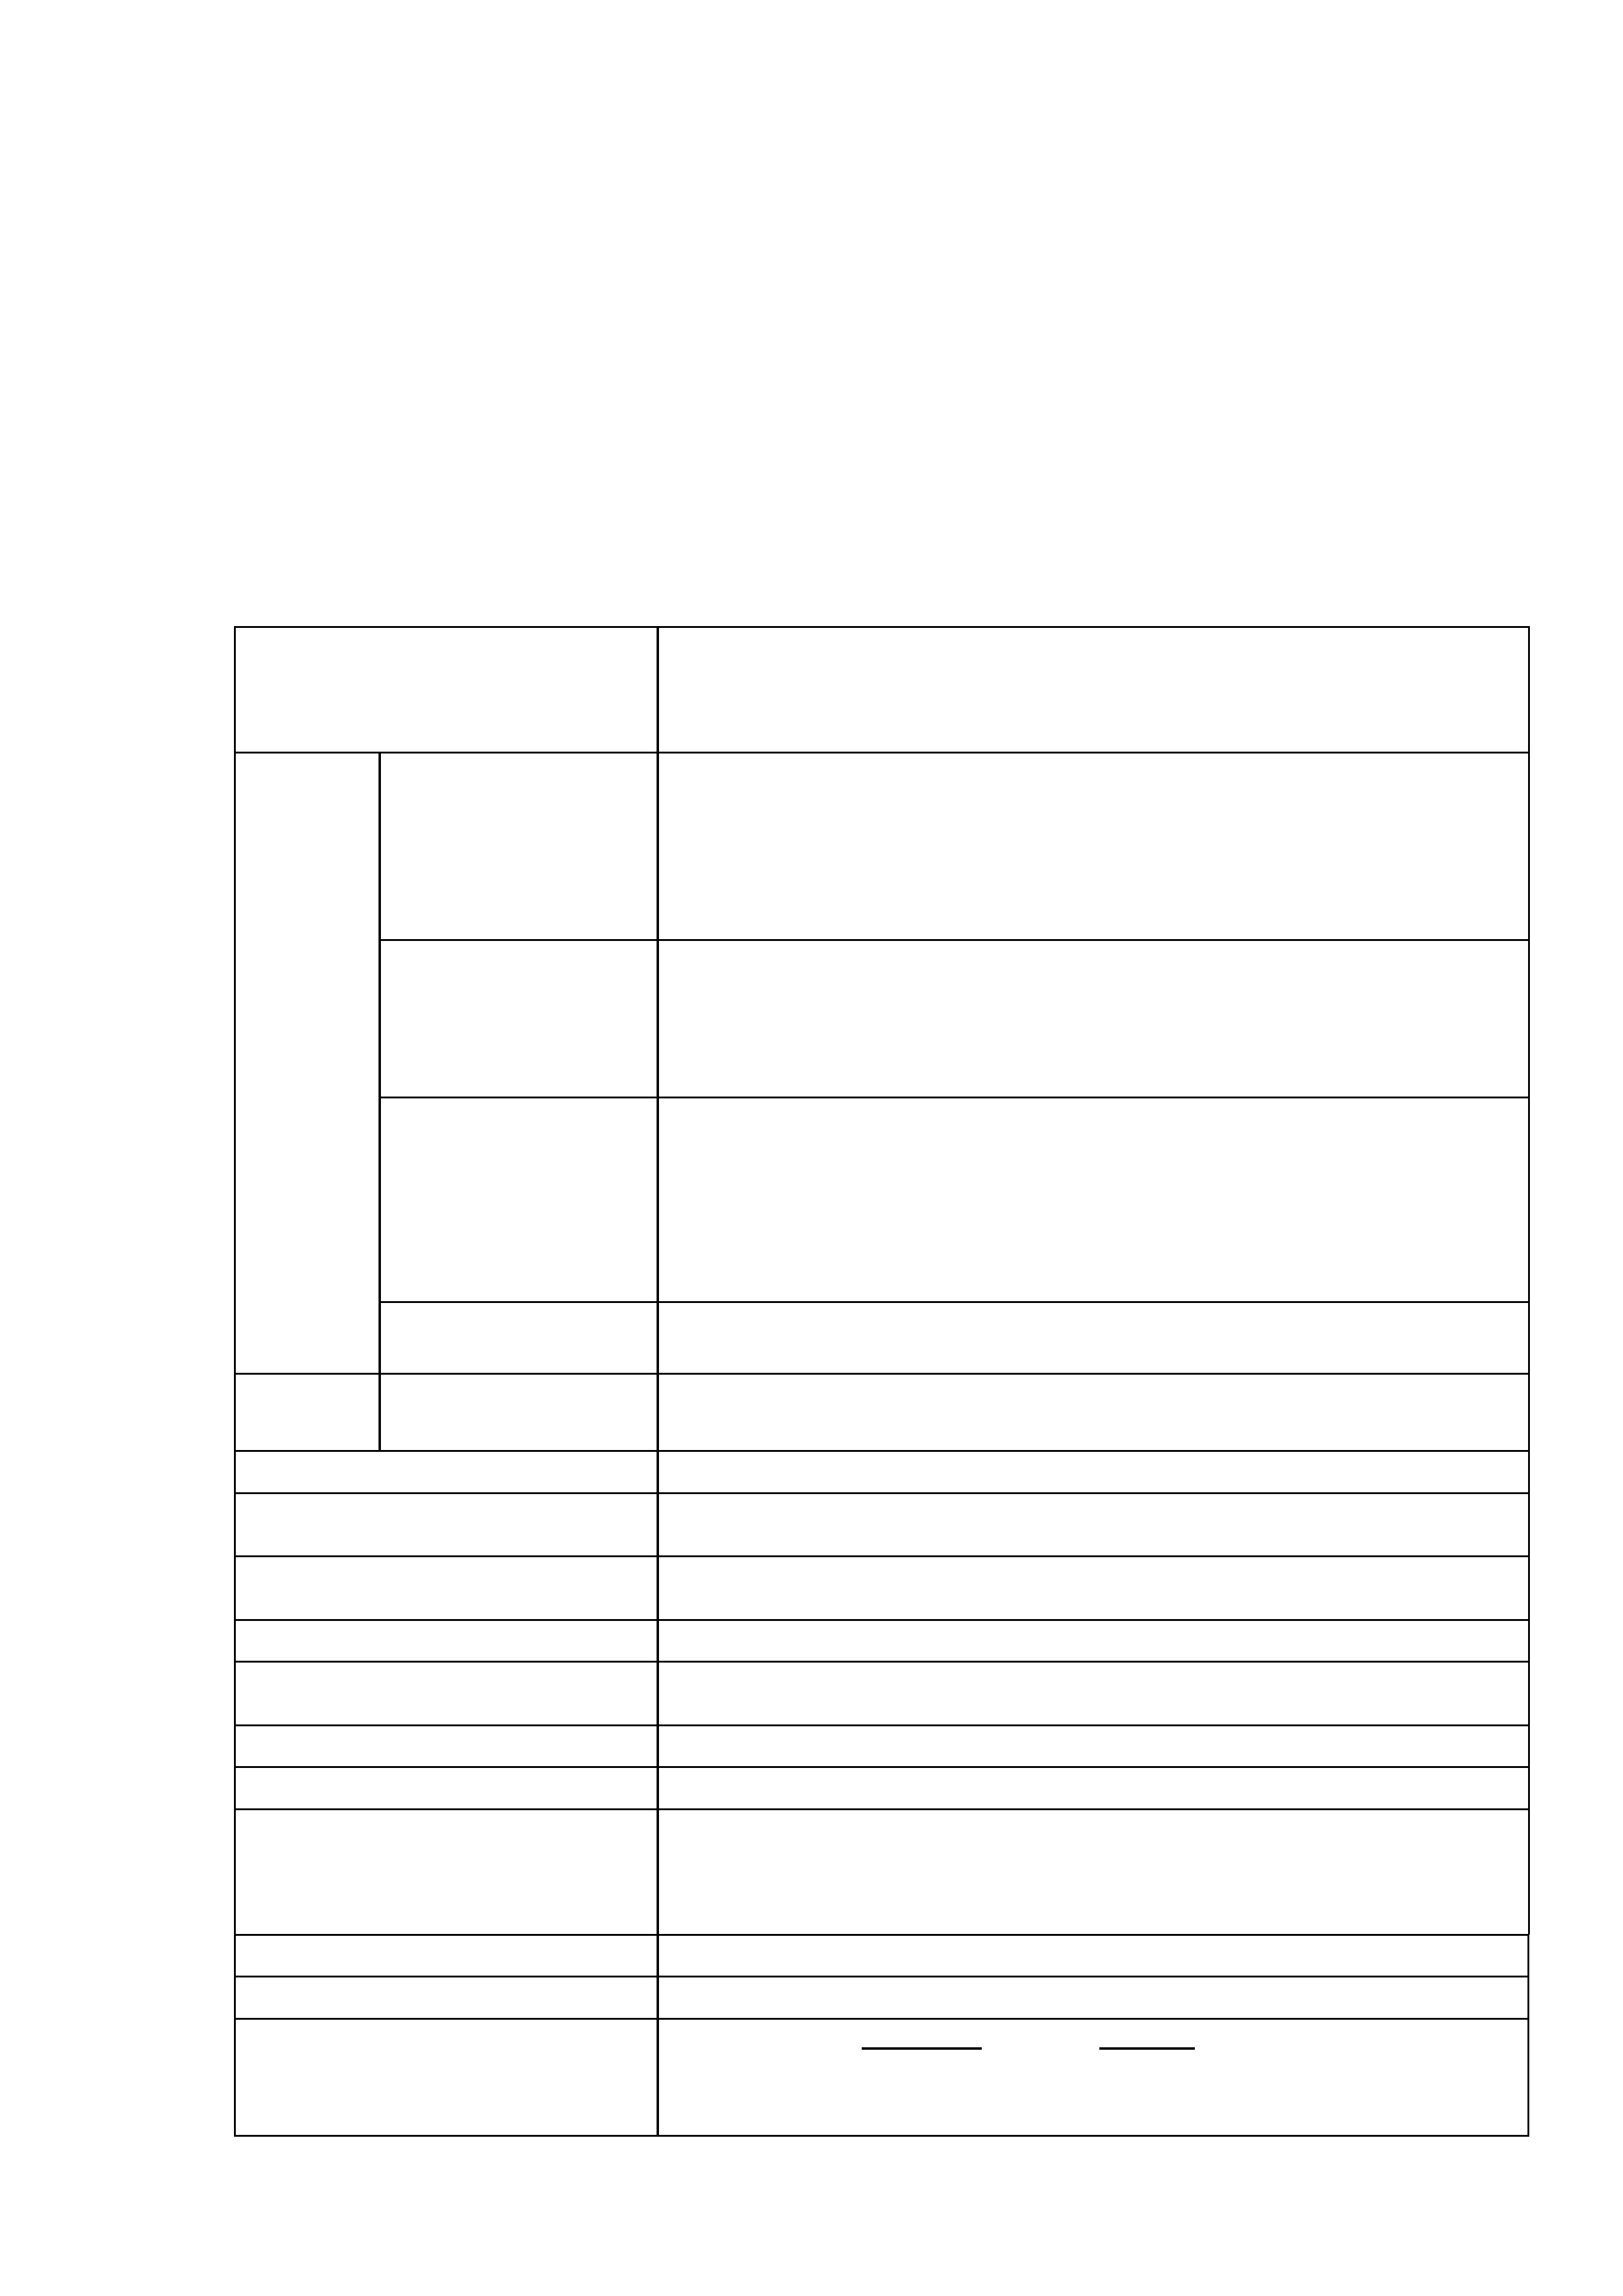
2. Specifications
PDP Module
42 inch ALIS PDP panel (aspect ratio 16:9)
Description FPF42C128128UB
Pixel pitch
0.90 mm(H) x 0.51 mm(V)
Pixel structure RGB striped
RGB 1
RGB 2
(mD-sub15p) x 2
Video
: 0.7 Vp-p
Sync.
: Separate H/V, TTL level
Composite H/V, TTL level
Sync. on Green at 0.30 Vp-p
*: A Component input is attained at a D-sub terminal.
Video 1
(RCAx1,
S-terminalx1)
Composite Video or S-video (forS1, S2)
NTSC3.58, NTSC4.43, PAL, M-PAL, N-PAL, PAL60,SECAM
Video : Composite 1.0 Vp-p
S-video
Y: 1.0 Vp-p, C:0.29Vp-p
Sync. : Composite sync
Video 2
(RCAx3)
Component Video
Y,PB,PR or Y,CB,CR:
(480I, 480P, 576I, 576P, 720P, 1080I, 1035I)
Video:
Y : 1.0 Vp-p
Pb/Cb,Pr/Pr : 0.7 Vp-p
Sync. : Superimposed with Y signals
Input
Signal
SCART
(VIDEO1,VIDEO2)
PAL,NTSC Video : R/G/B 0.7Vp-p (Video2)
Sync : Composite Sync 1.0Vp-p (Video1)
Output
Signal
Video 1
(RCAx1)
Composite Video
Loop-through of input video 1 signal
Colors
16.777 million
Synchronization
Horizontal : 15 107 kHz
Vertical
: 50 85 Hz
Resolution
Horizontal : 1024 dots (max.)
Vertical
: 1024 lines (max.)
Viewable Image Size
42 inches (1060 mm), diagonal (typical)
Viewable Image Area
Horizontal : 922 mm (typical)
Vertical
: 522 mm (typical)
Color Temperature
1: Cool
2: Normal
3: Warm 4:User
Warm-up Time
30 minutes to reach optimum performance level.
Power Supply
AC 100 - 120 / 200 240 V (3.7A /2.0A) 50/60 Hz
(automatically selected)
Power Consumption : 350 W (typical, without sound)
(provided with power save circuit.)
Dimensions
1030 (W) × 636 (H) × 89 (D) mm
Weight
31 kg (approx.) exclude option stand
Environmental Condition
Operation
Storage
Temperature
5ºC to 35ºC
15ºC to 60ºC
Humidity
20% to 80%
20% to 90%
2
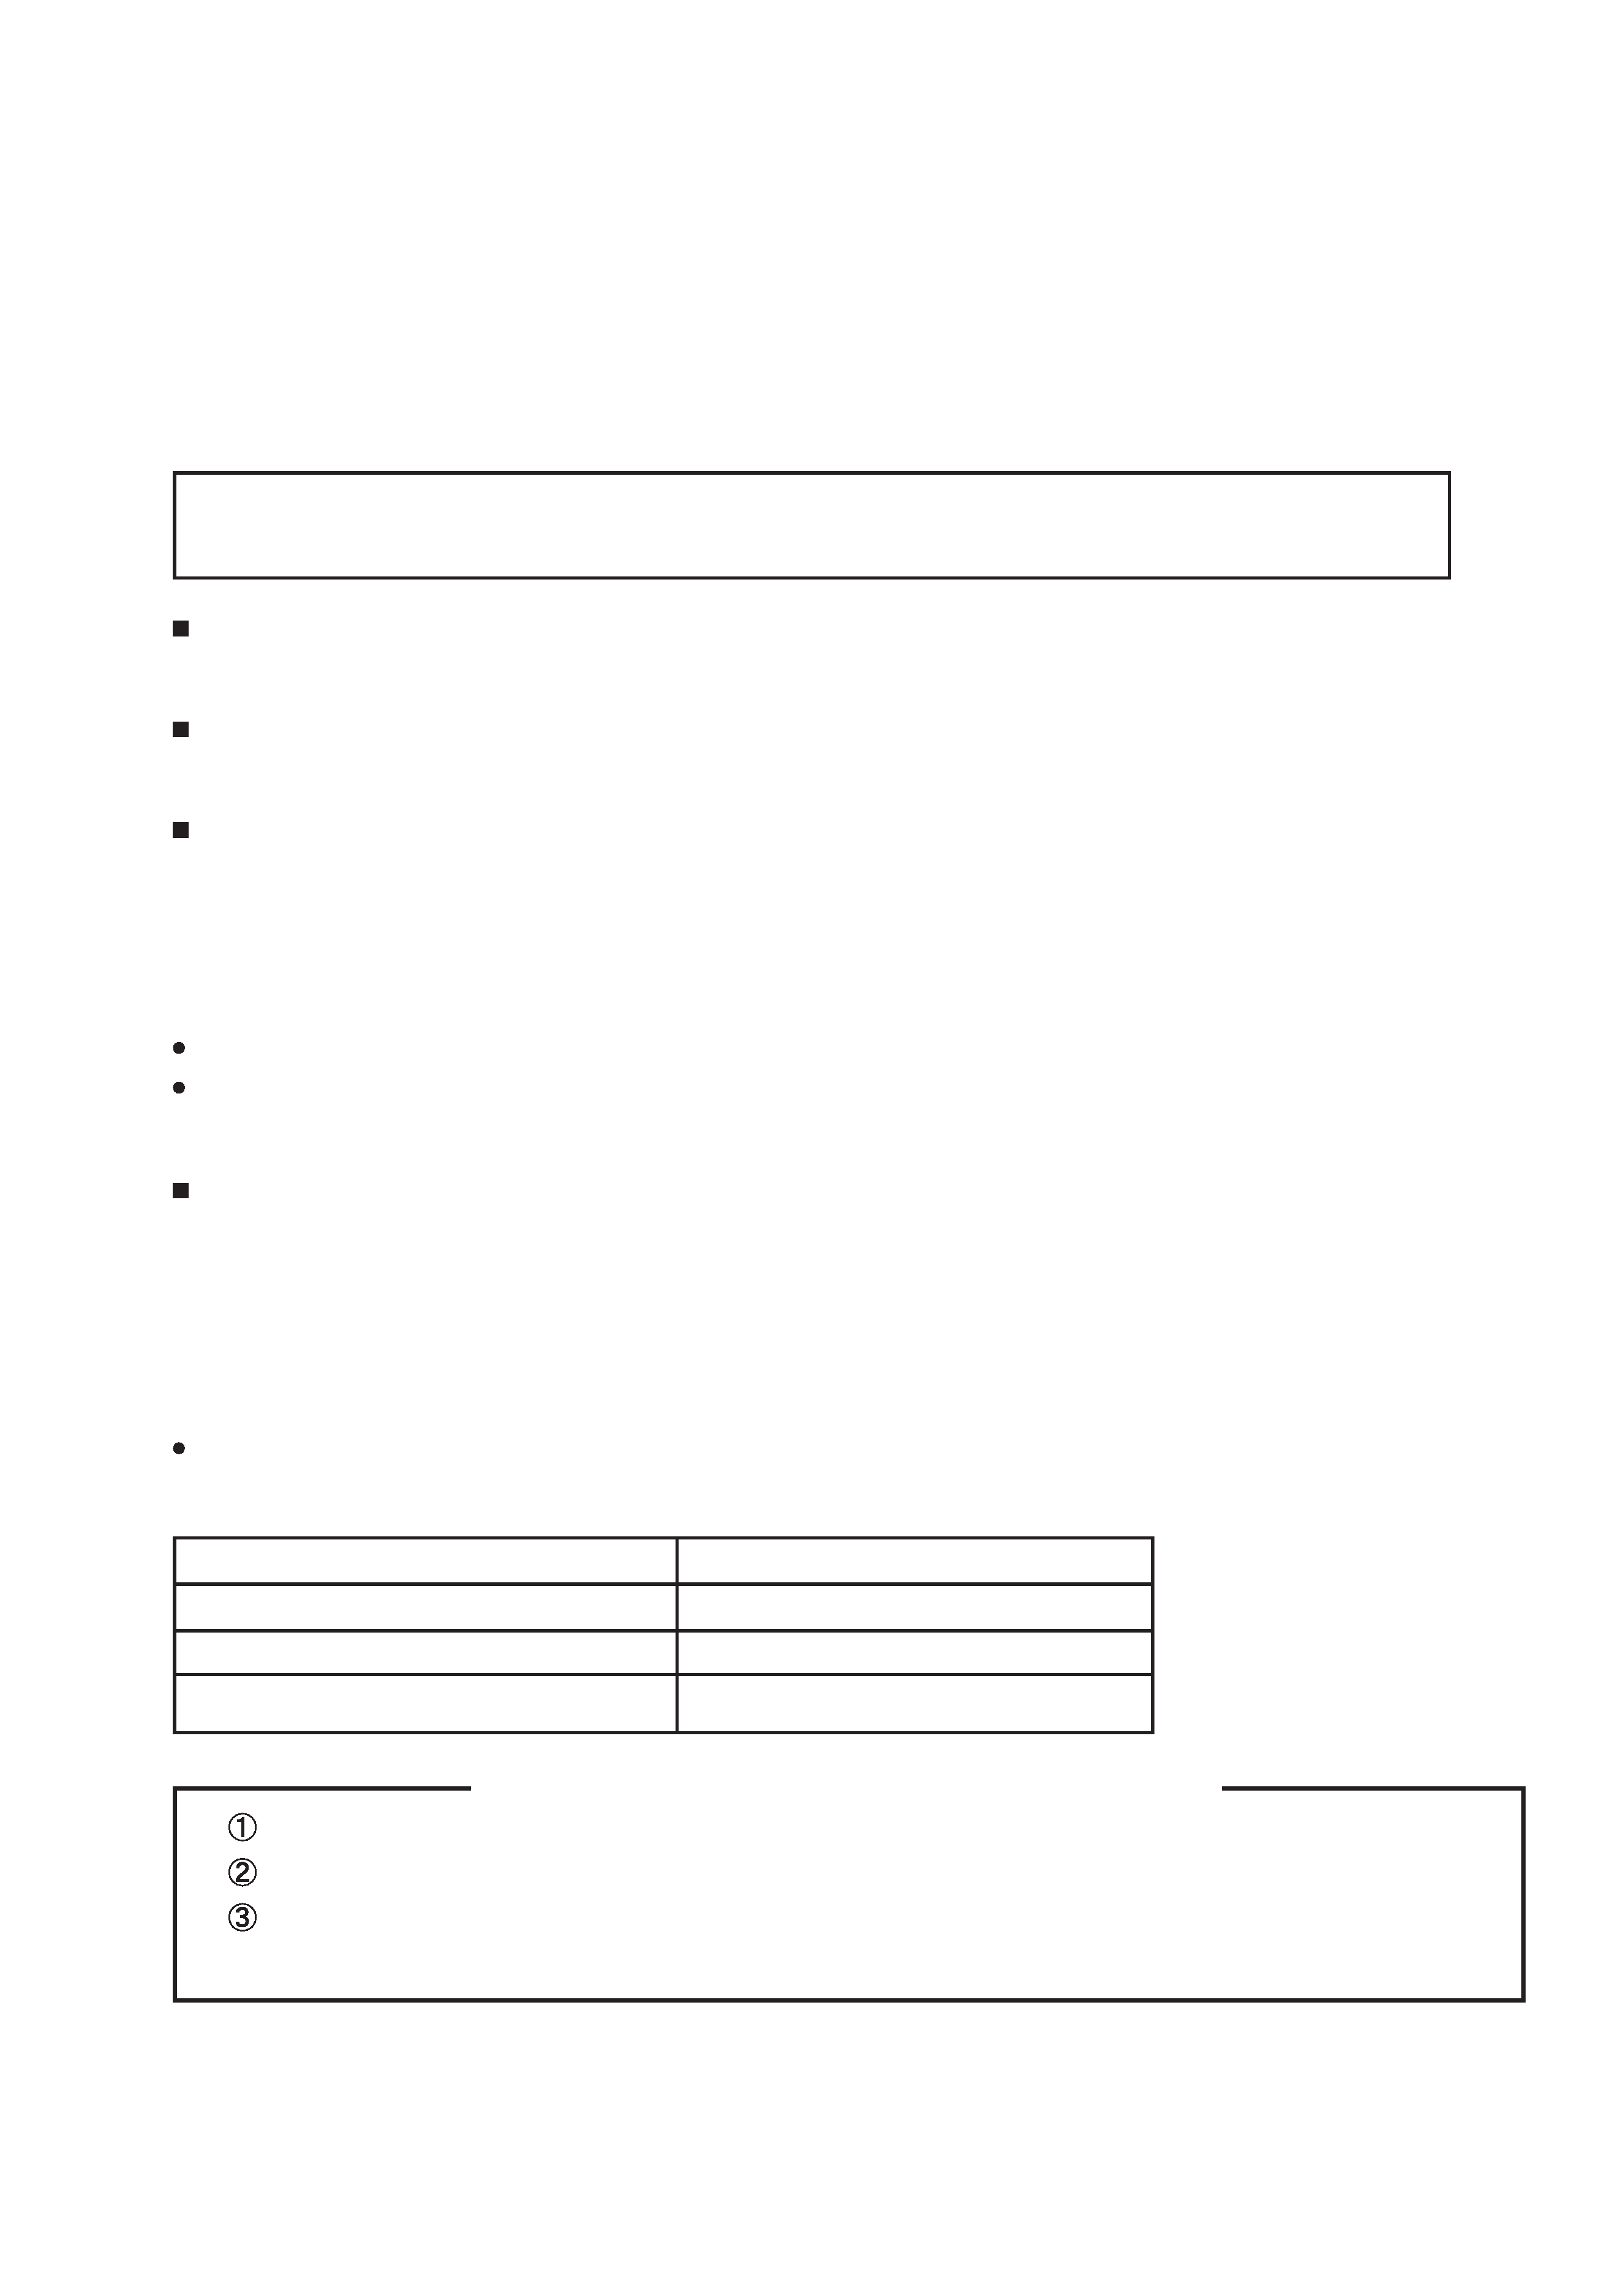
3. Lead free solder
This product uses lead free solder (unleaded) to help preserve the environment. Please read these instructions
before attempting any soldering work.
Caution: Always wear safety glasses to prevent fumes or molten solder from getting into the eyes. Lead
free solder can splatter at high temperatures (600
Lead free solder indicator
Printed circuit boards using lead free solder are engraved with an "F."
Properties of lead free solder
The melting point of lead free solder is 40-50
higher than leaded solder.
Servicing solder
Solder with an alloy composition of Sn-3.0Ag-0.5Cu or Sn-0.7Cu is recommended.
Although servicing with leaded solder is possible, there are a few precautions that have to be taken. (Not taking
these precautions may cause the solder to not harden properly, and lead to consequent malfunctions.)
Precautions when using leaded solder
Remove all lead free solder from soldered joints when replacing components.
If leaded solder should be added to existing lead free joints, mix in the leaded solder thoroughly after the lead
free solder has been completely melted (do not apply the soldering iron without solder).
Servicing soldering iron
A soldering iron with a temperature setting capability (temperature control function) is recommended.
The melting point of lead free solder is higher than leaded solder. Use a soldering iron that maintains a high
stable temperature (large heat capacity), and that allows temperature adjustment according to the part being
serviced, to avoid poor servicing performance.
Recommended soldering iron:
Soldering iron with temperature control function (temperature range: 320-450
Recommended temperature range per part:
Part
Soldering iron temperature
Mounting (chips) on mounted PCB
320
Mounting (chips) on empty PCB
380
Chassis, metallic shield, etc.
420
SIGNAL board
VIDEO board
JOINT board
AUDIO board/FILTER board/LED,RECEIVER board/TACT SW board/SPEAKER terminal board
The PWB assembly which has used lead free solder
3
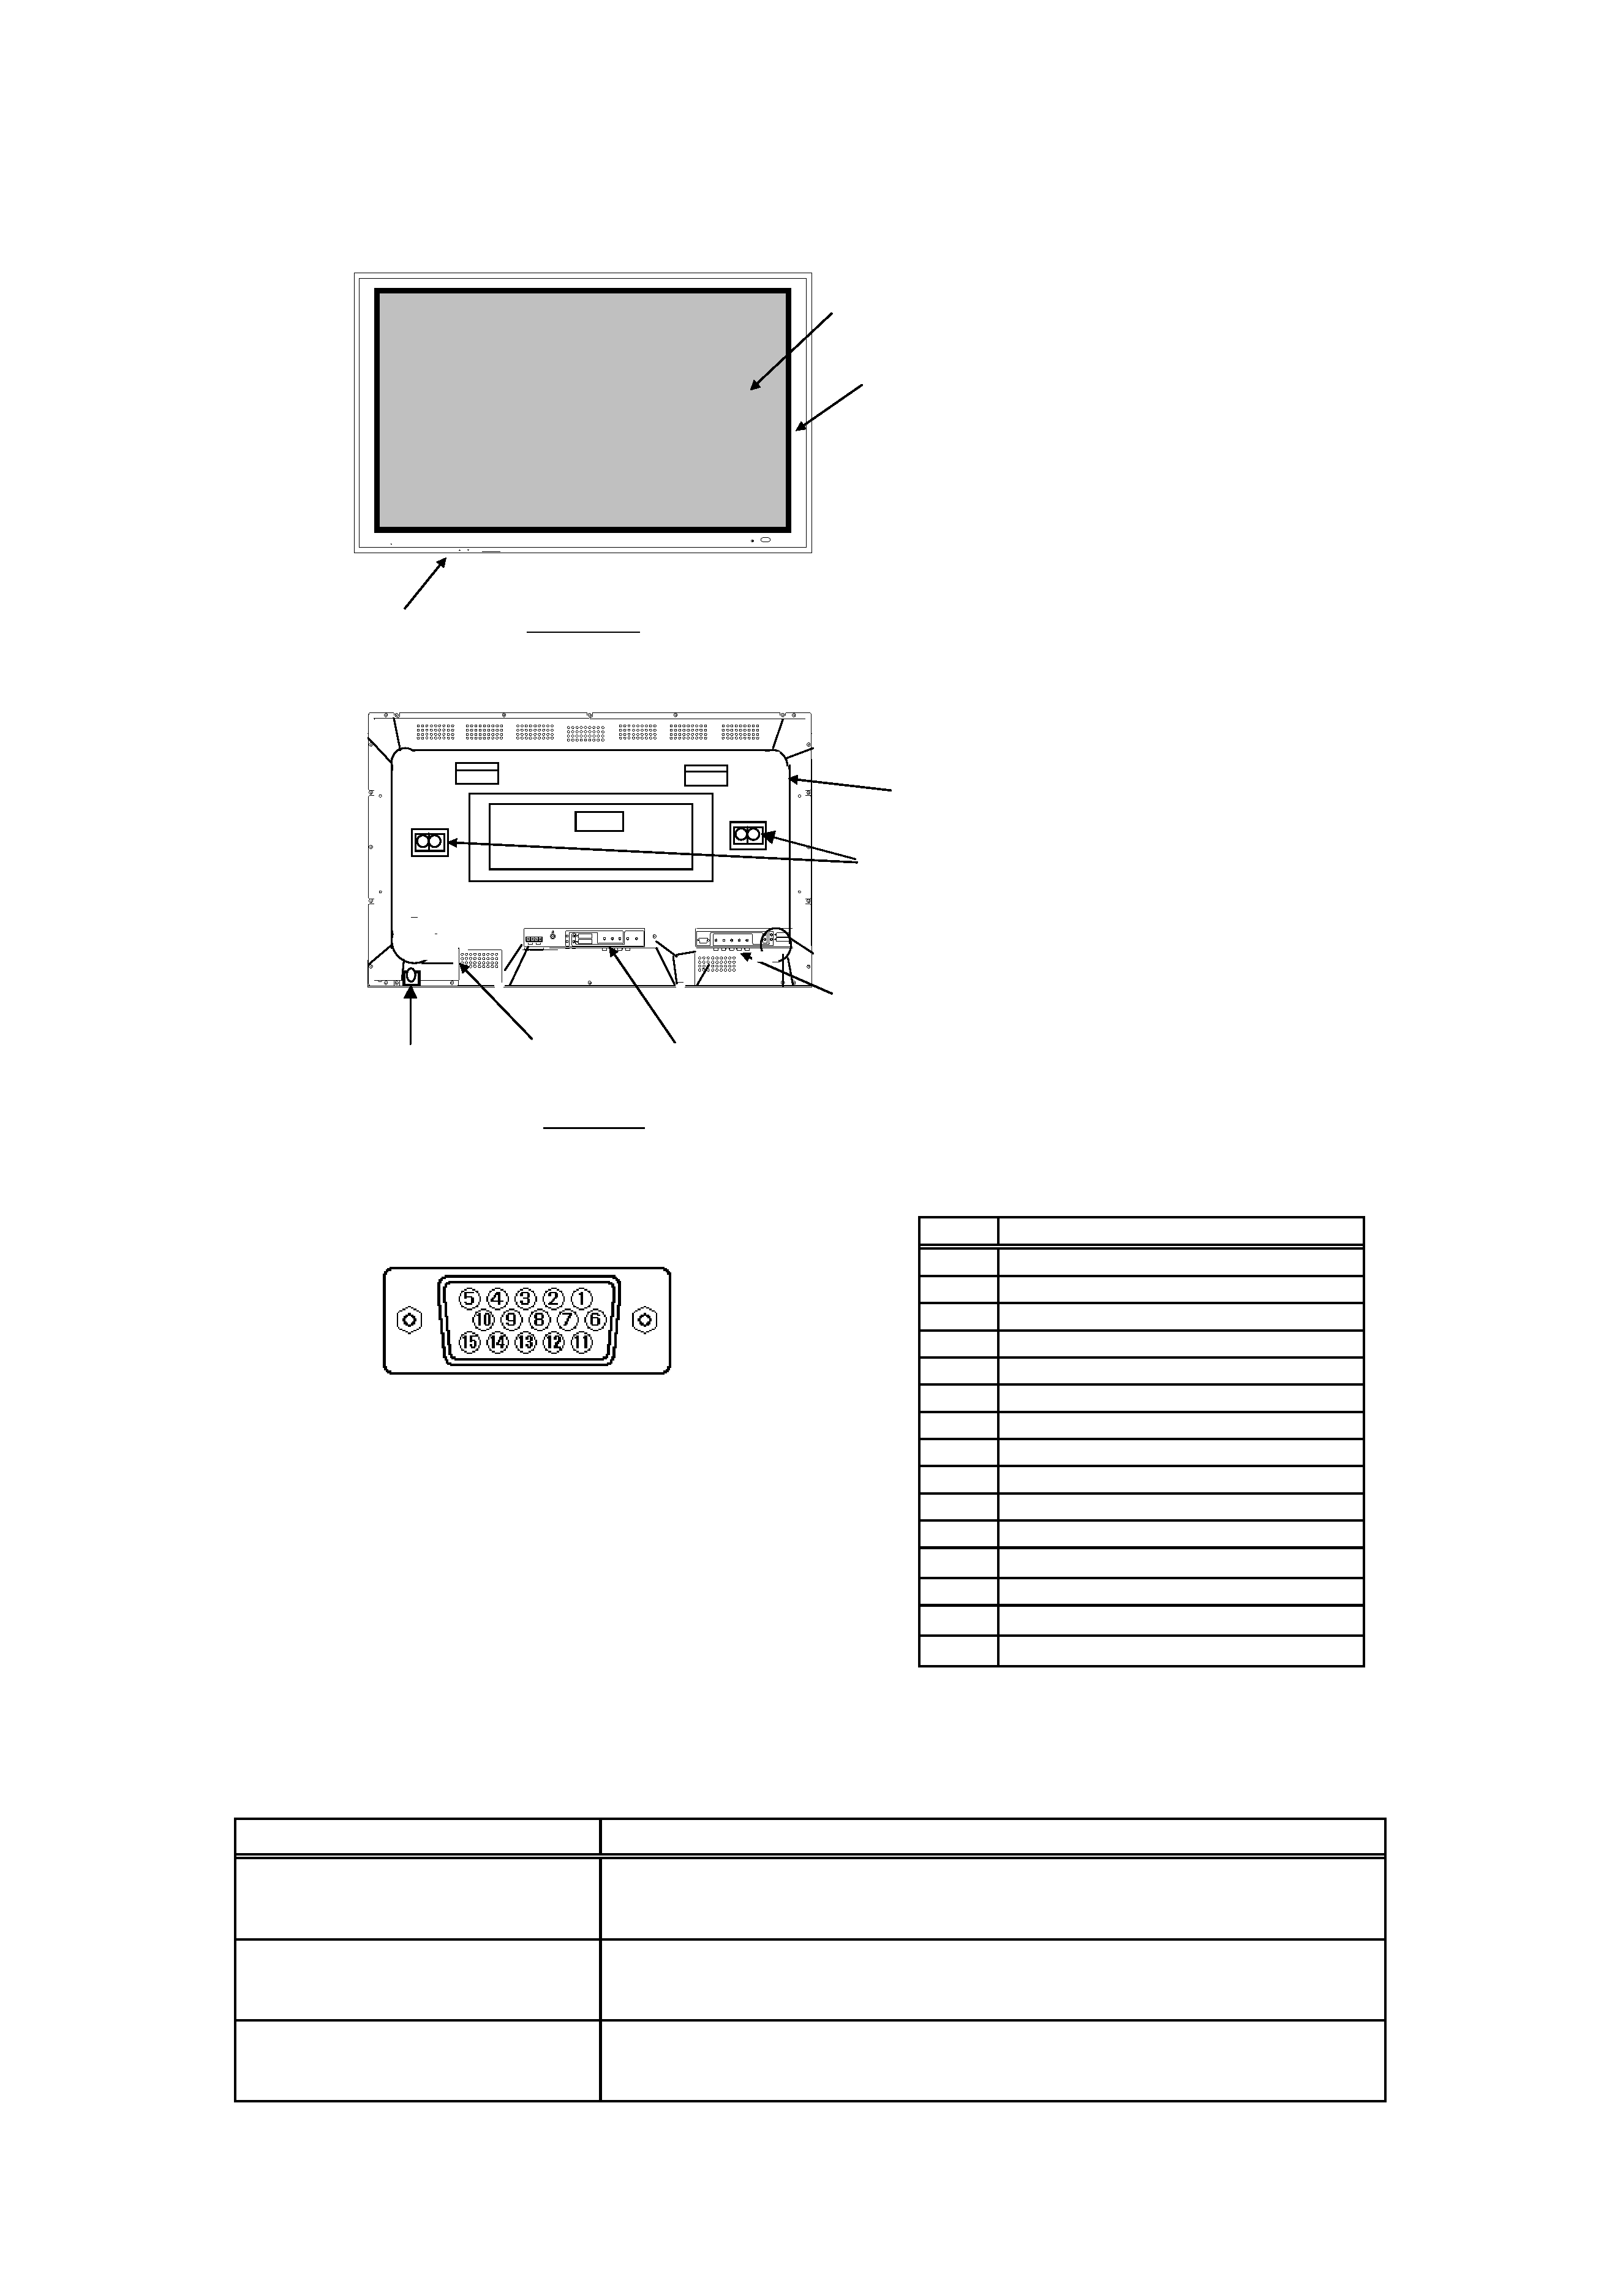
4. Names of each part
Outlook
S UB -P O WE R
S EL E CT
M EN U
RG B/
V ID EO
VO L UM E
FRONT VIEW
Filter
Panel
Front
Frame
Control
Switches
HITACHI
HITACHI
HITACHI
HITACHI
REAR VIEW
Rear
Cover
RGB Input Terminals
Video Input Terminals
Speaker
Terminals
AC Inlet
AC Switch
Input terminal(D-sub connector)
PinNo
Signal
1
Red Video, ( PR/CR )
2
Green Video (Sync. optional), (Y)
3
Blue Video (PB/CB)
4
No connection
5
No connection
6
Red Ground
( PR / CR Ground)
7
Green Ground ( Y Ground)
8
Blue Ground
( PB / CB Ground)
9
No connection
10
Ground
11
No connection
12
[
SDA]
13
H.Sync. or H/V composite
14
V.Sync. [V.CLK]
15
[
SCL]
Message table
Onscreen display
Indication
Condition
The monitor indicates the
message
"NO SYNC SIGNAL".
The monitor detects no sync signal.
The monitor indicates the
message
"POWER SAVE".
After a state whereby it does not sense a sync signal for 5 seconds
continued.
The monitor indicates the
message
"OUT OF FREQUENCY".
The monitor detects a sync signal which is out of specification, or
unstable.
4
( ) :with RGB component input.
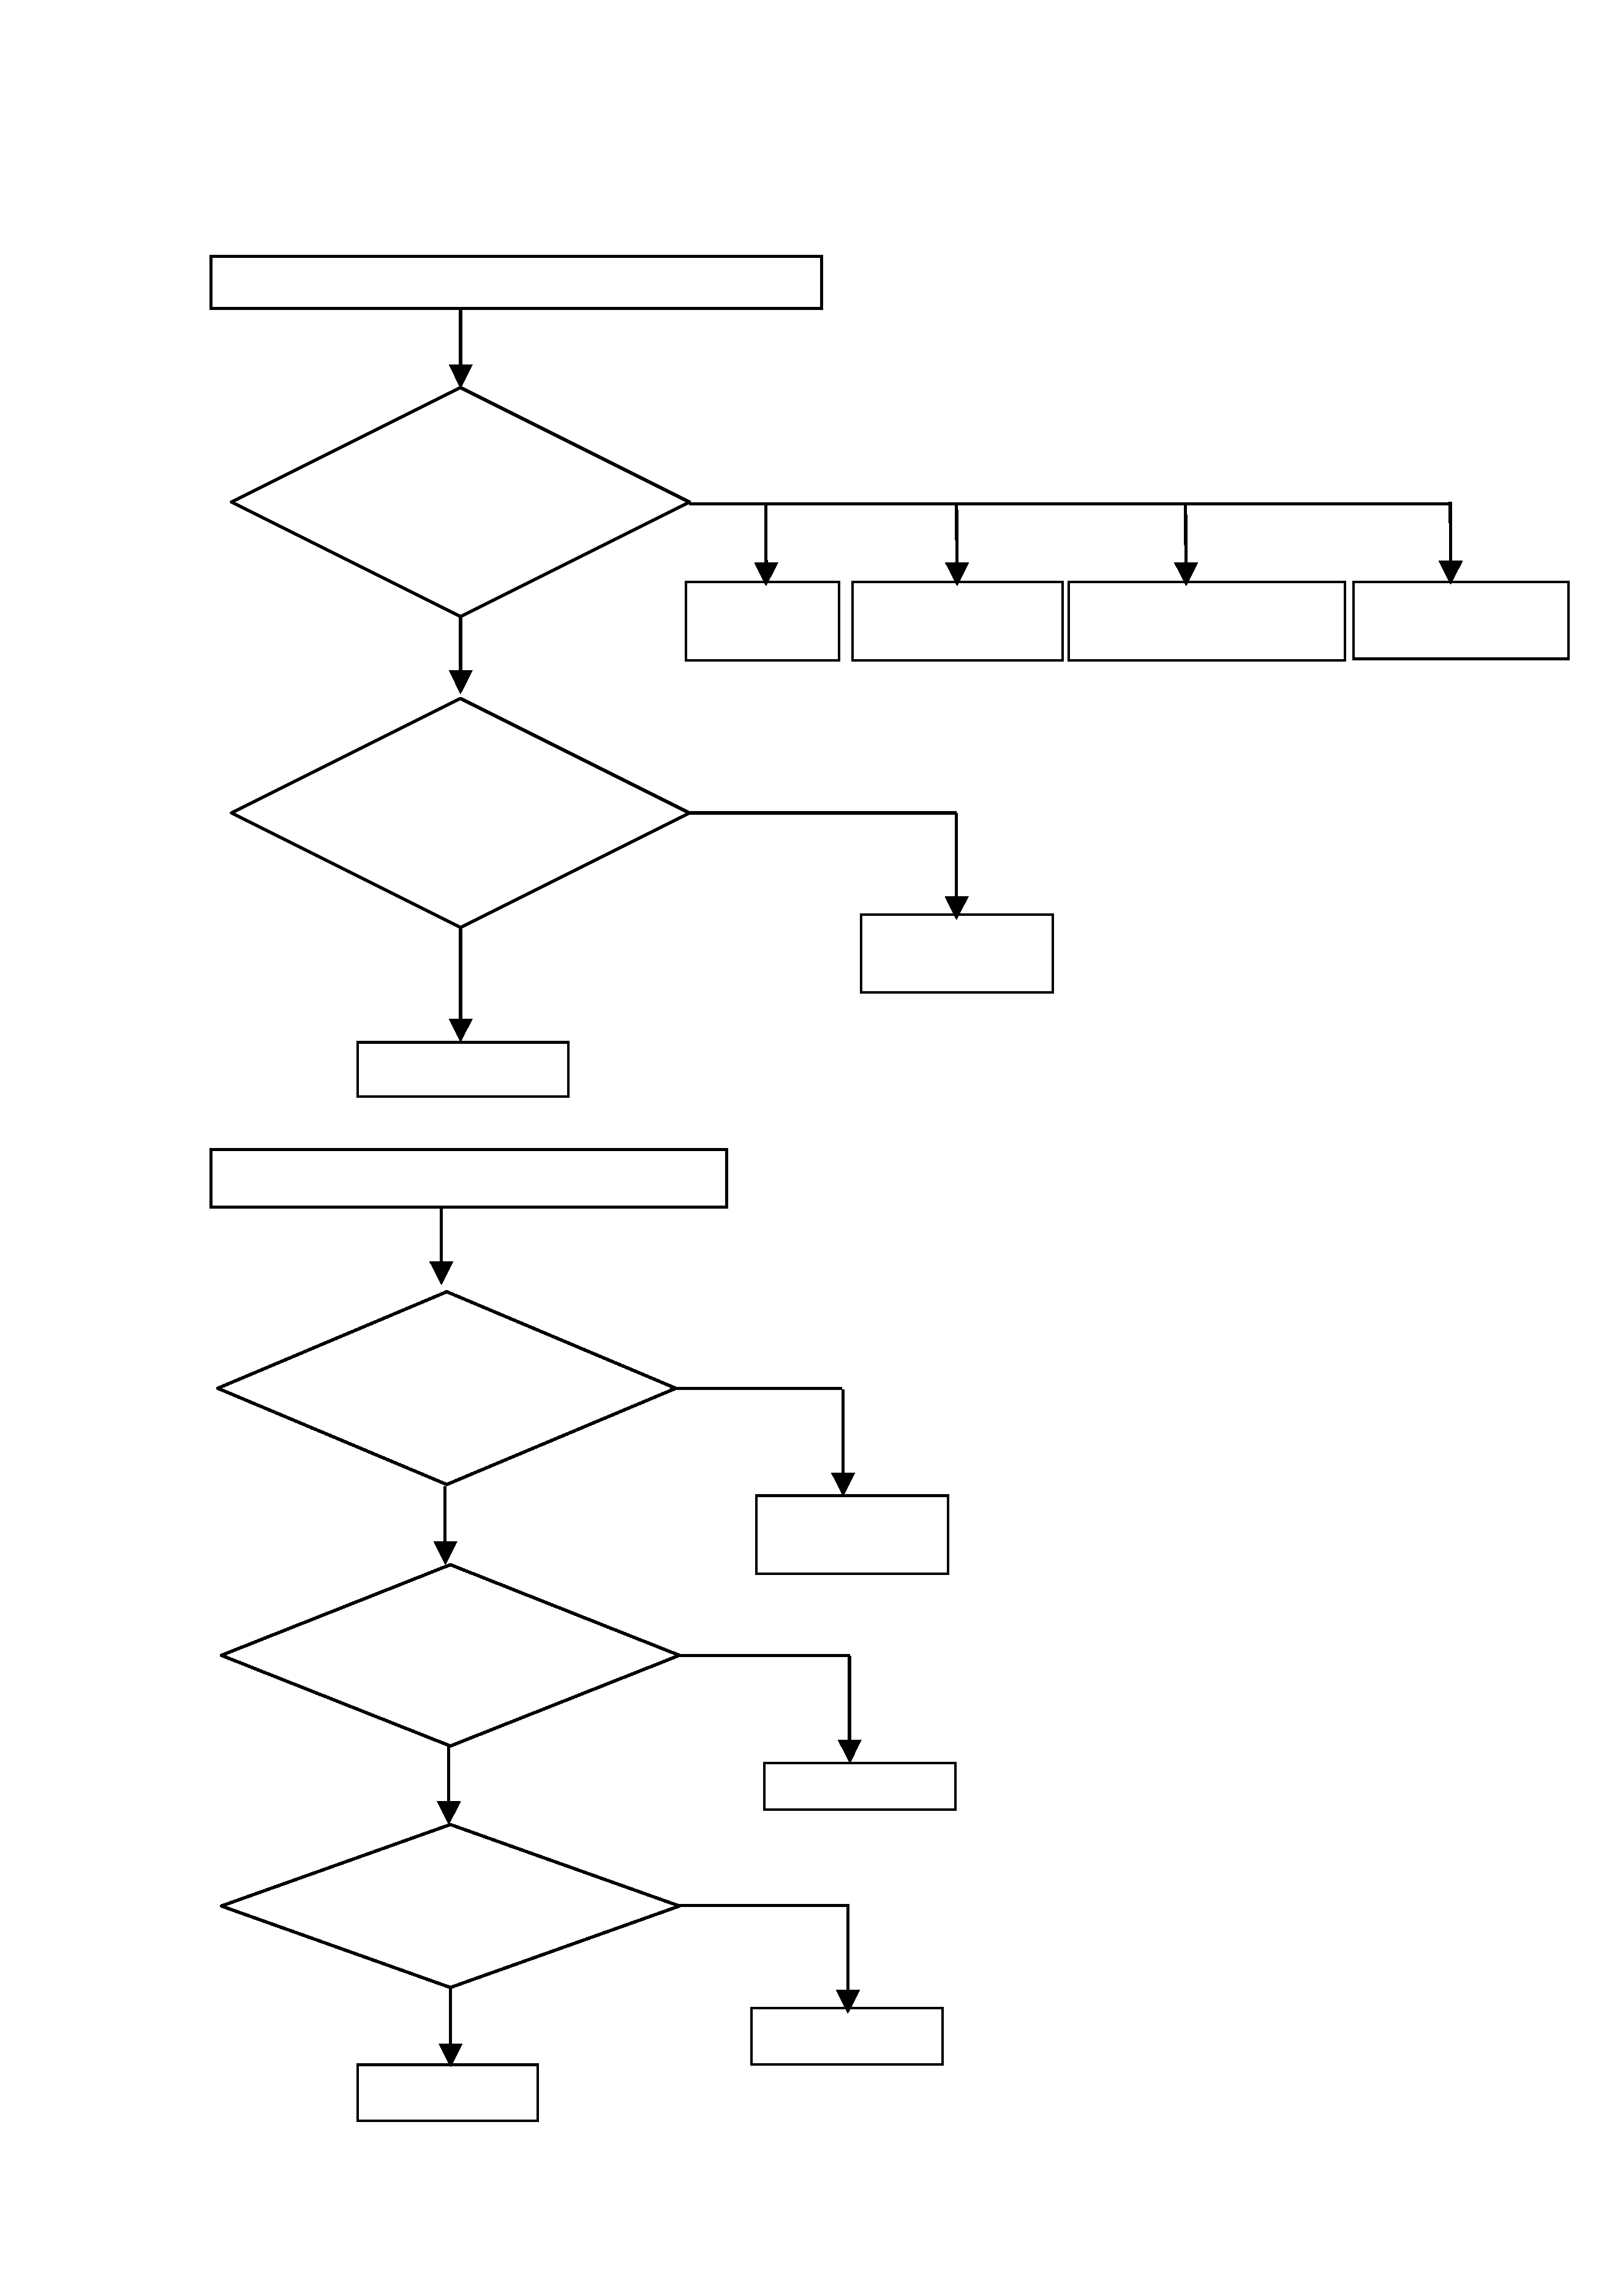
5. Trouble shooting
5.1 Trouble Shooting of Plasma Monitor
5
55
5
Are
Voltage
applied to pins ,(PW01)
of the Signal PWB
+12V
+6V
+4.5V
GND
Signal PWB
AC/DC
Power unit
No
Yes
Power can not be turned on (LED is not light)
Is the input voltage
applied to the AC/DC
Power unit ?
(CN61 , )
AC inlet
Power switch
AC Fuse
F901 T6.3AH 250V
No
Yes
Speaker
Picture is displayed. But no sound
Are
Voltage
applied to pins (PVA)
of the Audio PWB
No
AC/DC
Power unit
Yes
+2228V
GND
No
Are
there
signals on
Speaker Terminals
Yes
Audio PWB
Are Signal
applied to pin and
(PVA1)of the Audio PWB
No
Signal PWB
Yes
FILTER PWB
